





What Is a Tile Leveling System and Which Kit Should You Buy?
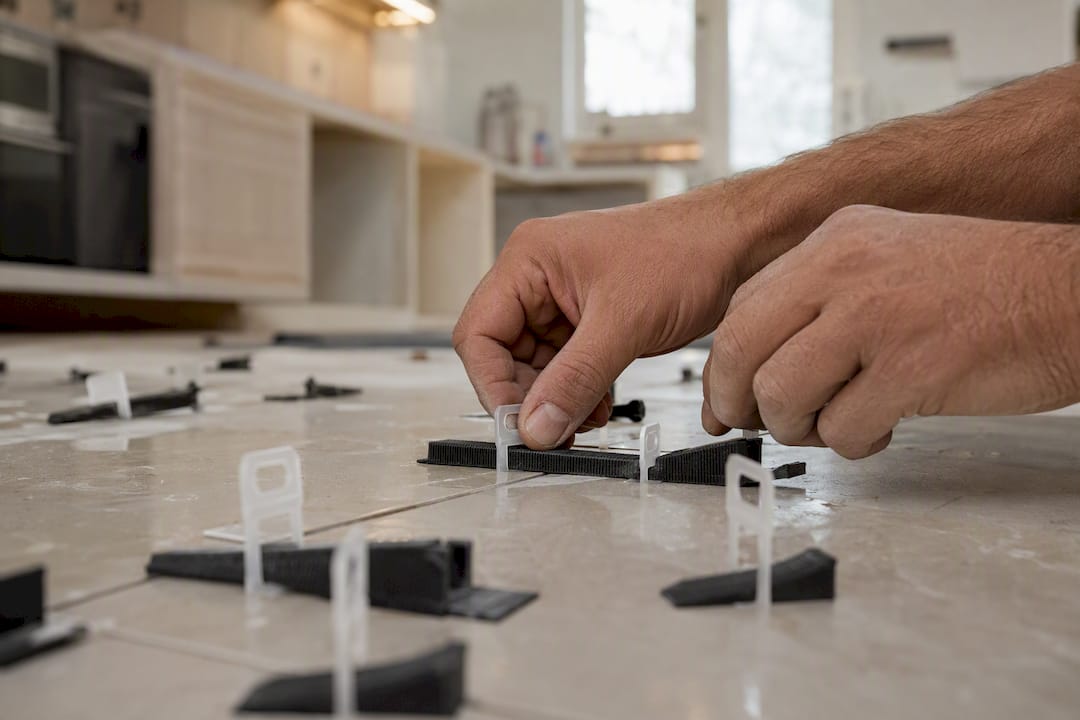
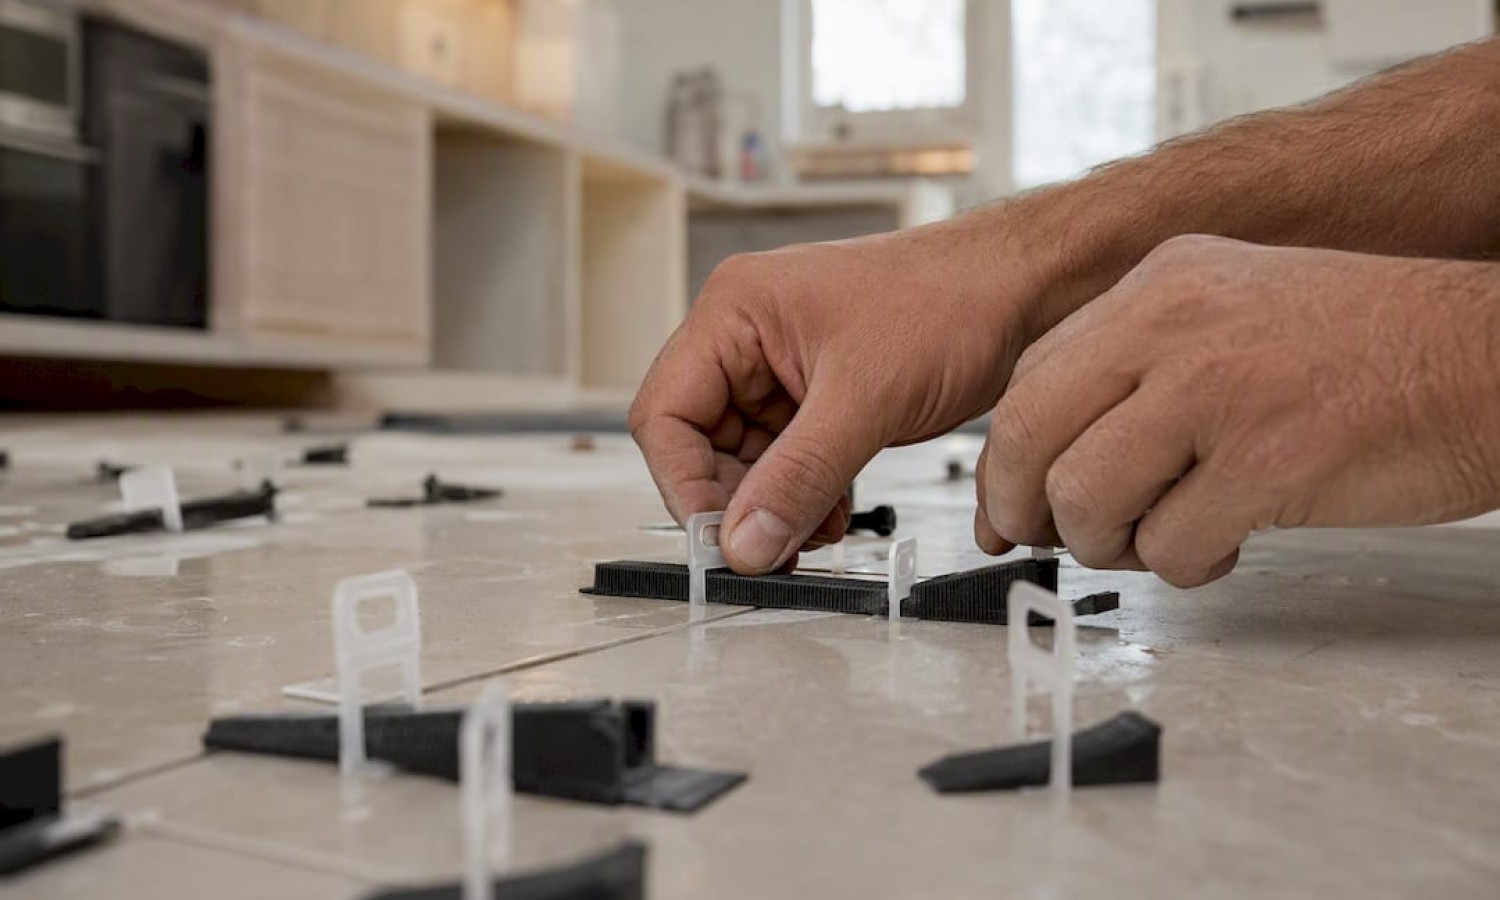
A tile leveling system is a clip-and-wedge kit that stops lippage, the uneven step between adjacent tile edges that shows up after adhesive cures. Both DIYers and professional tilers use these kits on ceramic and stone tile floors and walls where a flawless flat plane matters. The fastest way to buy right: match clip or anchor height to your tile’s thickness range, confirm the adhesive class fits the job (look for C2TE or C2TES1 on the bag), and pick a trowel size that matches your tile format.
Immediate action for most buyers:
- Measure your tile thickness first. Most porcelain and ceramic tiles fall between 3mm and 16mm, and the kit clip must sit inside that range.
- Buy a flexible, slip-resistant adhesive such as a C2TES1-class product for wet rooms or large-format tiles.
- Get tensioning pliers if you’re doing more than a small patch job. Hand pressure alone won’t seat clips evenly across a full floor.
- Check Santehnikasveikals.lv’s plumbing and bathroom catalog when you’re also sourcing baths, showers, or waterproofing accessories for the same project.
Key Takeaways
Choosing the right tile leveling system comes down to matching clip thickness to tile thickness and pairing it with the correct adhesive class and trowel size.
| Point | Details |
|---|---|
| Match clip to tile | Confirm clip thickness fits your tile’s range between 3mm and 16mm before buying. |
| Adhesive class matters | Use a flexible class like C2TES1 for wet rooms and large-format tiles. |
| Trowel size sets consumption | An 8mm by 8mm trowel uses roughly 3.1 kg/m² of adhesive. |
| Buy 5 to 10% spare | Add extra anchors to your count to cover breakage and layout adjustments. |
| Prep beats correction | Waterproofing and flat substrate prep matter more than any clip system. |
| Santehnikasveikals stocks the project | Santehnikasveikals.lv supplies bathroom fixtures and delivery across Latvia for the fixtures surrounding your tile work. |
Table of Contents
- What Makes Up a Flīžu Līmeņošanas Sistēma (Tile Leveling System)
- How to Choose the Right Tile Leveling System for Your Job
- Step-by-Step Tile Leveling: From Substrate Prep to Clip Removal
- Adhesive Choice and Substrate Prep: The Part Clips Can’t Fix
- How Many Clips and Wedges Should You Buy?
- Where Santehnikasveikals Fits Into Your Tiling Project
- Technical Sheets and Installation Guides Worth Checking
- Why Most Tiling Guides Undersell Substrate Prep
- Get Your Tiling Project Supplies From Santehnikasveikals
- Frequently Asked Questions
- Sources
What Makes Up a Flīžu Līmeņošanas Sistēma (Tile Leveling System)
Every kit breaks down into three parts, and understanding what each one does prevents costly mismatches at checkout. The clips, sometimes called anchors, sit underneath the tile joint and are single-use. Once the adhesive cures, you snap them off and throw them away. The wedges or caps thread through the clip’s stem and pull two tiles into the same plane as you tighten them; many wedge designs are reusable, while some caps are single-use. Tensioning pliers are the optional third piece, and they exist to apply even pressure across dozens of clips faster than fingers ever could.
Sizing is where most first-time buyers go wrong. Clip thickness options usually run 1mm, 1.5mm, 2mm, and 3mm, corresponding to the grout joint width you want. Kit anchors are engineered to work across tile thicknesses from 3mm to 16mm, covering everything from thin porcelain panels to chunky natural stone.
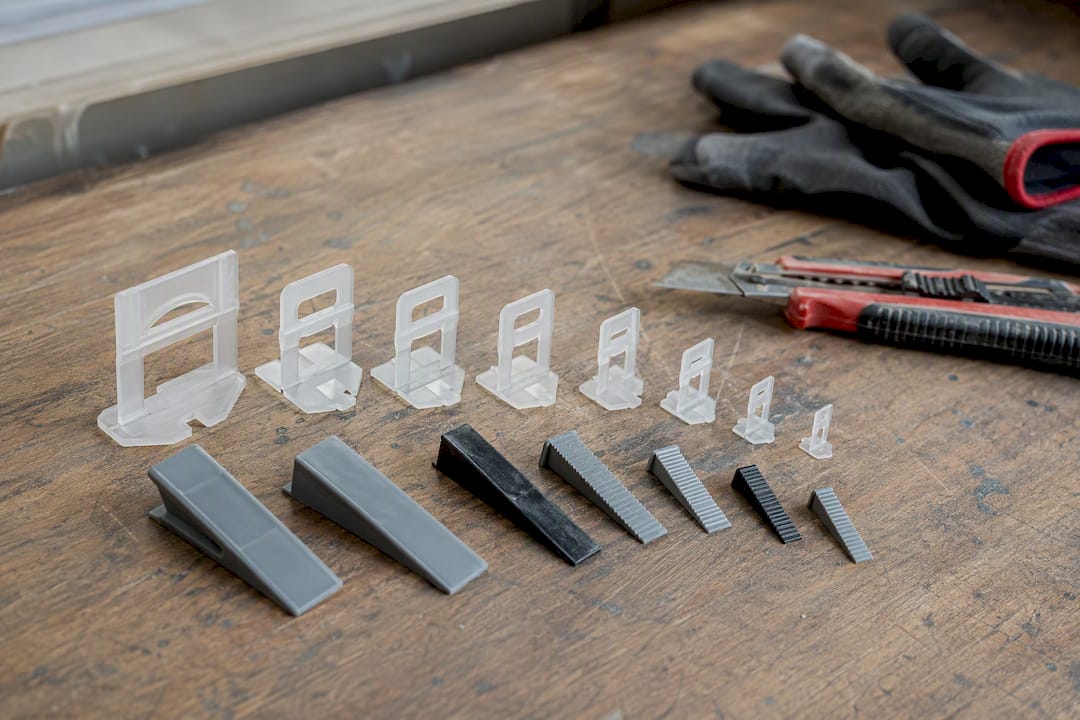
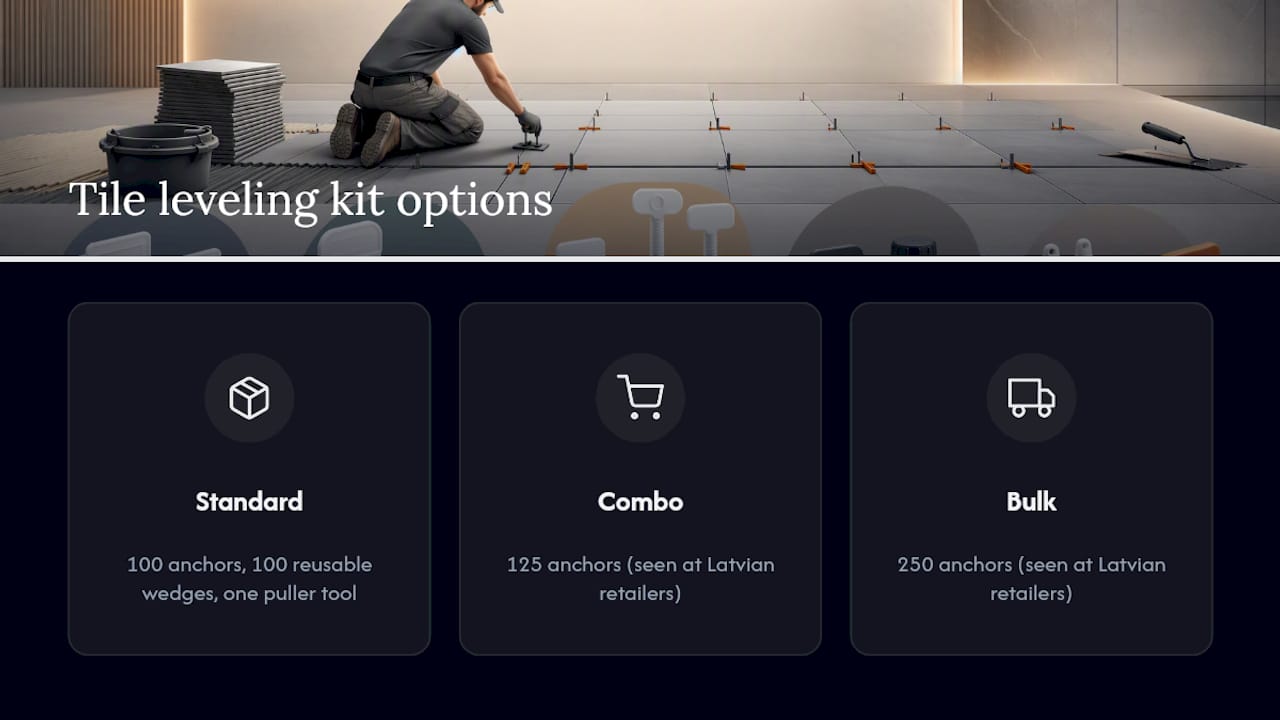
Kit contents to expect on a product page: a standard pack typically ships with 100 anchors, 100 reusable wedges, and one puller tool, though combo packs and bulk options (125 or 250 anchors) show up regularly at Latvian retailers. Reusable wedges can typically be used dozens of times before they wear out, which changes the math on whether to buy extra.
How to Choose the Right Tile Leveling System for Your Job
Choosing the correct kit comes down to four decisions, and getting them wrong costs you either a return trip to the store or a floor with visible steps between tiles.
- Match clip height to tile thickness and desired joint width. A 12mm porcelain tile with a 2mm grout line needs a 2mm clip, not a 1mm or 3mm one; check the packaging range before you buy.
- Choose reusable wedges for ongoing or large-area work. One-off small jobs, like a single backsplash, often make more sense with cheaper single-use caps.
- Scale anchor placement to tile size. Small tiles (under 300mm) generally need one anchor per edge midpoint; large-format tiles need anchors spaced every 200 to 300mm along each edge to prevent bowing.
- Decide on pliers based on volume. A bathroom floor with a few dozen tiles is manageable by hand; a full house re-tile is not.
Pro Tip: Buy your adhesive and leveling clips together and read both labels side by side. A clip rated for 16mm tiles is useless if your adhesive bed only builds up 4mm of coverage, since the clip will sit too high and crack the joint later.
Step-by-Step Tile Leveling: From Substrate Prep to Clip Removal
Skipping steps here is exactly how good kits produce bad floors. A leveling system corrects tile-to-tile height, not a bowed or uneven substrate, so prep still comes first.
- Check the substrate. Confirm the floor or wall is flat within manufacturer tolerance, primed if required, and, for a wet room, fitted with a waterproofing membrane before any tile touches adhesive.
- Mix and spread adhesive with the right trowel. Use a notched trowel sized to your tile format and comb the adhesive in one direction for even ridges.
- Back-butter large tiles. For formats over roughly 600mm, apply adhesive to both the substrate and the tile back (double-buttering) to eliminate hollow spots.
- Place the first tile and insert clips at the joint. Position anchors at each side where the next tile will land.
- Set the adjoining tile and insert the wedge. Push the wedge through the clip’s tab by hand, then tighten with pliers or a mallet tap until both tiles sit flush.
- Repeat across the field, checking level every few tiles. Small corrections now save you from grinding down a hardened lippage later.
- Let the adhesive cure before removing anchors. Manufacturer guidance points to roughly 24 hours for standard adhesive, longer in cool rooms or with slow-set products.
- Snap off the anchors. A light kick sideways or a tap with a rubber mallet parallel to the grout line breaks the tab cleanly, leaving the wedge portion behind the tile edge.
- Grout and seal. Wait for full adhesive cure, then grout the joints and apply sealant in wet areas.
Pro Tip: Don’t remove anchors early just because the floor looks dry. Surface-dry adhesive can still be soft underneath, and yanking clips too soon lets tiles shift right before grouting.
Adhesive Choice and Substrate Prep: The Part Clips Can’t Fix
A leveling system only manages the vertical relationship between tile edges. It cannot compensate for a hollow adhesive bed, a poorly mixed batch, or a substrate that flexes underfoot. That’s why adhesive class and trowel size deserve as much attention as the clips themselves.
For most bathroom and wet-room work, a flexible cementitious adhesive in class C2TES1 offers improved slip resistance and flexibility, which matters on walls where gravity pulls at large tiles before cure. Trowel notch size determines how much adhesive actually reaches the tile back, and the difference between sizes is significant.
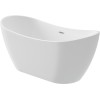
Larger tiles need bigger notches and, often, double-buttering to avoid trapped air pockets that weaken the bond over time. Anyone tiling around a large-format bath surround, including stone-mass tubs like the VARIO M model, should plan for that extra coverage step rather than treat it as optional. For wet rooms specifically, priming and a liquid or membrane waterproofing layer need to go down before adhesive touches the wall or floor at all.
How Many Clips and Wedges Should You Buy?
Estimating quantity before checkout saves a second trip to the store, and the math is simpler than it looks.
- Count the shared edges between tiles across your project area, not the tile count itself. That’s your anchor number.
- Add 5 to 10 percent extra anchors to your estimate to cover breakage and layout changes.
- Plan for fewer wedges than anchors if wedges are reusable, adjusting quantities accordingly, since each wedge can typically be pulled and reinserted many times before it wears out.
- For for larger project areas, consider buying larger packs for better unit pricing (250-count anchors, 200-count wedges) rather than several smaller boxes, since per-unit pricing usually drops.
- Before you check out, confirm the clip thickness matches your tile range, and check the retailer’s return policy in case you measured wrong.
Where Santehnikasveikals Fits Into Your Tiling Project
That distinction guides everything Santehnikasveikals.lv stocks for tiling and bathroom renovation. The online store carries plumbing fixtures, adhesive-adjacent bathroom furniture, and installation accessories that support a full renovation rather than a single product category.
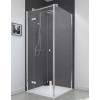
- Bathroom fixtures like stone-mass tubs, shower cabins, and sinks that need tile work around them, including models such as the VARIO L and PAA Step.
- Delivery across Latvia, useful when a project needs both tiling accessories and heavier fixtures delivered together.
- Product catalogs and price calculators that let contractors and homeowners plan a full renovation budget in one place, not just a single kit purchase.
Technical Sheets and Installation Guides Worth Checking
- Knauf KLS technical sheet for kit specs and installation diagrams.
- Sakret FFK adhesive datasheet for consumption tables by trowel size.
Why Most Tiling Guides Undersell Substrate Prep
Most advice on tile leveling systems focuses entirely on the clips, and that’s a mistake born out of how satisfying the tool itself feels to use. You place a clip, twist a wedge, and watch two tiles snap into the same plane. It’s tactile and immediate, so it dominates the conversation.
But the leveling system is doing the smallest part of the job. The bigger risk sits underneath, in a substrate that wasn’t checked for flatness or a wet room that skipped waterproofing before the first trowel pass. A perfectly leveled tile over a hollow adhesive bed still cracks under foot traffic within a year or two, and no clip prevents that.
If there’s one priority shift worth making, it’s this: spend your planning time on adhesive class and substrate prep, then treat the leveling kit as the tool that makes a properly prepped job look as good as it actually is. Buy the clips that match your tile. Buy the adhesive that matches your room. Don’t let the satisfying click of a wedge distract from the less visible work that determines whether the floor still looks flat in five years.
Get Your Tiling Project Supplies From Santehnikasveikals
Sourcing a tile leveling kit is only one piece of a bathroom renovation, and running between a tile shop, a plumbing supplier, and a hardware store for adhesive adds time most contractors and homeowners don’t have. Santehnikasveikals.lv covers the fixtures, accessories, and delivery for the rest of the project in one order, so the tiling work you just planned connects directly to the tub, shower, or sink it surrounds.
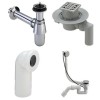
If your project includes a new bathtub install, browse the stone-mass tub range, including the VARIO M, before you finalize your tile layout, since tub dimensions affect where your leveling clips and joints need to land around the surround. Santehnikasveikals.lv delivers across Latvia and stocks the plumbing accessories, like WC connectors and shower drains, that typically get installed in the same renovation window as tiling. Check the current bathtub and fixture catalog now, confirm dimensions against your tile plan, and place your order so delivery lines up with your installation schedule.
Frequently Asked Questions
What is a tile leveling system used for? A tile leveling system prevents lippage, the visible height difference between adjacent tile edges, by clamping tiles into the same plane while adhesive cures.
How long before I can remove the clips? Standard adhesive typically needs about 24 hours to cure before anchor removal, longer in cooler rooms or with slow-setting products.
Do I need tensioning pliers, or can I use my hands? Hands work fine for small patch jobs. For a full floor or wall, pliers apply more even pressure and speed up the work considerably.
Can a leveling system fix an uneven substrate? No. It only corrects tile-to-tile height. A bowed or unflat substrate needs its own leveling compound before tiling starts.
What adhesive class should I use in a bathroom? A flexible class like C2TES1 offers better slip resistance and flexibility for wet-room conditions.
Sources
- KLS flīžu līmeņošanas sistēma | Knauf
- FFK / Elastīga flīžu līme (class C2TES1) - SAKRET
- Bathroom tiling step-by-step | Baumit guidance
Atstājiet komentāru