







The Role of Drainage Slopes in Property Water Management
TL;DR:
- Proper drainage slope uses gravity to ensure water and waste flow without blockages or damage.
- The slope must stay within specific ranges to maintain flow velocity and prevent sediment buildup or pipe erosion.
Drainage slope, known in engineering as pipe gradient or pitch, is the carefully calculated angle that uses gravity to move water and waste through pipes without blockages or damage. Getting this angle right is the single most important factor in any residential drainage system. Set it too flat and sediment builds up. Set it too steep and liquid outruns solids, leaving hardened waste stuck in the pipe. The International Residential Code (IRC) 2026 sets the baseline: a minimum slope of 1/4 inch per foot (2%) for pipes 3 inches or smaller and 1/8 inch per foot (1%) for larger pipes. Understanding these standards protects your property and your wallet.
How does slope affect drainage system performance and water flow?
Slope controls flow velocity, and flow velocity determines whether your drainage system stays clear or clogs. The physics are straightforward: a steeper angle accelerates water, while a shallower angle slows it down. The challenge is keeping velocity inside a specific range.
The concept of self-cleansing velocity defines the minimum speed water must travel to carry solid waste along with it. For residential foul and surface drains, that threshold sits at approximately 2 to 2.46 feet per second. Below that speed, sediment settles and accumulates on pipe walls. Above 9.8 feet per second, water erodes the pipe material itself. The practical target is a flow rate between 2 ft/s and 10 ft/s.
Drainage is a precise engineering balance. Both insufficient and excessive slopes cause blockages, but through completely different mechanisms. A shallow slope starves the system of velocity. An overly steep slope creates a different failure: liquid races ahead while solids lag behind, dry out, and harden in place.
“Drainage is not just about getting water to move. It is about keeping water and waste moving together at the right speed, every time.”
The key takeaways from hydraulic behavior are:
- Too shallow (below 1%): Water slows, sediment settles, and pipes clog progressively over months.
- Correct range (1%–2% for small pipes): Water and solids travel together, the pipe stays clear, and flow is self-sustaining.
- Too steep (above 4%): Liquid separates from solids. Waste dries and hardens inside the pipe, creating blockages that are harder to clear than standard sediment clogs.
Understanding this range is the foundation of every good [building drainage system](https://santehnikasveikals.lv/blog/what is a building drainage system a clear guide) design decision.
What are the recommended slope guidelines for residential drainage pipes?
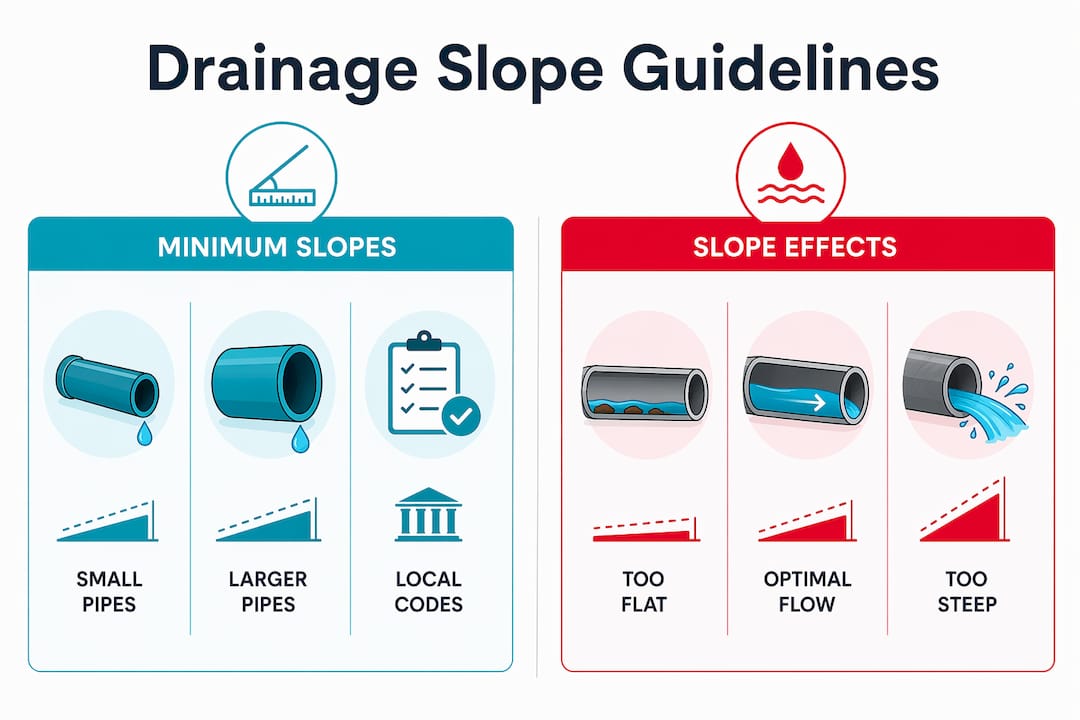
The IRC 2026 and the American Society of Civil Engineers (ASCE) both set slope requirements by pipe diameter. Larger pipes require less slope because their greater cross-section generates sufficient flow volume at lower angles. Smaller pipes need steeper slopes to achieve the same self-cleansing effect.
Minimum slope requirements by pipe size break down as follows:
| Pipe Diameter | Minimum Slope | Notes |
|---|---|---|
| Up to 3 inches | 2% (1/4 in per ft) | IRC 2026 residential standard |
| 4 inches | 2.08% | Typical residential drain line |
| 6 inches | 1.04% | Branch and main lines |
| 24 inches | 0.08% | Large municipal or commercial runs |
Slopes above 4% are not automatically better. The IRC and most sewer district standards cap maximum velocity at around 10 ft/s to prevent pipe erosion and noise. For long drain runs or flat terrain, sewer district design standards typically require slopes 10–25% steeper than the theoretical minimum to build in a safety margin against blockages.
Local jurisdictions sometimes impose stricter rules than the national IRC baseline. Always check with your local building authority before finalizing any drainage slope design. What works in one municipality may fall short of the required safety margin in another.
Pro Tip: When terrain constraints make it impossible to achieve the required slope, solutions include drop manholes, slightly steeper short sections, or energy dissipation structures. These engineering workarounds maintain code compliance without exceeding maximum velocity limits.
For homeowners planning renovations or new construction, reviewing the [2026 plumbing regulations](https://santehnikasveikals.lv/blog/plumbing regulations 2026 what builders must know) before breaking ground saves costly rework later.
What common mistakes do homeowners make with drainage slope installation?
Installation errors account for the majority of recurring drainage problems in residential properties. Most of these mistakes come from misunderstanding what “correct slope” actually means in practice.
-
Assuming more slope is always better. Slopes above 4% cause liquid-solid separation, where water moves faster than waste. The solids dry and harden inside the pipe. This type of blockage is more difficult to clear than standard sediment buildup and often requires professional intervention.
-
Neglecting trench bedding. Proper trench bedding is as critical as the slope itself. Uniform, stable gravel bedding prevents pipe sagging after installation. A pipe that sags even slightly creates a low point where water pools, sediment collects, and the slope benefit disappears entirely.
-
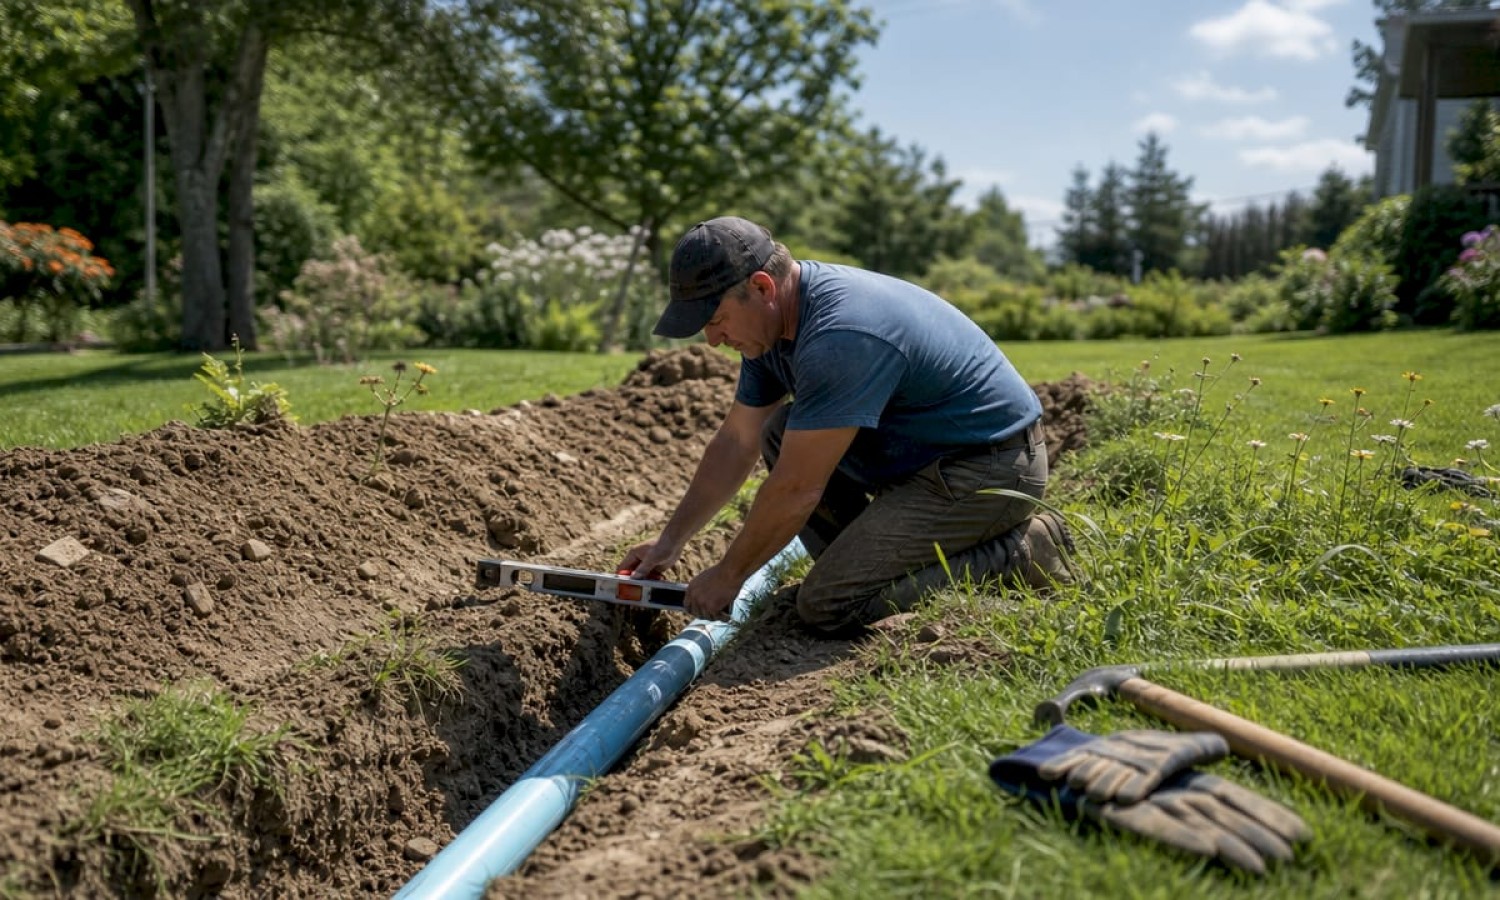
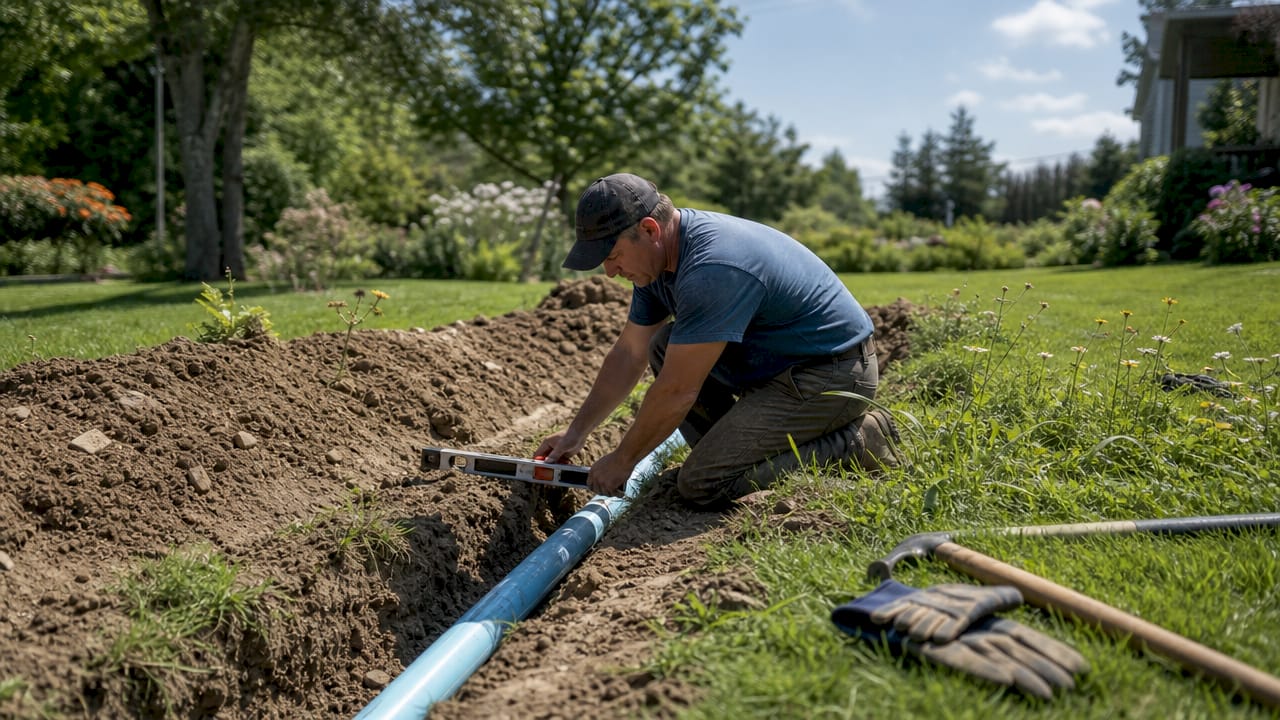
Estimating slope by eye. Visual checks are unreliable. The professional standard for verifying slope during installation is a 4-foot level with a 1/16-inch shim. This combination confirms a precise 1/4-inch per foot gradient. Guessing leads to inspection failures and drainage problems that only appear months after installation.
-
Ignoring uneven ground. Uneven terrain causes installers to compensate unevenly, creating sections that are too flat or too steep within the same run. When ground conditions are inconsistent, consult a licensed plumber before laying pipe.
-
Skipping post-installation verification. Slope can shift during backfilling if bedding is not compacted properly. A final slope check before covering the trench catches problems before they become expensive repairs.
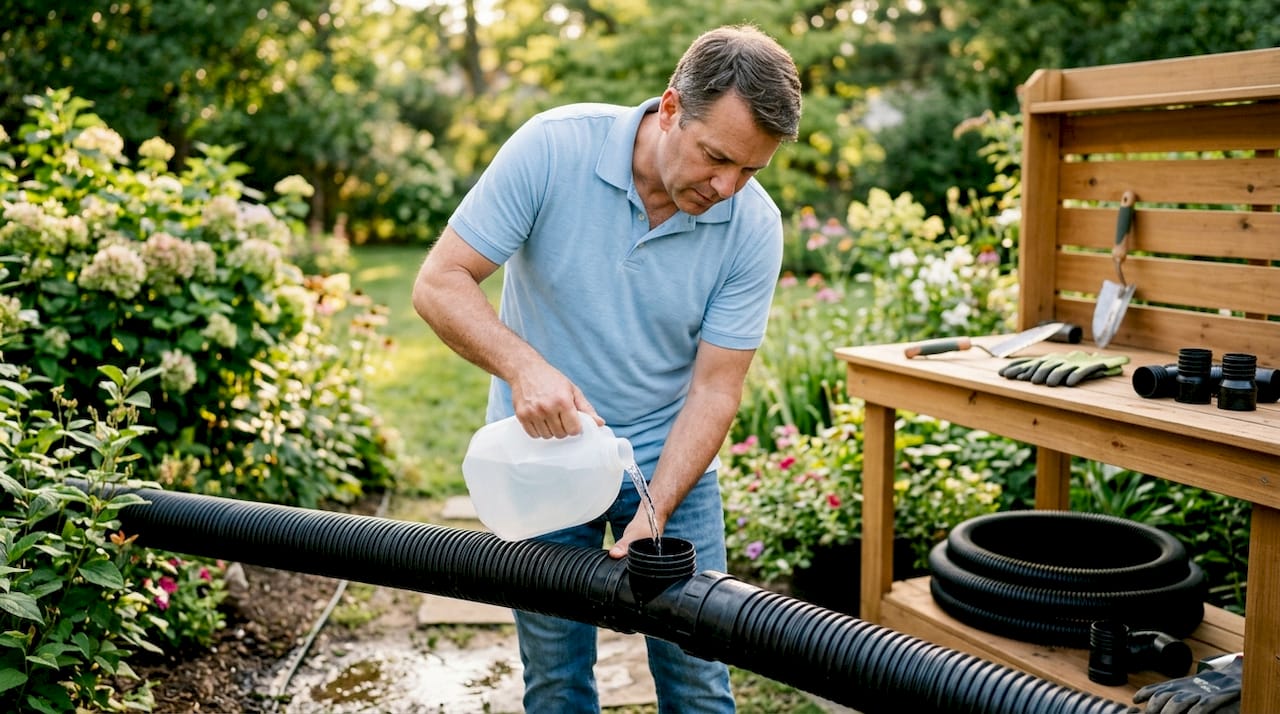
Pro Tip: Before backfilling any trench, run a slow trickle of water through the newly installed pipe and watch the outlet. Water should flow steadily without pooling or surging. Pooling signals a low spot; surging signals a section that is too steep.
Homeowners dealing with recurring clogs should review [drainage system troubleshooting steps](https://santehnikasveikals.lv/blog/drainage system troubleshooting steps for homeowners) to identify whether slope is the root cause before spending money on repeated drain cleaning.
How does effective drainage slope management prevent water damage?
Correct drainage slope design does more than keep pipes clear. It protects the entire property from water-related damage over the long term. The benefits extend from the pipe itself to the surrounding soil, foundation, and landscaping.
- Foundation protection: Standing water near a foundation causes soil expansion and contraction cycles that crack concrete and masonry. Properly sloped drainage channels water away from the structure before it can saturate the surrounding soil.
- Reduced soil erosion: Controlled water flow at the right velocity moves water without stripping topsoil. Uncontrolled runoff from flat or improperly graded surfaces erodes landscaping and destabilizes slopes.
- Lower maintenance costs: A system running at the correct gradient clears itself with every use. Pipes that self-cleanse require far less frequent professional cleaning than those with sediment buildup from inadequate slope.
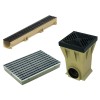
- Stormwater management: Surface drainage slopes direct rainwater toward collection points, preventing pooling on driveways, patios, and lawns. Internally sloped trench drain systems integrate slope directly into the channel design, delivering consistent hydraulic performance regardless of how the surrounding site is graded.
- System longevity: Pipes operating within the correct velocity range experience less mechanical stress. Erosion from excessive velocity and corrosion from standing water both shorten pipe lifespan significantly.
For property managers overseeing multiple units, periodic slope inspection should be part of the annual maintenance schedule. Slope can degrade over time as soil settles, tree roots intrude, or ground movement shifts pipe positions. Catching a slope problem early costs far less than repairing water damage to a foundation or replacing a collapsed drain line.
Key takeaways
Correct drainage slope is the single most effective way to prevent pipe blockages, protect foundations, and reduce long-term maintenance costs for any residential property.
| Point | Details |
|---|---|
| Follow IRC 2026 minimums | Use 2% slope for pipes up to 3 inches and 1% for larger pipes as the baseline. |
| Stay within the velocity range | Keep flow between 2 ft/s and 10 ft/s to prevent both sediment buildup and pipe erosion. |
| Avoid slopes above 4% | Excessive slope causes liquid-solid separation, creating blockages harder to clear than sediment. |
| Use precise measurement tools | A 4-foot level with a 1/16-inch shim is the standard method for verifying correct slope during installation. |
| Inspect slope periodically | Soil settlement and root intrusion can shift pipe positions over time, degrading slope performance. |
Why slope is the drainage detail most homeowners get wrong
I have seen a lot of drainage problems over the years, and the pattern is almost always the same. The homeowner or the installer focused on getting the pipe connected and the trench filled. The slope was an afterthought, checked by eye or not checked at all.
What surprises most people is that the damage from a slope that is too steep is often worse than one that is too flat. A flat pipe clogs slowly and gives you warning signs: slow drains, gurgling, occasional backups. A pipe that is too steep clogs silently. The liquid drains fine. The solids stay behind, harden, and build up until the pipe is nearly blocked. By the time you notice the problem, the fix is expensive.
The other thing I have learned is that trench bedding gets almost no attention in homeowner guides, yet it is the reason many correctly sloped pipes fail within a few years. The pipe settles into a sag, and the slope you carefully measured is gone. Gravel bedding compacted properly before and after laying the pipe is not optional. It is what keeps the slope intact for decades.
My honest advice: treat slope verification the same way you treat electrical work. Get the measurement right, document it, and do not backfill until you have confirmed it with a level and shim. The cost of doing it correctly the first time is trivial compared to the cost of excavating and relaying a pipe after the landscaping is finished and the patio is poured.
— Renate
Drainage solutions available at Santehnikasveikals
Getting drainage slope right starts with having the right components installed correctly from the beginning.
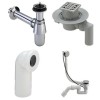
Santehnikasveikals carries a full range of plumbing and drainage equipment suited for residential and commercial installations, including pipe fittings, siphons, traps, and drainage accessories from trusted brands like VIEGA. Whether you are planning a new bathroom, replacing aging drain lines, or upgrading a surface drainage system, the product catalog covers the components you need to build a system that meets 2026 IRC standards. The platform delivers across Latvia and provides product specifications to help you match components to your slope and pipe size requirements.
FAQ
What is the minimum drainage slope for a residential pipe?
The IRC 2026 requires a minimum slope of 1/4 inch per foot (2%) for pipes 3 inches or smaller and 1/8 inch per foot (1%) for pipes larger than 3 inches.
Why does too much slope cause drainage problems?
Slopes above 4% cause liquid to move faster than solids. The solids dry and harden inside the pipe, creating blockages that are more difficult to clear than standard sediment buildup.
How do I measure drainage slope accurately?
Place a 4-foot level on the pipe and insert a 1/16-inch shim under the lower end. When the bubble centers, the pipe has a precise 1/4-inch per foot slope. Visual estimation is not reliable.
How often should drainage slope be inspected?
Inspect drainage slope as part of an annual property maintenance check. Soil settlement, tree root intrusion, and ground movement can shift pipe positions and reduce slope effectiveness over time.
What happens if drainage slope is too shallow?
Flow velocity drops below the self-cleansing threshold of approximately 2 ft/s. Sediment settles on pipe walls, accumulates progressively, and eventually causes a full blockage requiring professional clearing.
Atstājiet komentāru