













Step by Step Interior Plumbing Design for Homeowners
TL;DR:
- Proper plumbing system design involves strategic fixture placement, pipe sizing, and slope, to ensure efficient and code-compliant water supply and drainage. Clustering wet zones on a shared wall reduces costs and facilitates maintenance, while precise pipe sizing and slope prevent blockages and system failure. Thorough testing before walls close helps detect leaks early, avoiding costly repairs later.
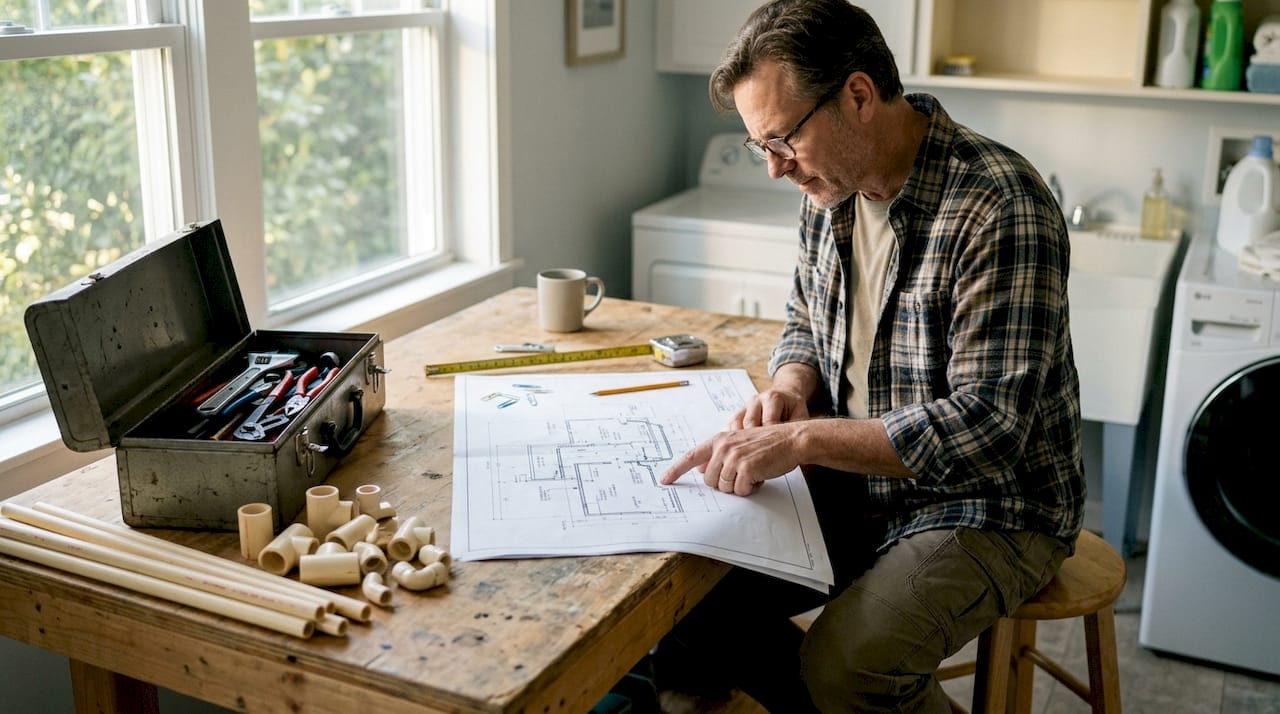
Step by step interior plumbing design is the process of planning and installing a code-compliant water supply, drainage, and ventilation system within a residential space. Professionals call this “plumbing systems design,” and it covers three interconnected networks: supply lines, drainage pipes, and vent stacks. Getting the sequence right matters more than most homeowners realize. A mistake in the planning phase, such as a misplaced drain or an undersized pipe, can require breaking concrete to fix later. This guide walks you through every phase, from tools and layout to pipe sizing, rough-in installation, and final testing, so you can approach your project with confidence.
What are the essential tools and materials for plumbing design?
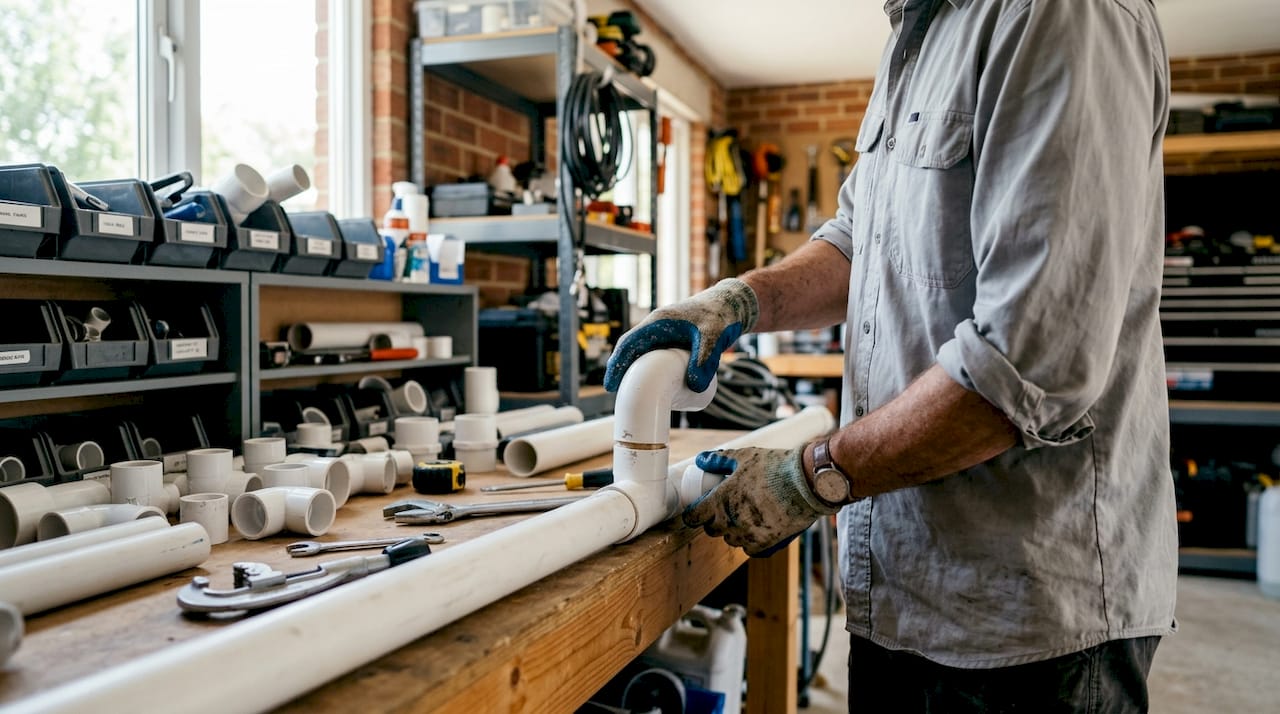
Every successful residential plumbing layout starts with the right equipment on hand before a single pipe is cut. The core hand tools include pipe cutters, adjustable wrenches, a spirit level, a pipe bender, and a pressure gauge. You also need Teflon tape, pipe joint compound, and a cordless drill for mounting brackets and drilling through joists.
Material selection depends on the pipe’s function. CPVC pipe handles hot water supply lines because it tolerates sustained heat without deforming. UPVC pipe works for cold water supply and all drainage runs because it resists corrosion and is easy to cement-join. PEX tubing is a flexible alternative for supply line routing through walls and ceilings, and it simplifies future repairs because sections can be replaced without cutting into large sections of drywall.
| Tool or Material | Purpose |
|---|---|
| Pipe cutter | Clean, square cuts on CPVC, UPVC, and copper pipe |
| Spirit level | Verifying drainage slope accuracy during installation |
| Pressure gauge | Confirming system integrity during hydrostatic testing |
| CPVC pipe and fittings | Hot water supply lines rated for sustained heat |
| UPVC pipe and fittings | Cold water supply and all gravity drainage runs |
| PEX tubing | Flexible supply routing through walls and floor joists |
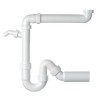
| 75mm deep-seal trap | Shower floor drain to block sewer gas entry |
Pro Tip: Buy 10–15% more pipe than your measurements require. Cutting errors and fitting adjustments are normal, and running short mid-project wastes a full workday.
How to plan your interior plumbing layout: fixture placement and zoning
The single most cost-effective decision in any plumbing design guide is clustering wet zones. Grouping bathrooms, kitchens, and laundry areas along a shared “wet wall” cuts material costs and simplifies every future repair. A wet wall is a framed wall wide enough to contain a 100mm soil stack plus supply lines. When all wet fixtures share one wall, your pipe runs stay short and your drainage stays direct.
Fixture clearances are not optional. Standard dimensions that every residential plumbing layout must respect include:
- WC: 300mm side clearance and 750mm front clearance for comfortable use and code compliance
- Kitchen sink: 600mm of counter space on each side for practical workflow
- Shower: minimum 900x900mm floor area to meet basic usability standards
- Hot and cold supply lines: at least 150mm apart to reduce thermal transfer between lines
The main soil stack belongs at the center of the wet wall, running vertically through all floors. Stacking bathrooms directly above each other on multi-story homes is the most efficient layout possible. It keeps the stack short, reduces the number of horizontal offsets, and makes future drain clearing straightforward.
Plumbing routing permanently constrains where wall tiles and vanities can go. Treat plumbing as a primary system and finalize pipe routes before you commit to any interior finish layout. Changing a drain location after tiles are set means breaking the floor.
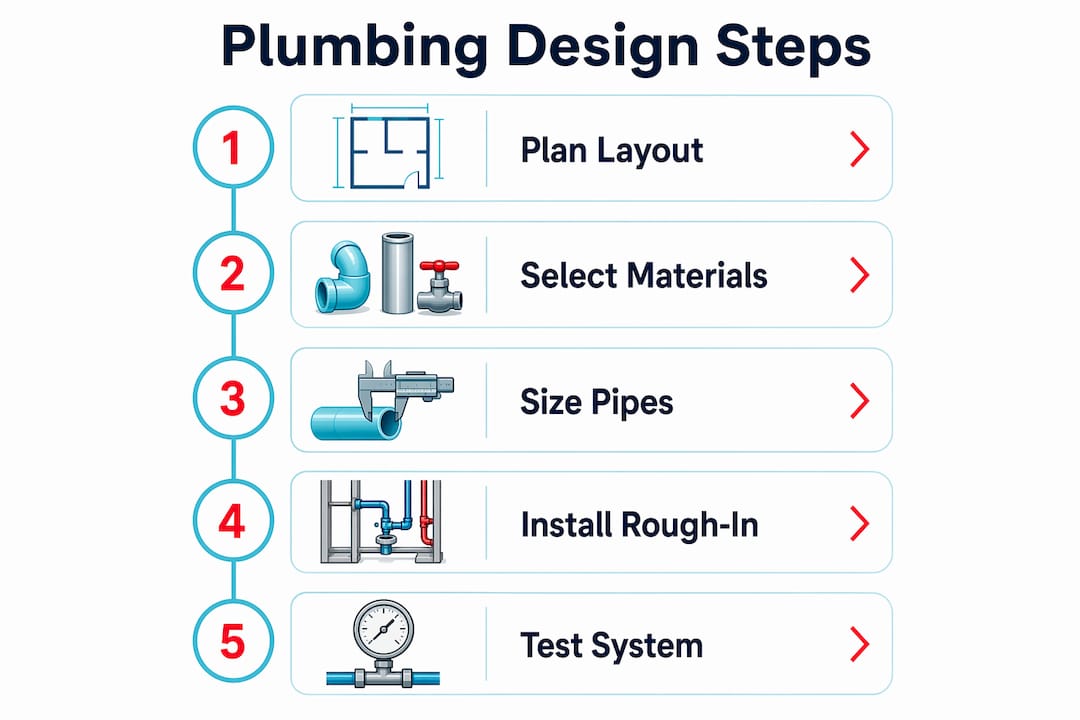
Pro Tip: Draw your layout on graph paper at a scale of 1:50. Mark every fixture, every pipe run, and every shut-off valve location before you buy a single fitting. This drawing becomes your installation reference and your maintenance map.
Common layout mistakes to avoid:
- Routing drain pipes with insufficient slope, which causes chronic blockages
- Placing shut-off valves behind fixed cabinetry with no access panel
- Running hot and cold supply lines in contact with each other
- Ignoring vertical stack alignment when planning upper-floor bathrooms
How to size pipes and design drainage slopes and venting
Pipe sizing and drainage slope are the two technical decisions that determine whether your system works quietly for decades or fails within months. Get these wrong and no amount of quality fixtures will save you.
For drainage, the minimum horizontal slope is 1:80 for self-cleansing velocity. That means the pipe drops 1mm for every 80mm of horizontal run. A slope shallower than 1:80 allows solids to settle and build up. A slope steeper than 1:40 causes water to race ahead of solids, leaving them stranded. Minor deviations from the 1:40 to 1:80 range cause persistent blockages and odors that require expensive concrete-breaking to correct. Floor drains require a minimum slope of 1:100 toward the drain to prevent water pooling and protect waterproofing membranes.
Supply pipe sizing follows a hydraulic rule: maintain flow velocity between 0.5 m/s and 2.0 m/s. Velocity below 0.5 m/s allows sediment to settle inside pipes. Velocity above 2.0 m/s creates noise and accelerates wear at fittings. Residential water demand planning typically uses 135–150 liters per person per day as the baseline for sizing storage and supply capacity.
| Pipe type | Recommended diameter | Minimum slope | Primary function |
|---|---|---|---|
| WC soil pipe | 100mm | 1:80 | Carries fecal waste to main stack |
| Waste branch (sink, bath) | 50mm | 1:80 | Carries gray water to stack |
| Shower floor trap | 75mm deep-seal | N/A | Blocks sewer gas, drains shower |
| Floor drain | Per local code | 1:100 | Utility area drainage |
| Hot/cold supply | Sized to flow velocity | N/A | 0.5–2.0 m/s target range |
Venting is the part of plumbing design that most DIY homeowners underestimate. Plumbing systems require supply, drainage, and ventilation networks working together. Vent pipes connect the drainage system to outside air, which prevents negative pressure from siphoning trap seals. A siphoned trap seal lets sewer gas enter the home. Every fixture trap needs a vent connection, either directly or through an air admittance valve where local codes permit. Read more about building drainage and venting to understand how these systems connect.
Pro Tip: Use the “sunken-slab” technique in bathrooms to embed traps and drain pipes within the slab depth. This keeps bathroom floors flush with surrounding rooms and eliminates the need for raised platforms, which saves ceiling height on the floor below.
What are the steps for rough-in installation and trade coordination?
Rough-in is the phase where pipes go into walls, floors, and ceilings before any finishing work begins. Starting plumbing design at the same time as structural design prevents the most expensive mistakes. Embedding drainage pipes in structural slabs demands early planning because corrections after the slab is poured require core drilling, which is both costly and structurally disruptive.
Follow this sequence for rough-in installation:
- Confirm your layout drawing against the structural plans. Check that no pipe route conflicts with beams, columns, or load-bearing walls.
- Hold a pre-installation meeting with your interior designer and general contractor. Agree on fixture positions, access panel locations, and pipe chase dimensions.
- Create rough-in template cards for each fixture. Template cards showing exact pipe heights and drain positions before tiling begins reduce costly corrections after tiles are set.
- Install the main soil stack first, then work outward to branch drains. Gravity drainage must follow a continuous downward path, so install from the lowest point upward.
- Run supply lines through walls or ceiling cavities after drainage is confirmed. PEX tubing routed through ceilings allows easier future repairs than rigid pipe buried in walls.
- Install isolation valves at every fixture branch and verify that each valve is accessible through a dedicated access panel. Isolation valves behind access panels prevent costly tile removal for routine maintenance.
- Mark all pipe locations on the subfloor and wall framing with permanent marker before insulation or drywall goes up.
Pro Tip: Photograph every pipe run before closing walls. A timestamped photo set is the fastest reference when you need to locate a pipe for repairs years later.
How to test and commission your plumbing system before finishing
Testing before closing walls is the single most important quality step in the entire process. A leak discovered after tiling costs ten times more to fix than one found during rough-in. BIM coordination and pressure testing before wall closing prevent the majority of installation failures.
The standard hydrostatic pressure test for water supply lines runs at 6 bar for 30 minutes with zero pressure drop permitted. Any drop indicates a leak that must be located and repaired before proceeding. This test applies to all supply lines, including hot water, cold water, and any recirculation loops.
Key inspection steps before closing walls:
- Verify all drainage slopes with a digital level. Check every horizontal run against the 1:80 minimum.
- Fill each trap with water and confirm it holds. A trap that drains slowly or empties on its own has a venting problem.
- Flush supply lines fully before connecting fixtures to clear pipe debris and joint compound residue.
- Test each drain branch by running water for two minutes and checking for leaks at every joint.
- Commission water heaters and booster pumps according to manufacturer specifications before connecting to the distribution network.
- Request a water quality test from an accredited laboratory if your supply source is a private well or if local water quality is uncertain.
Common causes of test failure include undertightened compression fittings, missed cement joints on UPVC, and supply lines not fully pressurized before the test window starts.
Key Takeaways
Effective interior plumbing design requires clustering wet zones, sizing pipes to correct flow velocities, maintaining drainage slopes between 1:80 and 1:100, and pressure-testing all supply lines at 6 bar before closing walls.
| Point | Details |
|---|---|
| Cluster wet zones | Group bathrooms, kitchens, and laundry on a shared wet wall to cut costs and simplify maintenance. |
| Respect fixture clearances | WC needs 300mm side and 750mm front clearance; showers require a minimum 900x900mm floor area. |
| Maintain drainage slope | Horizontal drain pipes must slope at least 1:80; floor drains need 1:100 to prevent pooling. |
| Vent every fixture trap | Vent pipes prevent siphoning of trap seals and block sewer gas from entering the home. |
| Pressure-test before finishing | Run supply lines at 6 bar for 30 minutes with zero pressure drop before closing any wall. |
What I have learned from designing plumbing before the walls go up
After working through residential plumbing projects of varying complexity, the pattern I keep seeing is the same: homeowners treat plumbing as a detail to sort out after the floor plan is finalized. That is the wrong order, and it costs real money.
The wet wall concept is not just a cost-saving trick. It is a maintenance philosophy. Every time you add a fixture that sits far from the main stack, you create a long horizontal drain run that is harder to slope correctly and harder to clear when it blocks. I have seen beautifully tiled bathrooms with drains that barely meet the 1:80 minimum because the designer placed the shower too far from the stack. The slope works on paper but fails in practice because the pipe had to navigate around a beam.
The access panel rule is another one people skip until they regret it. Shut-off valves buried behind fixed cabinetry with no panel are a guarantee of expensive tile removal the first time a valve needs servicing. Plan the panel location before the cabinet goes in, not after.
My honest advice: treat your plumbing drawing as the primary constraint on your interior design, not the other way around. Pipe routes are permanent. Tile colors are not. If you get the plumbing infrastructure right in the planning phase, every other trade works around a solid foundation. If you get it wrong, every other trade pays the price.
— Renate
Plumbing supplies and fixtures for your project at Santehnikasveikals
Santehnikasveikals carries the full range of materials and fixtures you need to execute a residential plumbing project from rough-in to final fit-out. The catalog includes UPVC and CPVC pipe systems, traps, siphons, isolation valves, shower enclosures, WC suites, sinks, and faucets, all available for delivery across Latvia.
Whether you are sourcing a deep-seal shower trap for a new bathroom or selecting fixtures for a full home build, the Santehnikasveikals product catalog gives you clear specifications and pricing to match your design requirements. Visit the main store to browse by category, compare specifications, and add items directly to your project order.
FAQ
What is the minimum drainage slope for interior plumbing?
Horizontal drain pipes require a minimum slope of 1:80 to maintain self-cleansing velocity. Floor drains need a steeper minimum of 1:100 toward the drain to prevent water pooling.
What pipe diameter does a WC soil pipe require?
A WC soil pipe requires a minimum diameter of 100mm. Waste branches serving sinks and baths use 50mm pipe, and shower floor traps use a 75mm deep-seal trap to block sewer gas.
How do I pressure-test my water supply lines?
Pressurize supply lines to 6 bar and hold for 30 minutes. Zero pressure drop indicates a leak-free system. Conduct this test before closing any walls or applying plaster.
Why is venting required for every fixture trap?
Vent pipes maintain atmospheric pressure in the drainage system, which prevents negative pressure from siphoning trap seals. A siphoned trap allows sewer gas to enter the home through the fixture drain.
What is a wet wall and why does it matter?
A wet wall is a shared framed wall that contains the main soil stack and supply lines for multiple fixtures. Clustering fixtures on a wet wall reduces pipe run lengths, lowers material costs, and simplifies future maintenance access.
Recommended
- Water Pipe Installation Guide for DIY Homeowners | Santehnikasveikals.lv
- Must-Have Plumbing Tools for DIY Homeowners in 2026 | Santehnikasveikals.lv
- What Is Plumbing Infrastructure: A Complete Guide | Santehnikasveikals.lv
- Cost-Saving Plumbing Ideas That Actually Work in 2026 | Santehnikasveikals.lv
Atstājiet komentāru