





Drainage System Troubleshooting Steps for Homeowners
TL;DR:
- Drainage system troubleshooting involves systematic diagnosis and repair of clogs, leaks, and failures in residential plumbing. Using proper tools like plungers, augers, and flashlights helps identify whether problems are local or systemic, guiding appropriate solutions and when to call professionals. Regular maintenance and correct diagnosis can prevent costly repairs and ensure optimal drainage performance.
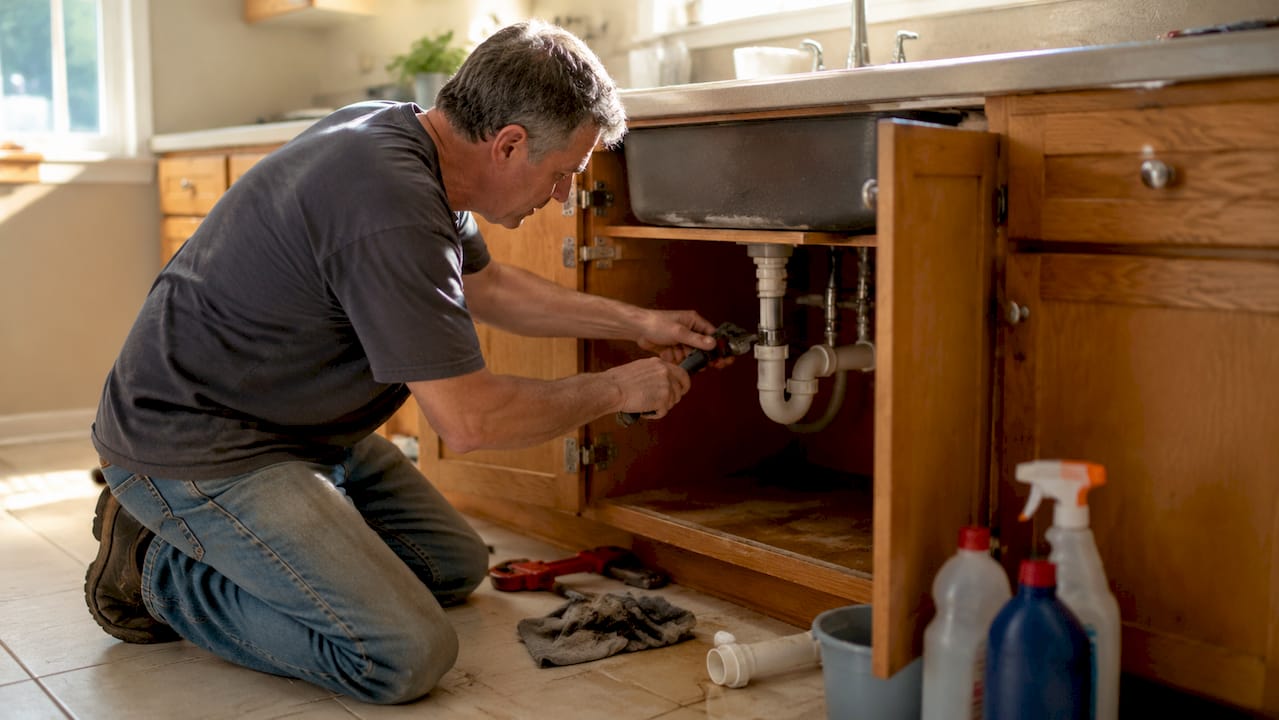
Drainage system troubleshooting steps are systematic methods for identifying and fixing clogs, leaks, and systemic failures in residential plumbing. The industry term for this process is plumbing diagnostics, and it covers everything from a single slow sink to a backed-up main sewer line. With the right tools, a cup plunger, a hand-cranked auger, and a flashlight, you can resolve most common drainage problems yourself. This guide walks you through every stage: diagnosing the problem, clearing the blockage, maintaining the system, and knowing when to call a pro.
What tools do you need before troubleshooting drainage problems?
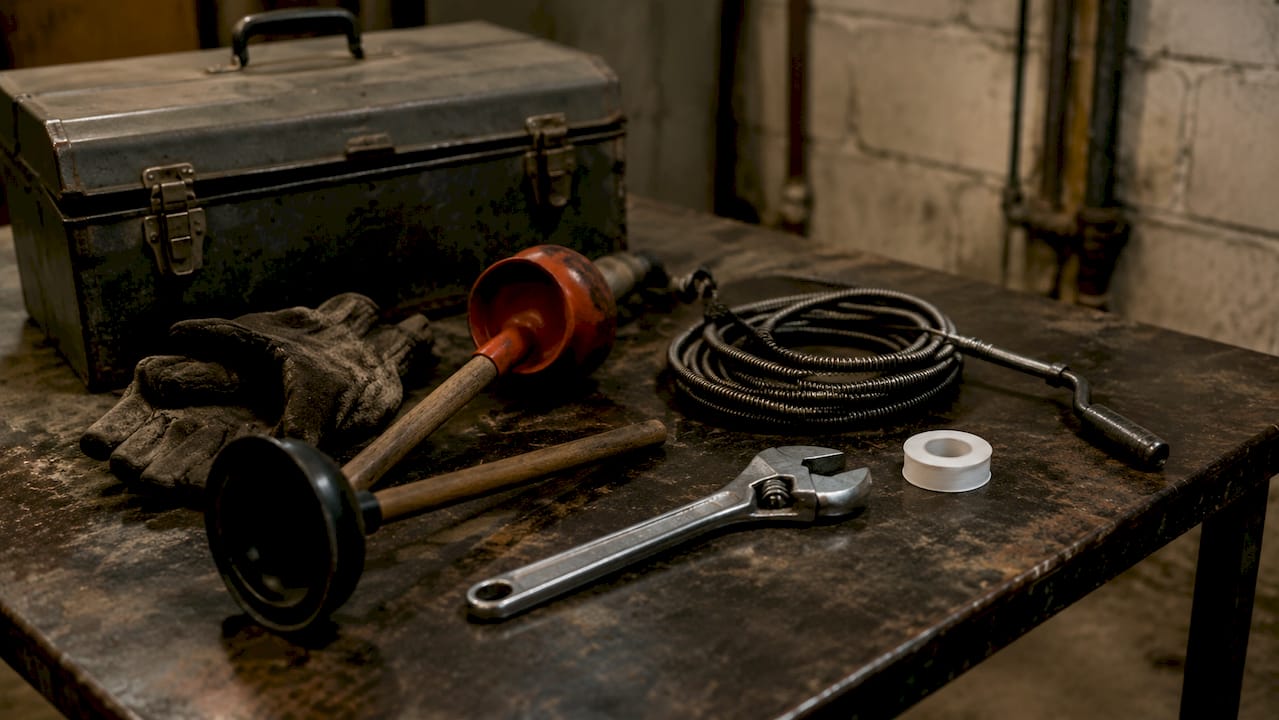
Good diagnostics start before you touch a single pipe. Gathering the right tools first saves you multiple trips to the hardware store and keeps the job safe.
| Tool | Purpose |
|---|---|
| Cup plunger | Clears sink and tub drains with suction |
| Flange plunger | Seals toilet openings for effective plunging |
| Hand-cranked drain auger (15–25 ft) | Reaches clogs past the trap in branch lines |
| Bucket and towels | Catches water when removing traps |
| Flashlight or headlamp | Illuminates drain openings and under-sink areas |
| Adjustable wrench | Loosens trap slip nuts without damaging fittings |
| Teflon tape | Seals threaded connections after reassembly |
| Rubber gloves | Protects hands from waste water and bacteria |
Beyond tools, set realistic time expectations. Simple clogs take 15–30 minutes. Trap removal and cleaning runs 30–45 minutes. If you are still troubleshooting after an hour with no progress, the problem is likely deeper than a standard DIY fix.
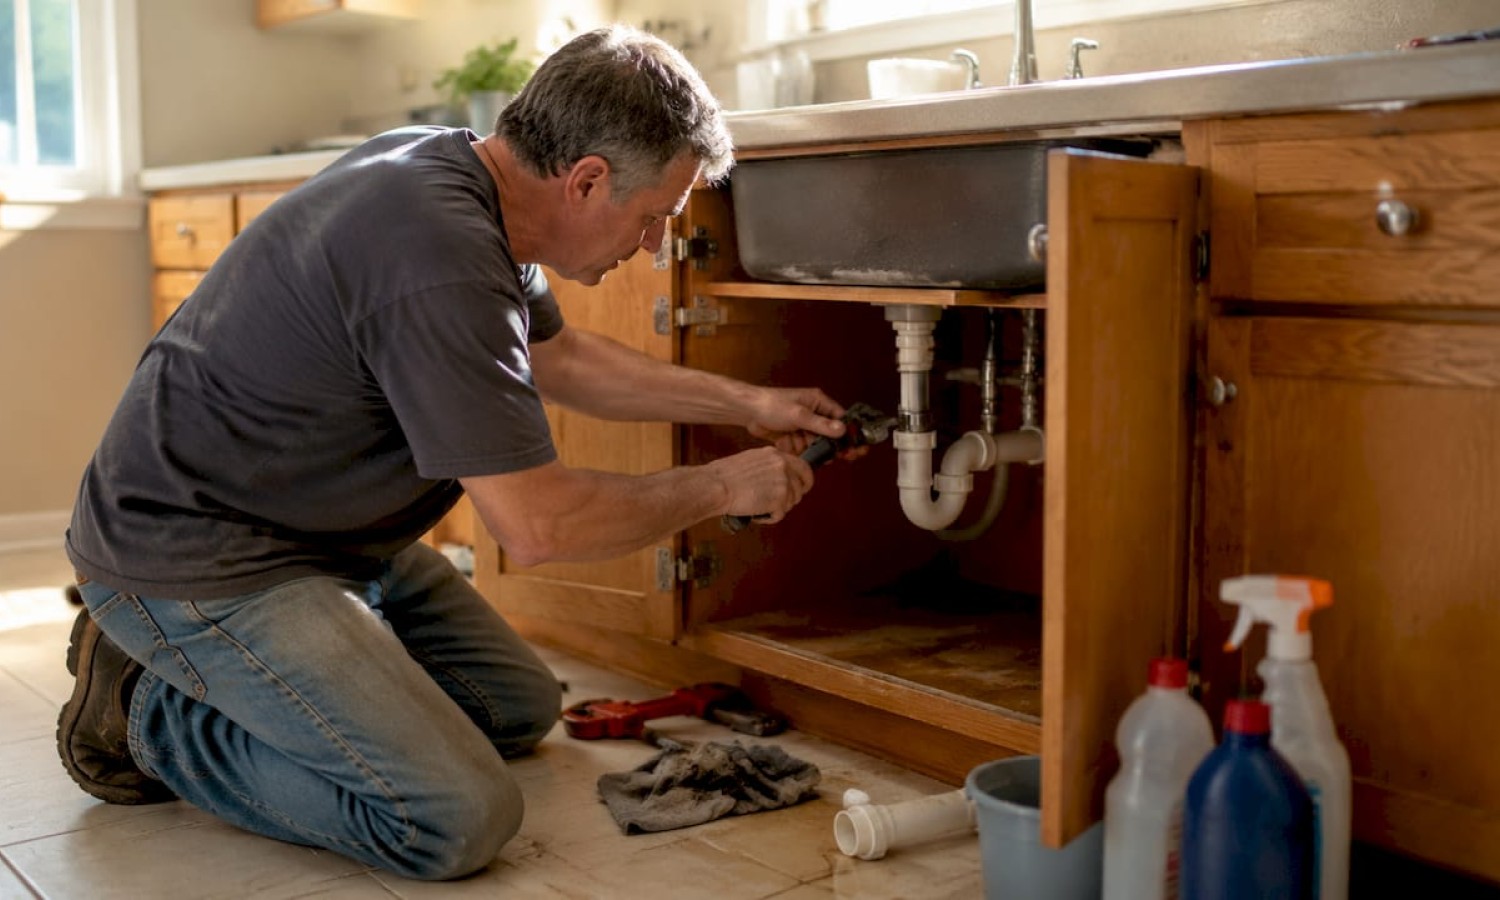
Pro Tip: Before you start, lay down old towels around the work area and place a bucket directly under the trap. Water will spill the moment you loosen the slip nut, and containing it early prevents floor damage.
How to identify whether a clog is local or a main sewer line problem
Slow drains are symptoms, not diagnoses. That distinction matters because a local fixture clog and a main sewer line blockage require completely different responses. Treating a main line issue as a simple clog wastes time and can make things worse.
Follow this diagnostic sequence:
-
Test one fixture first. Run water in the affected sink, tub, or shower for 60 seconds. If only that fixture drains slowly, the clog is almost certainly local, sitting in the trap or the branch line serving that fixture.
-
Test a second fixture on the same floor. If two or more fixtures drain slowly at the same time, the blockage is likely in a shared branch line or the main sewer line itself.
-
Check your low points. Go to the lowest point in your home, typically a basement floor drain or a ground-floor toilet. Over 80% of main sewer line backups show up first at these low points. Water or sewage backing up there is a strong signal of a systemic problem.
-
Run the stress test. Flush a toilet while running a sink and a washing machine simultaneously. Stress testing multiple fixtures at once mimics peak household usage. Gurgling sounds or rising water in an unrelated fixture, like a tub bubbling when you flush the toilet, confirms a main line blockage.
-
Log your symptoms. Spend 5–30 minutes mapping symptoms before you attempt any repair. Write down which fixtures are affected, any sewage odors, unusual sounds, and when the problem started. This record guides your repair and is invaluable if you need to call a plumber.
Warning: If you detect sewage odors, see water backing up in multiple fixtures at once, or notice standing water in your basement floor drain, stop all DIY attempts immediately. These are signs of a main sewer line failure that requires professional camera inspection and repair.
Pro Tip: Check outdoor inspection chambers and yard drains before assuming the problem is inside. Roots, soil settlement, and debris frequently block exterior drainage points first.
Step-by-step methods for clearing local clogs and minor blockages
Once you confirm the problem is local, work through these steps in order. Start with the least invasive method and escalate only if needed.
-
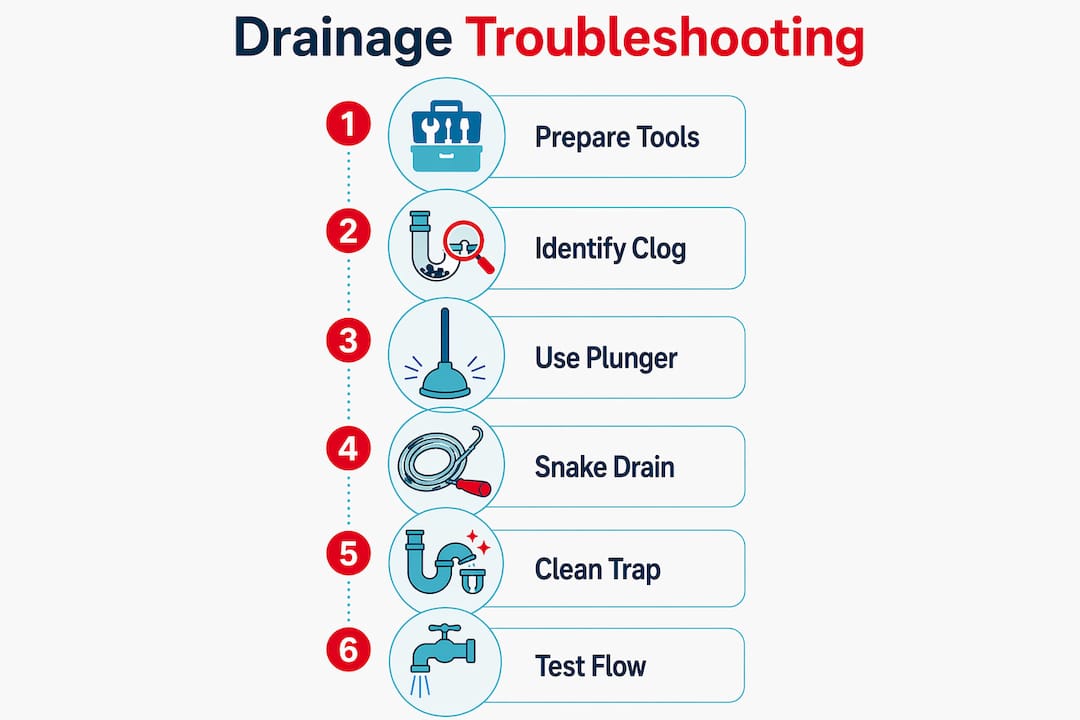
Plunge with a proper seal. For sinks and tubs, use a cup plunger. Cover the overflow opening with a wet rag to create back pressure. Place the plunger cup directly over the drain, press down to expel air, then pump firmly 10–15 times. For toilets, switch to a flange plunger, which fits the toilet bowl opening correctly.
-
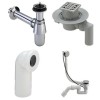
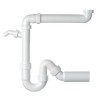
Remove and clean the trap. If plunging fails, place your bucket under the P-trap (the curved pipe under the sink). Unscrew the slip nuts by hand or with an adjustable wrench. Pull the trap free and clean out any hair, grease, or debris. A replacement P-trap fitting from VIEGA costs very little and is worth swapping out if the old one shows cracks or buildup you cannot fully clear.
-
Use a hand-cranked drain auger. If the trap is clear but the drain still runs slow, the clog is in the branch line. A 15–25 foot hand-cranked auger reaches obstructions that a plunger cannot touch. Feed the cable into the drain opening, turn the handle clockwise as you push forward, and feel for resistance. When you hit the clog, rotate and push to break it up or hook it for removal.
-
Flush with hot water. After clearing the clog, pour a full kettle of hot (not boiling) water slowly down the drain. This dissolves residual grease and flushes debris through the line. Repeat twice for good measure.
-
Skip chemical drain cleaners. Chemical drain cleaners corrode pipes, mask underlying symptoms, and create hazardous conditions if you need to open the drain manually afterward. Mechanical methods are safer and more effective for long-term pipe health.
Pro Tip: If a drain clears after snaking but slows again within a few days, that pattern often signals a physical defect in the pipe, not just a recurring clog. At that point, mechanical snaking is a temporary fix. A camera inspection is the next logical step.
How to maintain your drainage system and prevent recurring problems
Fixing a clog is satisfying. Preventing the next one is smarter. A consistent maintenance routine keeps your drainage system running without emergency repairs.
- Clean traps every 3–6 months. Hair and soap scum accumulate in P-traps faster than most homeowners expect. A quick removal and rinse takes under 10 minutes and prevents most sink and tub slowdowns.
- Inspect gutters and downspouts twice a year. Clogged gutters overflow and saturate the soil around your foundation, which stresses underground drainage pipes. Clear them in late fall after leaves drop and again in early spring.
- Keep yard drains and perforated pipes clear. Leaves, mulch, and soil migrate into yard drains and French drain pipes. Check them after heavy rain and remove debris by hand or with a garden hose.
- Never pour grease down a drain. Grease solidifies inside pipes at room temperature and builds up over months. Collect cooking grease in a jar and dispose of it in the trash.
- Keep inspection openings accessible. Covering drainage access points with permanent slabs causes silt buildup, flooding, and system failure. Your cleanout caps and inspection chambers must stay reachable for desilting and maintenance.
- Avoid flushing solids. Wipes labeled “flushable,” cotton balls, and paper towels do not break down in sewer lines. They are a leading cause of branch line blockages.
Pro Tip: Set a calendar reminder for seasonal drain maintenance. Spending 30 minutes twice a year on inspection and cleaning prevents the kind of blockage that costs hundreds of dollars to clear professionally.
When should you call a professional plumber?
Some drainage system issues fall outside what a plunger and auger can fix. Recognizing those situations early saves you from making a manageable problem worse.
Call a licensed plumber immediately if you observe any of the following:
- Sewage odor inside the home. This indicates a broken seal, a cracked pipe, or a venting failure. It is also a health hazard.
- Multiple fixtures backing up at the same time. This is the clearest sign of a main sewer line blockage or collapse.
- Visible water stains, wet walls, or ceiling damage. These point to a leak inside the wall or above a ceiling, which requires pipe access.
- A drain that clears and re-clogs within days. As noted above, this pattern suggests a structural defect that mechanical clearing will not resolve.
- No improvement after completing all DIY steps. If you have plunged, cleaned the trap, and snaked the line with no result, the problem is beyond the branch line.
When you do call a plumber, bring your symptom log. Documenting onset, weather conditions, and affected fixtures reduces the plumber’s diagnostic time and can lower your bill. Note the date the problem started, which fixtures are affected, any sounds or odors, and what DIY steps you already tried.
What to expect: A professional will typically start with a visual inspection of accessible cleanouts and outdoor chambers before deploying a drain camera. Experienced plumbers prioritize simple physical inspections first to confirm cause and location before using specialized equipment. Camera inspection confirms the exact location and nature of the fault, whether it is a root intrusion, a collapsed section, or a grease buildup beyond the reach of standard tools.
Key takeaways
Effective drainage troubleshooting requires mapping symptoms first, then applying mechanical methods in sequence, and escalating to a professional only when clear warning signs appear.
| Point | Details |
|---|---|
| Diagnose before you act | Spend 5–30 minutes logging symptoms and testing fixtures to identify whether the problem is local or systemic. |
| Use the stress test | Run multiple fixtures simultaneously and watch for gurgling in unrelated drains to confirm main line blockages. |
| Work mechanically, not chemically | Use a plunger, then clean the trap, then a hand auger. Skip chemical cleaners to protect pipes. |
| Keep access points open | Never permanently cover cleanouts or inspection chambers. Blocked access leads to recurring failures. |
| Document everything for the plumber | A clear symptom log reduces diagnostic time and lowers professional service costs. |
What I have learned from years of watching homeowners troubleshoot drains
Most drainage problems I have seen go wrong at the diagnosis stage, not the repair stage. Homeowners reach for a plunger or a bottle of drain cleaner before they have spent even five minutes figuring out which fixture is actually the source. That shortcut costs time and sometimes damages pipes.
The stress test is the single most underused diagnostic tool available to a homeowner. Running your washing machine, a sink, and a toilet simultaneously while watching a basement floor drain takes three minutes. It tells you more about your main line than an hour of guessing. I have seen people snake a bathroom sink four times over two weeks when a two-minute stress test would have revealed the main line was the real culprit from day one.
The other mistake I see constantly is treating a recurring clog as a persistence problem rather than a structural one. If a drain clears and slows again within a week, more snaking is not the answer. That pattern almost always means a pipe defect, a partial collapse, or root intrusion. Continuing to snake it delays the real fix and can scratch the pipe interior, creating new buildup points.
My honest advice: be methodical, be patient, and keep your cleanouts accessible. A drainage system you can inspect is a system you can maintain. One you cannot reach is a system waiting to fail at the worst possible moment.
— Renate
Get the right tools for your next drainage repair at Santehnikasveikals
Tackling drainage repairs yourself is straightforward when you have quality components on hand. Santehnikasveikals carries a full range of plumbing supplies suited for DIY homeowners and professional contractors alike, from replacement traps and siphons to hand tools and pipe fittings.
Whether you need a VIEGA P-trap fitting for a sink repair or a complete plumbing supplies selection for a larger project, Santehnikasveikals delivers across Latvia with a catalog built for both quick fixes and full renovations. Browse the full range online and order the exact parts your system needs before you start the job, not halfway through it.
FAQ
What are the first drainage system troubleshooting steps to take?
Start by testing individual fixtures to determine whether the problem is local or systemic. Spend 5–30 minutes logging symptoms, including which drains are affected, any odors, and unusual sounds, before attempting any repair.
How do I know if my main sewer line is blocked?
Check your lowest drain point, such as a basement floor drain. Over 80% of main sewer line backups appear first at these low points. Gurgling in unrelated fixtures during the stress test also confirms a main line blockage.
Why should I avoid chemical drain cleaners?
Chemical drain cleaners corrode pipe interiors over time and mask the root cause of the blockage. Mechanical tools like plungers and hand augers clear clogs more safely and do not leave hazardous residue if you need to open the drain manually.
How often should I clean my P-traps?
Clean P-traps every 3–6 months as part of routine drainage maintenance. Regular cleaning prevents the gradual buildup of hair, soap scum, and grease that causes most slow-drain complaints.
When is a drainage problem beyond DIY repair?
Call a licensed plumber when you detect sewage odors, see multiple fixtures backing up simultaneously, or notice a drain that clears and re-clogs within days. A fixture that improves briefly then slows again typically indicates a physical pipe defect that mechanical snaking cannot fix.
Atstājiet komentāru