








Step by Step Plumbing: A Practical DIY Guide
TL;DR:
- Proper plumbing projects are manageable for homeowners with preparation, the right tools, and patience.
- Most repairs take under an hour and require only basic tasks like shutting off water and using common tools.
Step by step plumbing is the process of breaking home plumbing repairs and installations into clear, manageable stages that any prepared homeowner can complete safely. The industry term for this approach is “systematic plumbing practice,” and it covers everything from unclogging a toilet to installing a new supply line. Preparation, correct tools, and safety matter more than raw technical skill. This guide walks you through each phase, from assembling your toolkit to testing your finished work, so you can handle common repairs with confidence and know exactly when to call a licensed plumber.
What tools do you need for step by step plumbing?
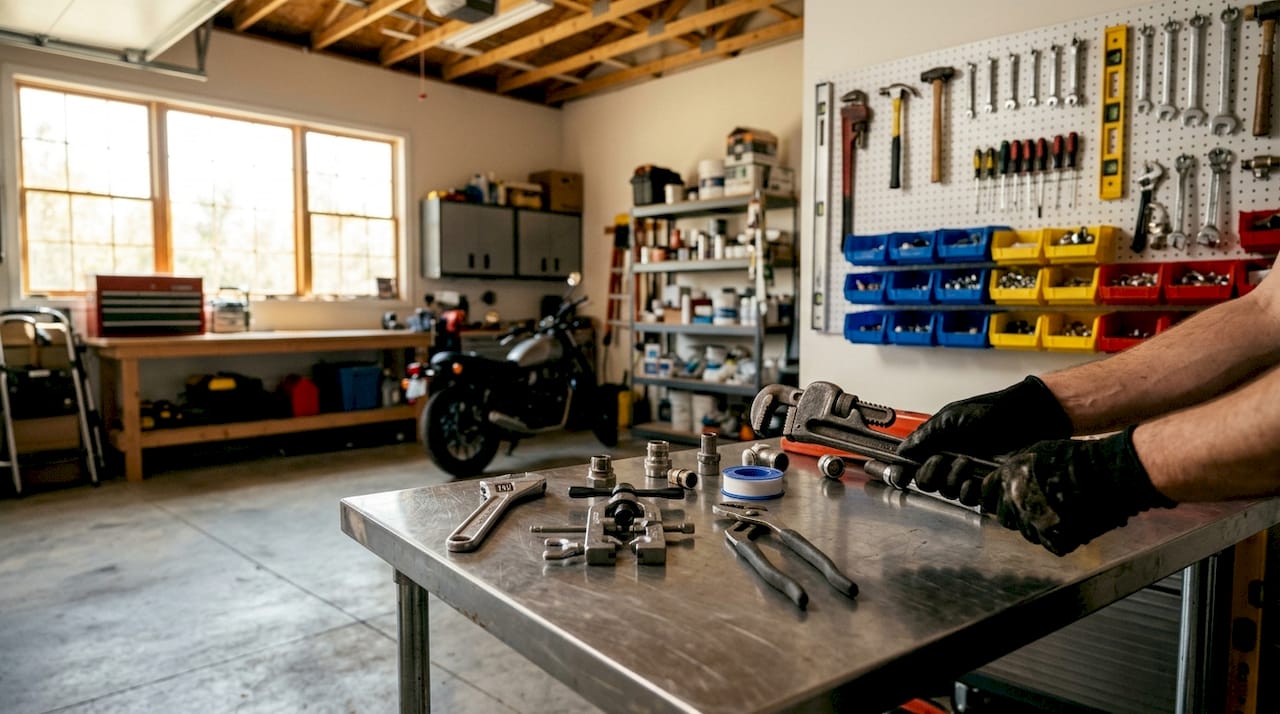
The right toolkit is the foundation of every successful DIY plumbing project. Most beginner tasks cost under $150 in tools, which means you can build a solid starter kit without a large upfront investment. That budget covers every tool you need for the most common household repairs.
Here is a practical starter kit with approximate price ranges:
| Tool | Purpose | Approx. Cost |
|---|---|---|
| Adjustable wrench | Tightens and loosens supply line nuts | $10–$20 |
| Flange plunger | Clears toilet clogs effectively | $10–$20 |
| Pipe wrench | Grips and turns threaded pipes | $15–$30 |
| Plumber’s tape (PTFE) | Seals threaded connections to prevent leaks | $3–$5 |
| Basin wrench | Reaches faucet mounting nuts in tight spaces | $15–$25 |
| Utility knife | Cuts pipe insulation and caulk | $5–$10 |
| Bucket and towels | Catches residual water during repairs | $5–$10 |
Avoid buying specialty tools for tasks you have not yet encountered. A basin wrench, for example, is useless for most jobs but indispensable when replacing a faucet under a deep sink. Buy it when you need it, not before. For a deeper breakdown of what belongs in your kit, the must-have plumbing tools guide from Santehnikasveikals covers 2026 recommendations in detail.
Pro Tip: Buy quality for the tools you will use on every job, such as your adjustable wrench and plunger. Buy cheap for single-use items like PTFE tape. This split approach keeps your total cost low without sacrificing reliability where it counts.
How do you complete common beginner plumbing repairs?
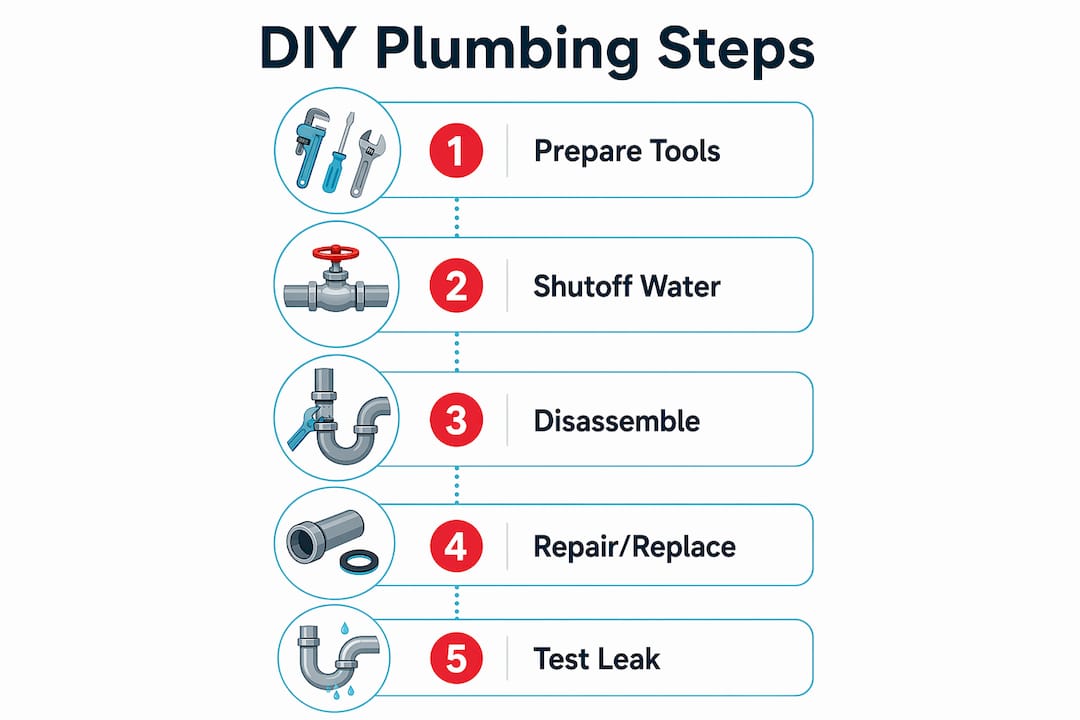
Beginner plumbing tasks typically take 15–45 minutes to complete. That short window is only realistic if you prepare before you touch a single fitting. Rushing the preparation phase is the primary reason beginners fail, not lack of skill.
Confirming a repair is beginner-friendly
Before starting, ask three questions. First, does the repair involve only fixtures and supply lines, not in-wall pipes? Second, can you access a shutoff valve within arm’s reach of the problem? Third, does the fix require no cutting of existing pipe? If you answer yes to all three, the job is within beginner range.
Fixing a clogged toilet
- Place a flange plunger over the drain opening, ensuring a full seal around the flange.
- Push down slowly to expel air, then pull up sharply to create suction.
- Repeat 5–10 times with firm, controlled strokes.
- A flange plunger clears most clogs in under one minute with correct technique.
- Flush once to confirm the drain is clear. If water rises, stop and repeat the plunging cycle.
Replacing a toilet flapper
Flapper replacement costs $5–$10 and takes under 10 minutes. It is the most common toilet repair a homeowner will face.
- Turn off the shutoff valve behind the toilet base.
- Flush to empty the tank.
- Unhook the old flapper from the overflow tube pegs and disconnect the chain from the flush handle arm.
- Snap the new flapper onto the pegs and reconnect the chain, leaving about half an inch of slack.
- Turn the water back on slowly and test the flush.
Safety rules for every repair
- Always shut off the water supply before loosening any fitting.
- Keep a bucket under the work area to catch residual water in the lines.
- Never force a fitting that resists turning. Resistance usually means cross-threading or corrosion.
- Dry the work area before inspecting connections for leaks.
Pro Tip: Label your shutoff valves with masking tape before you start any project. Knowing exactly which valve controls which fixture saves critical minutes if water starts flowing unexpectedly.
How do you plan and execute a plumbing installation?
A plumbing installation, such as adding a new sink or replacing supply lines, requires more planning than a simple repair. The water pipe installation guide from Santehnikasveikals outlines the full preparation process for DIY homeowners. The key difference between a repair and an installation is that installations must comply with local plumbing codes.
Planning your pipe layout
Start by sketching the fixture placement and the path of your supply and drain lines. Identify whether your home uses copper, PEX, or CPVC pipe, since each material requires different fittings and connection methods. Check your local plumbing code requirements before purchasing materials, because pipe diameter and venting rules vary by jurisdiction.
Executing the rough-in phase
- Mark the wall or floor locations for supply line stubs and drain connections.
- Cut and dry-fit all pipe sections before applying any adhesive or sealant.
- Secure pipes with appropriate hangers or straps at the intervals your local code specifies.
- Connect supply lines to shutoff valves using compression fittings or push-fit connectors, depending on your pipe material.
- Assemble the drain and P-trap according to the fixture manufacturer’s specifications.
Pressure testing before closing walls
Pressure testing new supply lines at 80 PSI for at least two hours is mandatory before closing any wall cavity. A pressure drop during that window reveals a leak you cannot see. This step is non-negotiable. Skipping it means discovering the leak months later, behind drywall, after significant water damage has already occurred.
| Installation phase | Key action | Standard to meet |
|---|---|---|
| Planning | Sketch layout, identify pipe material | Match local code specs |
| Rough-in | Dry-fit, secure, connect | Correct fitting type for pipe material |
| Pressure test | Hold 80 PSI for 2 hours | Zero pressure drop |
| Insulation | Wrap hot water lines | Reduces heat loss per US DOE guidance |
Insulating hot water lines reduces heat loss by up to 4°F per 10 feet of pipe. That adds up to meaningful energy savings over a full heating season.
How do you test your work and know when to call a pro?
Testing is the final and most overlooked phase of any plumbing repair or installation. Many homeowners declare the job done the moment water flows. The real test takes longer.
Gradual water restoration and leak inspection
- Open the shutoff valve slowly, about a quarter turn at a time.
- Watch every connection point for drips as pressure builds.
- Run water for two full minutes, then shut it off and inspect again.
- Check under sinks and behind toilets with a dry paper towel. Even a slow drip will show up immediately on dry paper.
- Inspect the floor around the base of any fixture you worked on.
Common trouble signs and quick fixes
A dripping connection after tightening usually means the fitting is cross-threaded or the PTFE tape was applied incorrectly. Disassemble, reapply tape in the direction of the thread, and reassemble. A slow drain after a repair often signals a misaligned P-trap. Loosen the slip nuts, realign the trap, and retighten by hand before using a wrench.
Overtightening fittings causes cracking and joint stress. Hand-tighten every connection first, then use a wrench for only a final quarter turn. This single rule prevents the most common cause of post-repair leaks.
Recognizing when a licensed plumber is the right call
Jobs involving in-wall drains, structural changes, or main supply line modifications require a licensed plumber. This is not a limitation. It is good judgment. Attempting main line work without proper training risks flooding, contamination, and code violations that cost far more to fix than the original plumber’s fee.
Pro Tip: If you are unsure whether a job is within your skill level, describe it to a licensed plumber over the phone before starting. Most will tell you honestly whether it is a DIY job. That five-minute call can save you thousands.
For more guidance on diagnosing drainage problems before they escalate, the drainage system troubleshooting resource from Santehnikasveikals covers residential drain issues step by step.
Key Takeaways
Successful DIY plumbing depends on preparation, the right tools, and knowing your limits before you start, not after.
| Point | Details |
|---|---|
| Preparation beats skill | Identifying pipe materials and testing shutoff valves before starting prevents most beginner failures. |
| Starter kit under $150 | A basic toolkit covering wrenches, a flange plunger, and PTFE tape handles most common repairs. |
| Pressure test every installation | Hold new supply lines at 80 PSI for two hours before closing any wall to catch hidden leaks. |
| Hand-tighten first | Overtightening fittings cracks joints. Use a wrench only for a final quarter turn after hand-tightening. |
| Know when to stop | Main line work, in-wall drains, and structural changes belong to licensed plumbers, not DIY projects. |
What I’ve learned from years of watching homeowners tackle plumbing
The biggest mistake I see is not a technical one. It is impatience. Homeowners who rush through the preparation phase, skip the shutoff valve check, or skip the dry-fit step almost always end up with a second problem they did not start with. The repair itself is rarely the hard part. The hard part is slowing down enough to do it right.
Overtightening is the second most common error, and it is counterintuitive. Most people assume tighter means safer. In plumbing, forcing connections is a primary cause of failure. A cracked fitting from overtightening can turn a 20-minute flapper replacement into a flooded bathroom floor.
What I find genuinely encouraging is how much a homeowner can handle with basic tools and a methodical mindset. Toilet repairs, faucet replacements, supply line swaps, and drain cleaning are all within reach. The key is building confidence through small wins before attempting larger installations. Start with a flapper. Then replace a supply line. Then tackle a faucet. Each job teaches you something the next one needs.
Knowing when to stop is not a failure. It is the mark of a competent DIYer. The homeowners who cause the most expensive damage are the ones who push past their knowledge boundary because they do not want to admit they need help. Call the plumber. Finish the job right. Then learn from watching them work.
— Renate
Quality plumbing supplies for your next DIY project
Every repair and installation covered in this guide depends on having the right materials on hand before you start. Sourcing quality fittings, supply lines, and fixtures from a reliable supplier removes one of the biggest variables from any DIY plumbing project.
Santehnikasveikals carries a wide range of plumbing supplies and fixtures suited to homeowners and DIY enthusiasts, from basic fittings and PTFE tape to full fixture sets and drain components. The catalog covers everything from supply lines to drain traps, with delivery available across Latvia. Whether you are replacing a flapper or planning a full bathroom installation, having the right parts from a trusted source means fewer trips to the hardware store and more time getting the job done.
FAQ
How long do beginner plumbing repairs take?
Most beginner tasks, such as unclogging a toilet or replacing a flapper, take 15–45 minutes with basic tools. Preparation time is not included in that estimate, so budget extra time before you start.
What is the most important step in any plumbing repair?
Shutting off the water supply before loosening any fitting is the single most critical step. Skipping it turns a minor repair into a water emergency.
When should a homeowner call a licensed plumber?
Tasks involving in-wall drains, main supply lines, or structural changes require a licensed plumber. These jobs carry code compliance requirements and failure risks that exceed DIY boundaries.
Why do plumbing fittings leak after tightening?
Leaks after tightening usually mean the fitting is overtightened and cracked, cross-threaded, or missing PTFE tape. Hand-tighten first, then add only a quarter turn with a wrench to avoid this problem.
What pressure should new supply lines be tested at?
New supply lines should hold 80 PSI for at least two hours with no pressure drop before walls are closed. Any drop indicates a leak that must be found and fixed before finishing the installation.
Atstājiet komentāru