






How to Prevent Plumbing Leaks in Your Home
The most effective way to prevent plumbing leaks is to combine four actions: inspect visible pipes and supply lines regularly, keep water pressure within the 40–80 PSI range, insulate exposed pipes before winter, and replace aging rubber hoses and washers before they fail. Undetected leaks waste a large amount of water per household annually, and water damage claims average high costs per incident. Most of that loss is preventable.
Immediate prevention checklist:
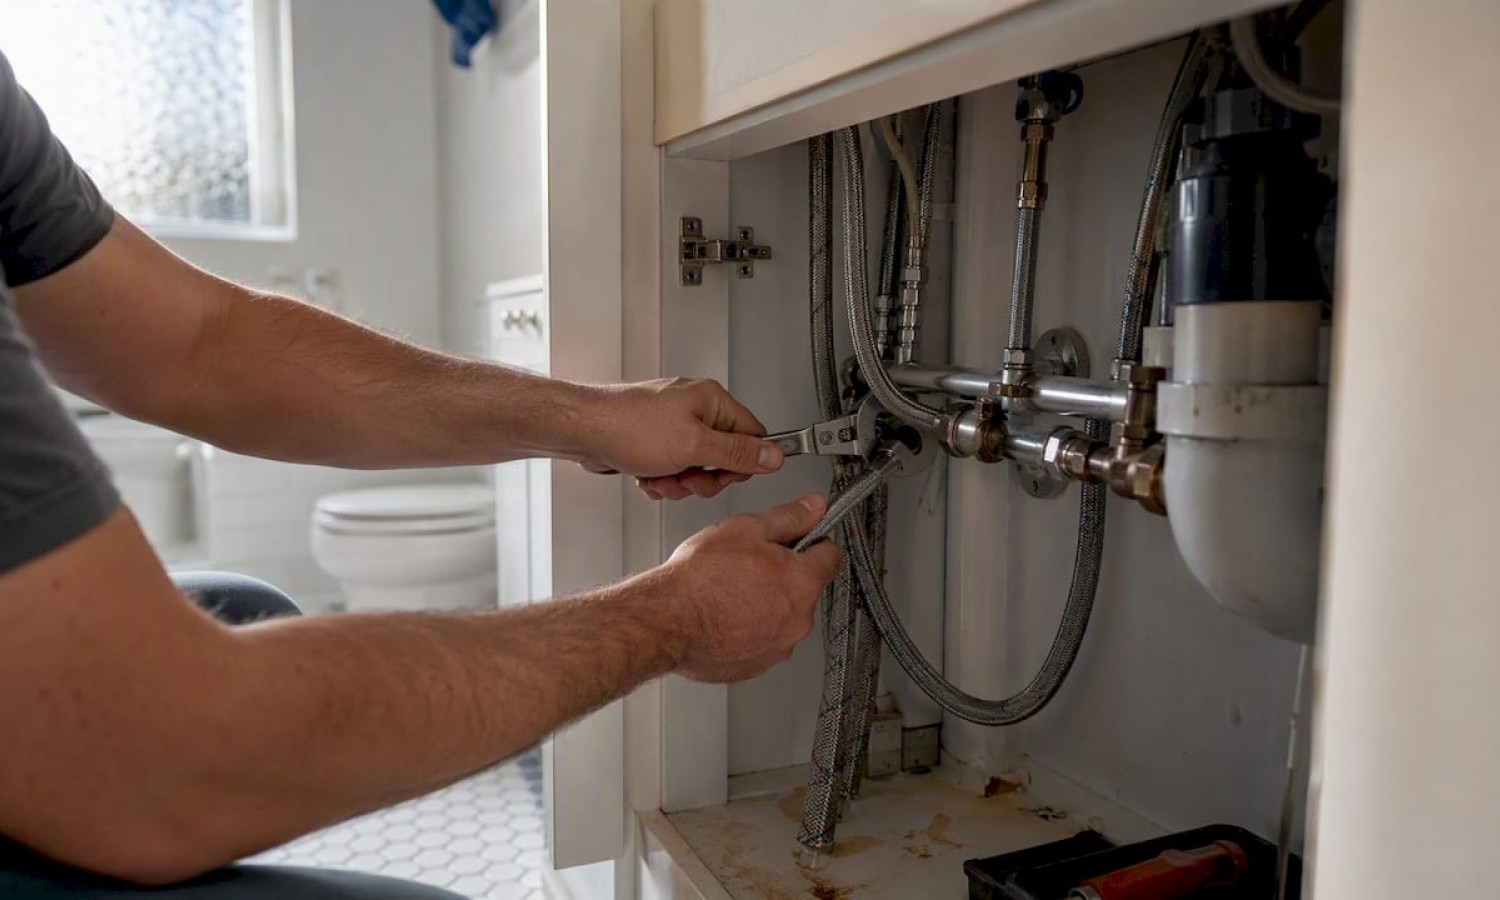
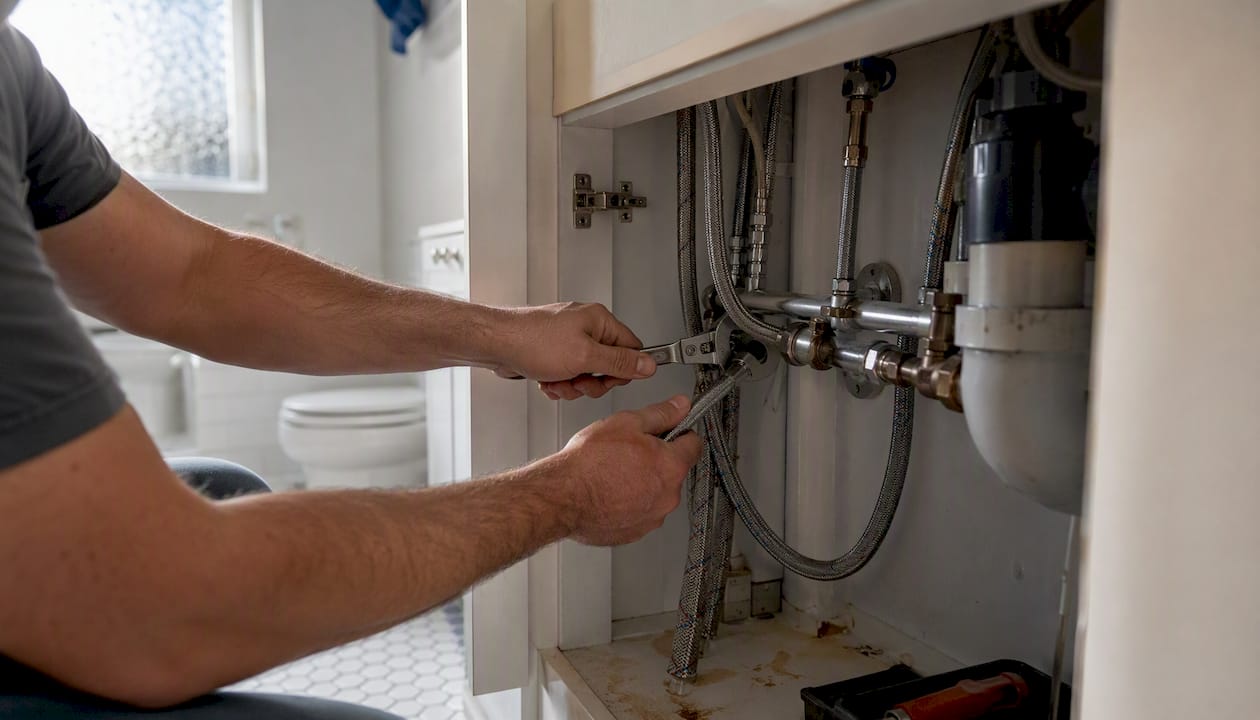
- Inspect visible pipes and under-sink cabinets — look for moisture, staining, or mineral deposits on supply lines and drain connections.
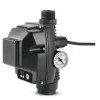
- Check water pressure — attach a gauge to an outdoor bib or laundry connection; readings above 80 PSI require a pressure regulator.
- Insulate exposed pipes — foam pipe sleeves on pipes in unheated spaces (basement, garage, exterior walls) before temperatures drop below 0°C.
- Replace supply hoses older than 8–10 years — braided stainless hoses on washing machines and toilets are a common failure point.
- Exercise shutoff valves — turn each valve fully off and back on twice a year to prevent seizure.
- Schedule an annual licensed plumber inspection — a professional can test pressure, inspect concealed runs, and catch corrosion early.
Santehnikasveikals.lv stocks replacement supply hoses, shutoff valves, pipe insulation, and pressure gauges for delivery throughout Latvia.
Key Takeaways
Preventing plumbing leaks requires a combination of scheduled inspections, pressure control, pipe insulation, and timely parts replacement before components reach the end of their service life.
| Point | Details |
|---|---|
| Run the meter test quarterly | Shut off all water, record the meter, wait 30 minutes — any movement confirms a hidden leak. |
| Replace supply hoses on schedule | Braided stainless hoses typically fail after 8–10 years; replace them before failure, not after. |
| Keep pressure within 40–80 PSI | Pressure above 80 PSI accelerates joint wear; fit a regulator at the main entry if readings are high. |
| Insulate pipes before winter | Use 13–19mm foam sleeves in unheated spaces; Latvia’s winters can reach -20°C or colder. |
| Know the DIY limit | Tightening fittings and replacing washers are homeowner tasks; in-wall pipe repairs require a licensed plumber. |
Table of Contents
- Why do plumbing leaks happen? Common causes to watch for
- How to detect leaks early: quick tests you can run today
- A practical preventive maintenance schedule for homeowners
- Safe DIY quick fixes and when to call a licensed plumber
- What materials prevent leaks and where to buy them in Latvia
- Typical repair and prevention costs in Latvia
- How to choose a licensed plumber in Latvia
- The maintenance habit most homeowners skip
- Sources
Why do plumbing leaks happen? Common causes to watch for
Understanding the failure mode tells you where to look first.
- Corrosion and material degradation. Older galvanized steel and copper pipes degrade over time through electrochemical corrosion, especially in homes with hard or acidic water. Hard water accelerates mineral buildup inside pipes, narrowing flow and stressing joints. Switching to PEX or modern fittings where accessible is the long-term fix.
- High water pressure. Pressure above 80 PSI accelerates joint wear and shortens the service life of washers and seals. A pressure regulator installed at the main entry point keeps the system in a safer range.
- Clogs and backflow. Grease, lint, and non-flushable items build pressure behind blockages. That backpressure stresses pipe joints and seals. Regular drain stewardship and professional flushing where buildup is present reduce this risk significantly.
- Freeze-and-thaw damage. Latvia’s winters routinely push temperatures well below freezing. Water expands when it freezes, and uninsulated pipes in exterior walls, crawlspaces, or unheated garages can crack or burst. Foam sleeves and, where needed, low-wattage electric heat cable are the standard countermeasures.
- Worn seals and supply hoses. Rubber washers and O-rings harden and crack with age. Braided stainless supply hoses typically fail after 8–10 years, often without visible warning. Replacing them on a schedule is cheaper than repairing the water damage they cause.
- Improper installation. Under-tightened fittings, missing thread sealant, and mismatched pipe materials at joints are common sources of slow drips that go unnoticed for months.
How to detect leaks early: quick tests you can run today
Early detection is the difference between a €5 washer replacement and a €5,000 floor repair.
1. Visual cabinet check. Open every under-sink cabinet and look at the supply lines, drain connections, and the cabinet floor. Staining, swelling, or a white mineral crust on a fitting indicates a slow drip. Check monthly.
2. Ceiling and wall scan. Walk each room and look for water stains, paint bubbling, or soft drywall. Fresh stains are darker at the edges; old ones are uniform. A new stain warrants immediate investigation.
3. Water-meter test (most reliable hidden-leak check).
- Shut off every water outlet in the house — faucets, appliances, irrigation.
- Record the meter reading.
- Wait 30 minutes without using any water.
- Recheck the meter. Any movement confirms a hidden leak somewhere in the system.
4. Toilet dye test. Add a few drops of food coloring to the toilet tank. Wait 10 minutes without flushing. Color appearing in the bowl means the flapper is leaking — a common source of continuous water waste.
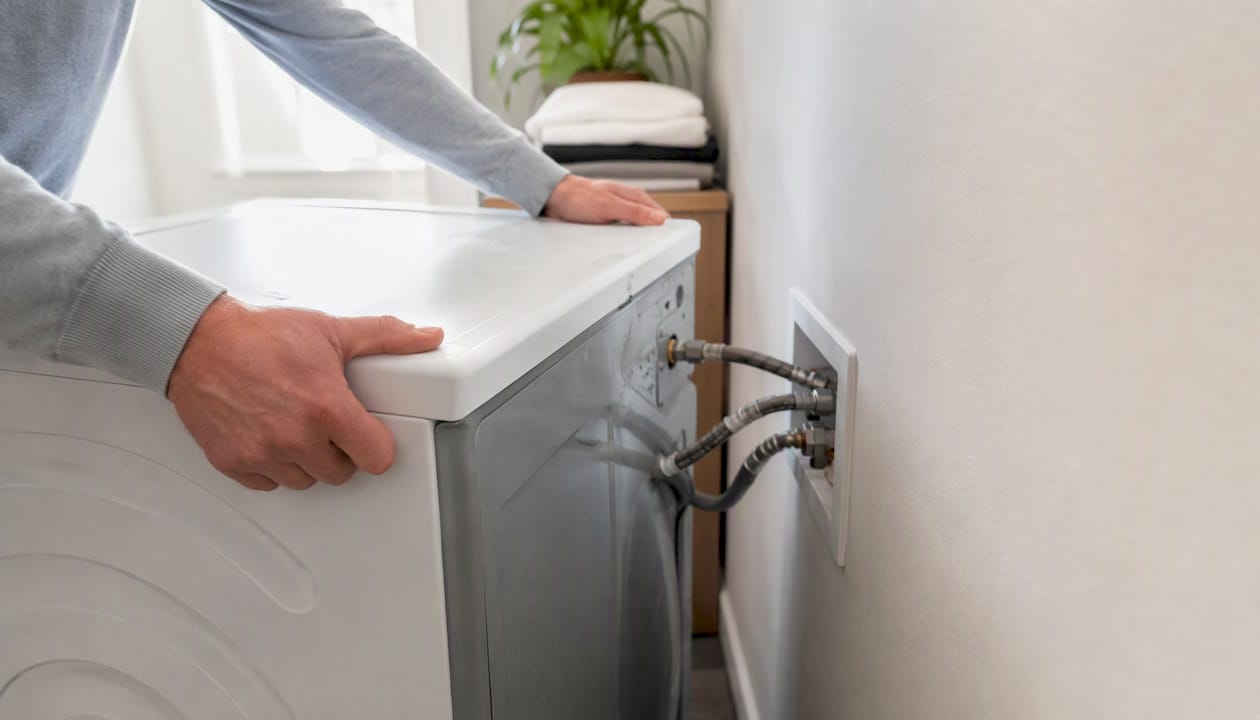
5. Appliance supply line check. Pull the washing machine and dishwasher slightly away from the wall. Inspect the supply hoses for bulging, cracking, or moisture at the connectors. A bulging hose is close to failure.
6. Crawlspace and basement humidity check. Musty odor, visible condensation on pipes, or efflorescence (white salt deposits) on concrete walls all point to moisture intrusion or a slow pipe leak. A basic hygrometer confirms elevated humidity.
Signs that indicate an urgent leak: a sudden spike in your water bill, fresh ceiling stains that grow within hours, or audible dripping inside a wall with no visible source. These require same-day action.
A practical preventive maintenance schedule for homeowners
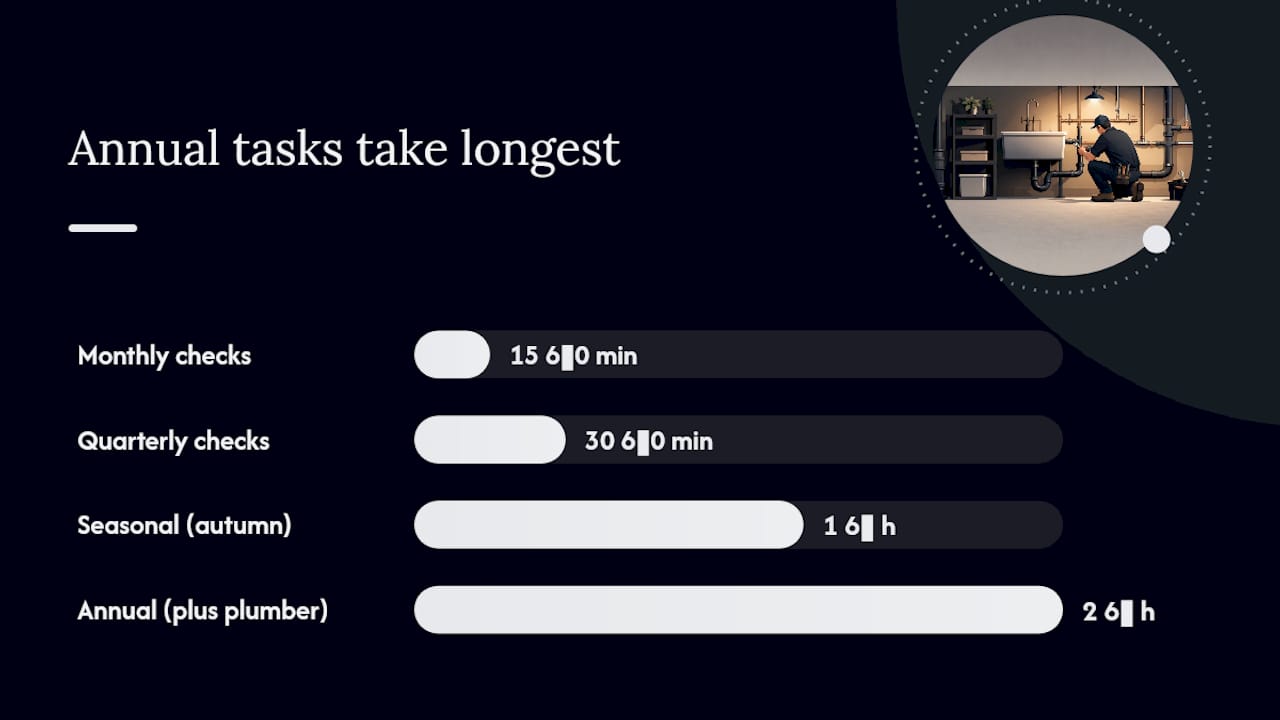
Consistent maintenance catches problems before they become repairs. The schedule below covers the tasks that stop most leaks from escalating, including exercising shutoff valves and flushing the water heater annually.
| Cadence | Tasks | Estimated time |
|---|---|---|
| Monthly | Visual check under sinks; inspect toilet base and tank connections; look for ceiling stains | 15–20 min |
| Quarterly | Exercise all shutoff valves (full off/on cycle); run meter test; check washing machine hoses | 30–40 min |
| Seasonal (autumn) | Insulate exposed pipes; drain and shut off outdoor bibs; check pipe runs in unheated spaces | 1–2 hours |
| Annual | Flush water heater and inspect anode rod; check pressure at main; inspect drain traps; book licensed plumber review | 2–3 hours + plumber visit |
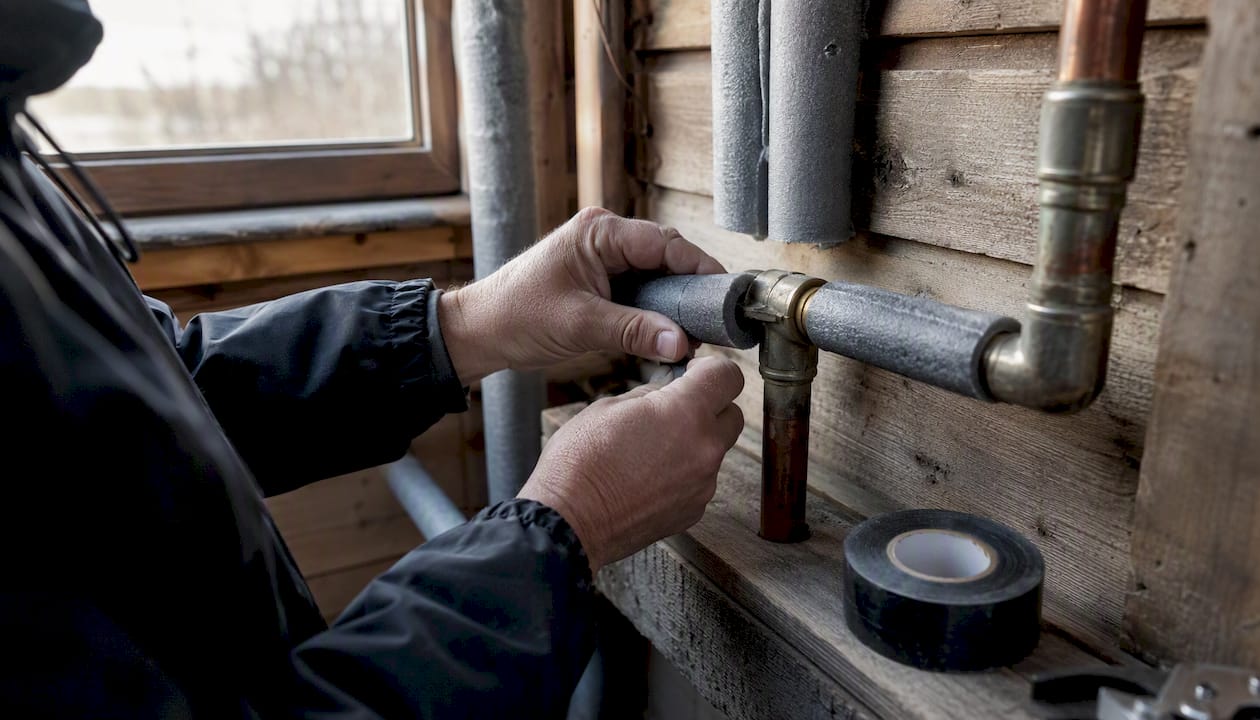
Pipe insulation in the Latvian climate. Standard 9mm foam sleeves handle most interior runs. For pipes in unheated garages or crawlspaces, use 13mm or 19mm wall-thickness sleeves. Seal sleeve joints with self-adhesive insulation tape — gaps at joints are where frost damage starts.
Drain stewardship. Avoid commercial drain cleaners; they accelerate pipe corrosion and are a short-term fix at best. Use a drain strainer to catch debris, and flush drains with hot water weekly.
Pro Tip: For irregular pipe runs around corners or near valves in unheated spaces, cut foam sleeve sections at 45° angles and tape the mitered joints tightly. This costs almost nothing extra and eliminates the cold spots that standard straight cuts leave exposed.
Safe DIY quick fixes and when to call a licensed plumber
Temporary fixes using clamps, epoxy, or tape can buy time, but permanent structural repairs — soldering, replacing buried or in-wall pipe sections — require a licensed plumber.
Do this first, before any repair attempt:
- Locate and close the isolation valve nearest to the leak.
- Place towels and a pan under the leak to limit spread.
- Identify the source precisely before touching any fitting.
Step-by-step temporary fixes:
-
Tighten a loose fitting. For an accessible compression or threaded fitting that is dripping at the joint, tighten the nut approximately one-quarter turn with an adjustable wrench. Do not over-tighten. Durability: permanent if the fitting was simply loose; days if the washer is worn.
-
Replace a washer or O-ring. Shut off the isolation valve, disassemble the fitting, swap the worn rubber part, and reassemble. Parts cost under €2 at any hardware supplier. Durability: years.
-
Plumber’s epoxy putty. Knead equal parts of the two-part putty until uniform in color, press firmly over a dry pipe crack or pinhole, and hold for 3–5 minutes. Works on metal and some plastics. Durability: days to weeks — a bridge repair only.
-
Pipe repair clamp. Slide a rubber-lined metal clamp over the leak point and tighten the bolts evenly. Rated for full line pressure on most residential pipe sizes. Durability: weeks to months, depending on pipe condition.
-
Self-fusing silicone tape. Wrap tightly in overlapping layers over a small crack or joint drip, stretching the tape as you go. No adhesive needed — the tape bonds to itself. Durability: days; not suitable for high-pressure runs.
For a full tool list and material guide, see the DIY plumbing guide for homeowners on Santehnikasveikals.lv.
When to call a licensed plumber — stop DIY and call if:
- The leak is inside a wall, ceiling, or floor with evidence of long-term moisture.
- Any gas line is in the same area as the leak.
- The repair requires cutting out and replacing a pipe section.
- You see mold, structural softening, or the subfloor feels spongy.
- The leak recurs within 24 hours of a temporary fix.
Pro Tip: Keep a photo log of every repair attempt with the date and the part used. A plumber diagnosing a recurring leak can resolve it faster with that history than without it.
What materials prevent leaks and where to buy them in Latvia
Selecting the right materials at installation or replacement time is the most cost-effective form of leak prevention. Santehnikasveikals.lv carries the product categories below, with delivery throughout Latvia.
- Braided stainless supply hoses. Replace rubber hoses on toilets, sinks, and washing machines. Look for EN 13618 certification and a minimum 10-year rated service life. Straightforward homeowner installation.
- PEX piping and fittings. Flexible, freeze-resistant, and corrosion-free. Suitable for replacing short sections of older copper or galvanized runs where access allows. VIEGA press-fit fittings, available at Santehnikasveikals.lv, are a reliable choice for PEX connections — no soldering required.
- Pipe insulation sleeves. Closed-cell foam, 9–19mm wall thickness depending on exposure. Check the sleeve’s temperature rating; unheated spaces in Latvia can reach -20°C or colder.
- Pressure regulators and gauges. A gauge confirms whether your system is within the 40–80 PSI range. If pressure runs high, a regulator installed at the main entry point protects every fitting downstream.
- Drain strainers. Stainless mesh strainers for sinks and shower trays stop debris before it reaches the trap. VIEGA and KOLO drain accessories are stocked at Santehnikasveikals.lv.
- Replacement washers and O-rings. A small assortment covering common sizes (10mm, 13mm, 15mm) handles most faucet and valve repairs. ORAS faucet components are available for fixtures in that range.
- Shutoff valves. Quarter-turn ball valves are more reliable than older gate valves and less prone to seizing. Replace gate valves during any renovation.
- Anode rods for water heaters. A magnesium or aluminum anode rod, replaced every 3–5 years, slows tank corrosion and extends heater life. Check the rod annually during the water heater flush.
For installation-level guidance on pipe selection, the water pipe installation guide on Santehnikasveikals.lv covers material choices and fitting techniques in detail.
Typical repair and prevention costs in Latvia
Costs vary by scope, access difficulty, and whether parts or labor dominate the job.
| Scope | Parts cost (approx.) | Labor / total (approx.) | Typical time |
|---|---|---|---|
| Washer / O-ring replacement | €1–5 | DIY or €30 call-out | Under 1 hour |
| Supply hose replacement | €8 | DIY or included in call-out | 30 min |
| Pressure regulator installation | €30–80 (part) | €80 total with plumber | 1–2 hours |
| Pipe section replacement (accessible) | €15 (parts) | €100 total | 2–4 hours |
| In-wall or concealed pipe repair | €40 (parts) | €250 total | Half to full day |
These are conservative ballpark figures for Latvia; actual quotes vary by region, season, and contractor.
Water-damage restoration — drying, mold remediation, and structural repair — adds cost well beyond the plumbing repair itself. Home insurance policies in Latvia often cover sudden water damage but may exclude gradual leaks that went unreported. Check your policy terms and report any discovered leak promptly.
For ideas on keeping plumbing costs down without cutting corners, see cost-saving plumbing ideas on Santehnikasveikals.lv.
How to choose a licensed plumber in Latvia
Prioritize licensed, insured plumbers with written estimates — a verbal quote gives you no recourse if the scope or price changes mid-job.
Questions to ask on first contact:
- Do you hold a current Latvian construction specialist certificate (būvspeciālista sertifikāts)?
- Are you covered by professional liability insurance?
- Can you provide references from similar jobs in the past 12 months?
- What warranty do you offer on parts and labor?
- Will you provide a written, itemized estimate before starting?
- What brands or specifications will you use for replacement parts?
Red flags to watch for:
- Pressure to pay the full amount in cash before work begins.
- No written quote or a quote that lists only a lump sum with no scope detail.
- Reluctance to name the parts or materials they plan to use.
- No verifiable business address or registration.
Comparing two estimates fairly. Confirm both quotes cover the same scope: diagnosis, parts, labor, and disposal of old materials. A lower quote that excludes parts or access work is not cheaper — it is incomplete. Ask each plumber to walk you through what they will open, what they will replace, and what the finished state will look like. For context on what a well-planned installation involves, the interior plumbing design guide on Santehnikasveikals.lv outlines the standard scope of a residential plumbing project.
The maintenance habit most homeowners skip
Routine inspection is the single most effective tool for preventing plumbing leaks, yet most homeowners only look at pipes when something is already wrong.
A slow drip behind a washing machine or under a bathroom vanity can run for months before it surfaces as a stain or a spike in the water bill. By that point, the subfloor may already be compromised. The meter test described earlier takes 30 minutes and costs nothing. Running it quarterly catches the leaks that visual checks miss.
The other underestimated step is supply hose replacement on a schedule rather than on failure. A braided stainless hose that has been in service for nine years looks fine from the outside. The rubber liner inside does not. Replacing it before it fails is a €15 decision. Replacing the flooring and cabinetry after it fails is not.
Sources
Santehnikasveikals.lv resources:
- Preventive Plumbing Maintenance: Checklist & Tips
- How to Repair a Pipe Leak | SERVPRO
- Stop Leaks in Plumbing Joints (DIY)
- 7 Ways to Prevent Plumbing Leaks at Home
- Top 5 Causes of Plumbing Leaks and How to Prevent Them - NuFlow Midwest
External technical references:
Atstājiet komentāru