











How to Fix a Toilet Leak: Quick Repairs and Pro Tips
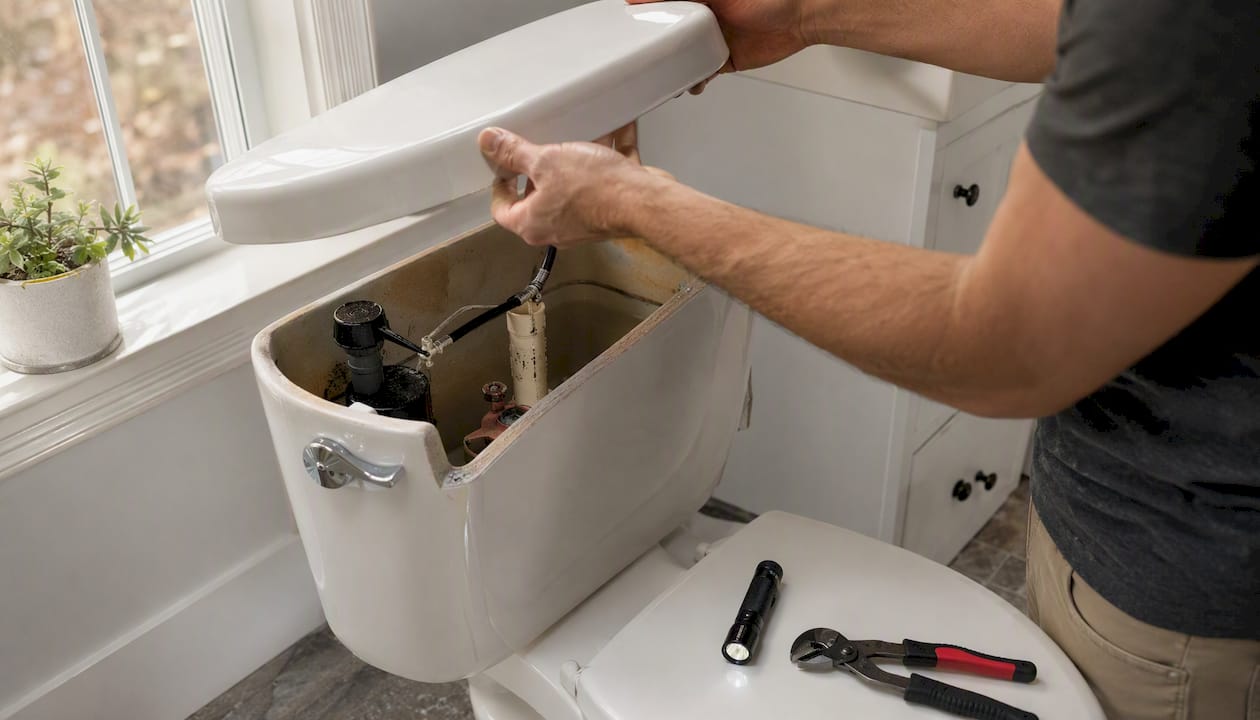
The fastest way to stop most toilet leaks is to identify whether the water is coming from the tank, the bowl, the base, or the supply line, then apply the matching fix. A tank leak usually points to the flapper or fill valve. A base leak almost always means the wax ring or flange failed. A supply line leak often just needs a tighter connection or a new line. Get the location right first, and the repair itself takes minutes.
Before you touch anything, shut off the water at the valve behind the toilet (turn it clockwise) and lay towels around the base to protect flooring. If the shutoff valve won’t turn or water keeps spreading, close the main water valve for the house and call a plumber. Never handle outlets or plugged-in devices near standing water.
- Puddle at the base? Try tightening the closet bolts first, then check the wax ring.
- Tank refilling constantly? Test and likely replace the flapper.
- Water dripping from the supply line? Tighten the compression nut or swap the line.
- Water running but bowl looks dry? Check the fill valve and float height.
A single running toilet can waste hundreds of gallons a day, according to the Saving Water Partnership, which makes even a “minor” leak worth fixing today rather than next weekend.
Pro Tip: Keep a bucket under the tank while you work. It catches drips and saves you from mopping the floor twice.
Key Takeaways
Most toilet leaks come from one of four sources, tank, bowl, base, or supply line, and matching the repair to that source is what actually stops the water.
| Point | Details |
|---|---|
| Diagnose before you buy parts | Use the dye test and a dry, wait, and check method to confirm tank versus base leaks. |
| Set the tank level correctly | Keep water a half inch to one inch below the overflow tube to stop silent overflow leaks. |
| Budget for cheap parts | Most flappers, fill valves, and wax rings cost under $20 and take under an hour to install. |
| Check the flange before the wax ring | A loose or damaged flange will cause repeat leaks even with a brand new wax ring. |
| Know your stopping point | Cracked tanks, rotted subfloor, and repeat leaks after a correct reseat call for a licensed plumber. |
Table of Contents
- Tools and Parts for a DIY Toilet Leak Repair
- How Do You Tell Where a Toilet Is Leaking From?
- How to Fix a Leaking Toilet Tank
- Fixing a Toilet That Runs Constantly or Flushes Weakly
- Fixing a Toilet Leak at the Base
- How to Confirm the Repair Actually Worked
- When Should You Call a Plumber Instead of DIYing It?
- Where to Source Replacement Parts and Verify Fit
- What Actually Matters When You’re Fixing a Toilet Leak
- Sources
Tools and Parts for a DIY Toilet Leak Repair
Most repairs only need a small kit you probably already half own. Gather these before you start so you’re not dripping water on your way to the hardware store.
- Adjustable wrench and slip-joint pliers
- Flathead and Phillips screwdrivers
- Putty knife and a hacksaw (for stubborn or corroded bolts)
- Sponge or wet-dry vacuum, plus old towels
- Replacement parts: flapper ($5 to $15), fill valve ($10 to $25), wax ring ($3 to $10), tank-to-bowl gasket kit ($10 to $20), supply line ($8 to $20)
A universal flapper or fill valve works for the vast majority of standard toilets. Older or specialty models, particularly low-flow or dual-flush units, sometimes need a brand-specific part. Santehnikasveikals stocks a range of plumbing tools and accessories if you’d rather buy once and get the right fit the first time.
Pro Tip: Snap a photo of the inside of your tank before draining it, or bring the old flapper and fill valve with you to the store. Matching parts by sight beats guessing from memory.
How Do You Tell Where a Toilet Is Leaking From?
Water rarely announces where it’s coming from, so a couple of simple tests will save you from replacing the wrong part. Start with the dye test: add several drops of food coloring to the tank water, then wait 10 to 15 minutes without flushing. If color shows up in the bowl, the flapper or flush valve is leaking and not sealing properly against the flush valve seat.
Next, check the tank’s internal water level. It should sit about a half inch to one inch below the top of the overflow tube, per Portland Water Bureau guidance. Water sitting higher than that constantly trickles down the overflow tube, which mimics a flapper leak even when the flapper is fine.
- Dry the tank exterior, base, and floor completely with a towel.
- Run one full flush cycle and watch the tank, bowl connection, and supply line for fresh moisture.
- Wait 20 to 30 minutes, then check again. If water reappears without a flush, you have an active leak rather than leftover splash.
- Press down gently on the bowl to see if it rocks. Movement usually means a failed wax ring or loose flange.
Use this quick map to match what you see to what’s actually wrong:
- Puddle at the base with no rocking → wax ring or supply line connection
- Bowl rocks when pressed → loose bolts, failed wax ring, or damaged flange
- Water under the tank itself → cracked tank, bad gasket, or loose tank bolts
- Constant faint refill sound → flapper not sealing or float set too high
One more wrinkle: condensation on a cold tank in summer can drip and look exactly like a leak. Dry the tank fully and watch it over a few hours; condensation stops as humidity drops, while a real leak keeps coming back.
How to Fix a Leaking Toilet Tank
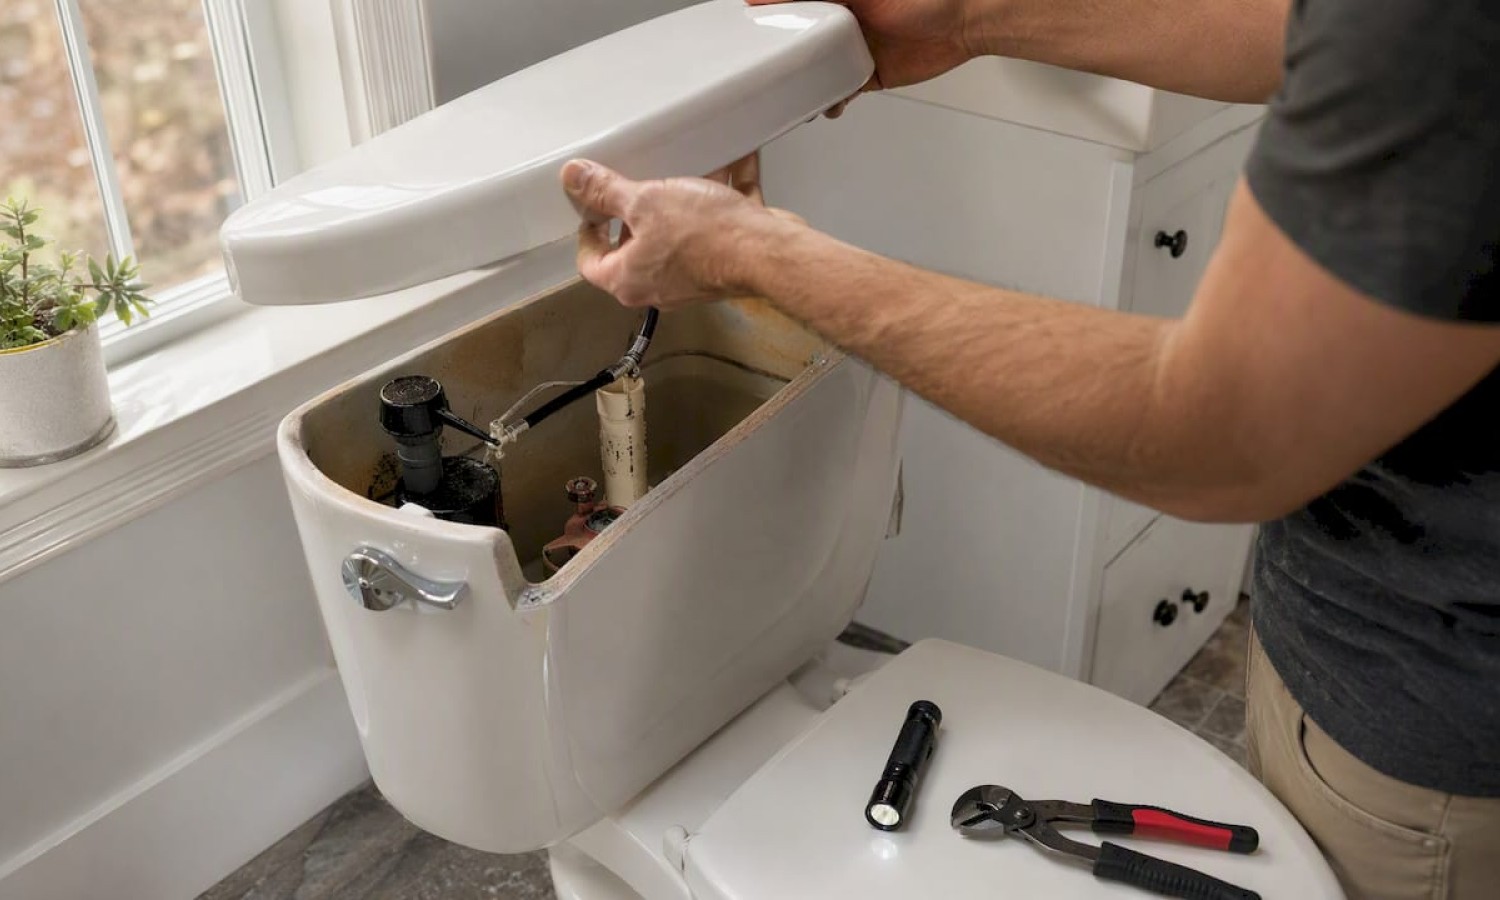
Shut off the water supply and flush to empty most of the tank, then sponge out what’s left before you touch any parts. Working in a dry tank keeps you from fumbling wet hardware and losing small washers down the overflow tube.
- Flapper or flush valve: Confirm the leak with the dye test, then unhook the old flapper from its pegs and lift it out. Press the new one onto the pegs, connect the chain with about a half inch of slack, and test with a flush. This is a 10 to 15 minute job and parts run $5 to $15.
- Fill valve and float: If water runs constantly even with a good flapper, adjust the float downward first by loosening its locknut. If that doesn’t stop the overfill, replace the whole fill valve, which involves disconnecting the supply line, unscrewing the old valve’s mounting nut, and seating the new one with a fresh washer. Budget 20 to 30 minutes and $10 to $25 for the part.
- Tank bolts and gasket: Corroded bolts or a flattened rubber washer under the tank let water seep out at the base of the tank itself. Drain the tank, hold each bolt from inside with a screwdriver while loosening the nut underneath, then lift the tank straight up. Replace both bolts and the gasket as a set, since mismatched hardware rarely seals evenly.
Warning: If you spot a hairline crack in the porcelain, especially near a bolt hole, stop. Tightening bolts on a cracked tank can widen the crack and cause a sudden failure. Cracked tanks need professional evaluation or full replacement, not a patch job.
Pro Tip: Hand-tighten tank bolts, then give each one a quarter turn with a wrench, alternating sides. Overtightening one bolt is the most common way people crack a tank during a routine repair.
Fixing a Toilet That Runs Constantly or Flushes Weakly
A toilet that hisses or trickles for minutes after every flush is almost always a flapper problem, even if the dye test looked borderline. Flappers degrade unevenly, so they can seal fine for a few hours and then start leaking again once the rubber warps slightly from heat or mineral buildup.
- Check the chain length between the flush lever and the flapper. Too much slack lets the flapper drop unevenly; too little holds it open a crack.
- Confirm the refill tube (the small hose from the fill valve) clips onto the overflow tube rather than dangling inside it, which can cause siphoning and a slow drain.
- If flushes feel weak rather than the toilet running constantly, check the tank water level first. Low water means a weak flush, not a leak.
- Clean the rim holes under the bowl lip with a small wire or old toothbrush if flushes seem weak despite a correct water level. Mineral deposits block the water that should swirl the bowl clean.
Pro Tip: Mark the chain length with a zip tie once it’s adjusted correctly. It saves you from re-guessing the same setting every time you replace a flapper.
Fixing a Toilet Leak at the Base
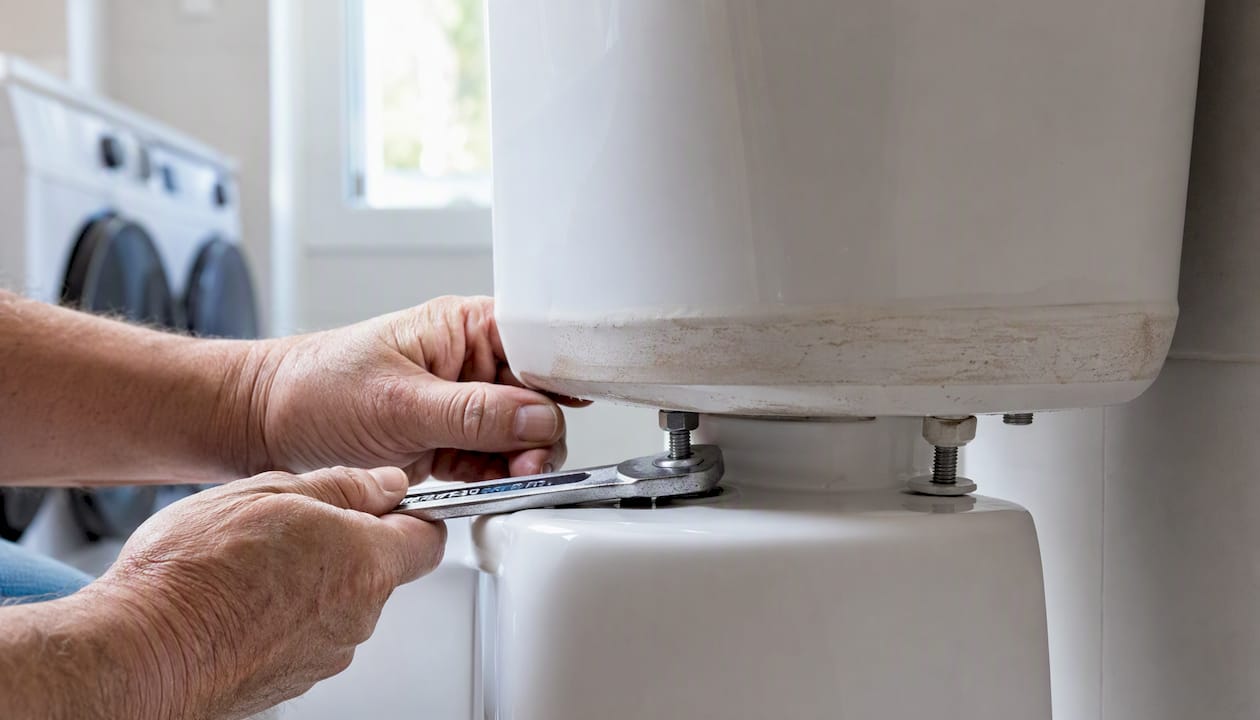
Base leaks get blamed on the wax ring almost by reflex, but loose bolts are the cheaper and faster thing to rule out first. Tighten the closet bolts at the base in small, even turns, alternating sides so the bowl doesn’t tilt. If the toilet still rocks or leaks after that, the wax ring or flange is the real culprit.
Look for these signs before you commit to a full removal: water pooling only when the toilet is flushed (points to the wax ring), a bowl that shifts side to side (points to a loose or broken flange), or a musty smell near the base (points to standing water under the toilet, possibly for a while).
- Shut off the water, flush to empty the bowl, and sponge out remaining water in the tank and bowl.
- Disconnect the supply line, remove the caps and nuts on the closet bolts, and lift the toilet straight up onto towels. A shop vacuum helps clear the last of the water from the trap.
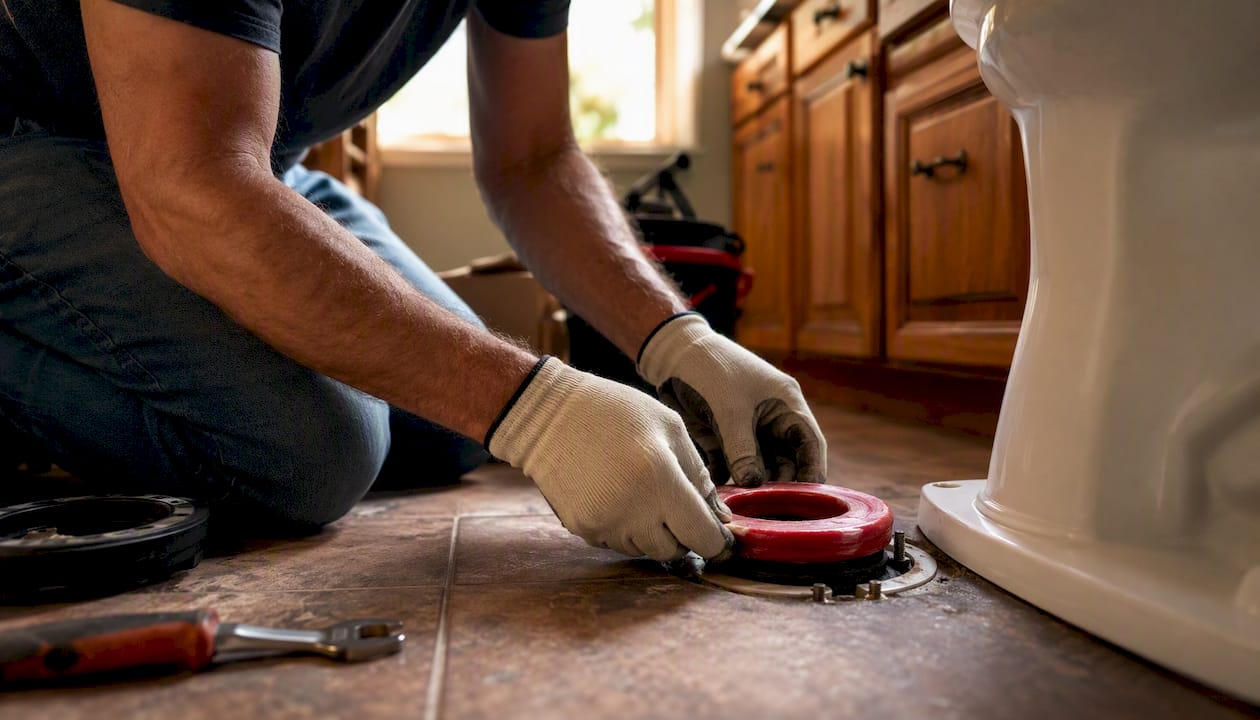
- Stuff a rag into the drain opening to block sewer gas, then scrape off the old wax ring with a putty knife.
- Inspect the flange for cracks, corrosion, or a level that sits below the finished floor. A loose or damaged flange won’t hold a seal no matter how well you set the wax ring, so repair it with a repair strap or flange extender before moving on.
- Set a new wax ring on the flange, remove the rag, lower the toilet onto the bolts, and press down with a gentle twisting motion rather than rocking it, which compresses the wax evenly.
- Tighten the bolts evenly, trim any excess bolt length, cap them, and reconnect the supply line.
If you see soft, spongy, or discolored subfloor around the toilet base, or you notice a persistent sewer smell that doesn’t clear after the repair, stop working and call a licensed plumber. Rotted subfloor is a structural repair, not a weekend fix, and sewer odors can signal a bigger drainage problem than a bad wax ring. For general layout and access questions around fixture placement, Santehnikasveikals’s guide on interior plumbing design covers how flange positioning affects a renovation.
Pro Tip: Buy two wax rings if this is your first time. A ring that shifts or tears during installation is common, and having a spare on hand beats a second trip to the store mid-repair.
How to Confirm the Repair Actually Worked
Run at least three full flush cycles and watch the tank, the supply line connection, and the floor around the base after each one. Press down on the bowl to check for rocking, and run a dry hand under the tank and along the supply line to catch anything you might miss visually.
Set the tank water level a half inch to one inch below the overflow tube, matching the standard the Portland Water Bureau recommends. Water sitting any higher trickles down the overflow constantly, wasting water without ever pooling anywhere you’d notice.
- Replace flappers periodically, even if they look fine, since rubber degrades from the inside out
- Replace supply lines periodically or immediately if you see rust or hairline cracks
- Recheck tank bolts and caulk seams twice a year, especially in older homes with settling floors
- If moisture reappears only in humid weather, dry the tank and watch it. Condensation stops once humidity drops; a real leak doesn’t
Pro Tip: Write the installation date on a new flapper or supply line with a permanent marker before you install it. Future you will thank present you when it’s time to check the age.
When Should You Call a Plumber Instead of DIYing It?
Some toilet problems are genuinely beyond a weekend fix, and pushing through anyway usually costs more than the service call would have. Watch for soft or discolored subfloor, a cracked tank or bowl, a flange that’s broken below the floor line, or a leak that returns within days of a correct reseat.
- Structural subfloor rot from prolonged base leaks
- Cracked porcelain anywhere on the tank or bowl
- A flange that’s corroded, broken, or set too low to reach with standard extenders
- Persistent leaks after you’ve replaced the wax ring and tightened bolts correctly
Most DIY parts cost under $20, and simple swaps like a flapper or fill valve take well under an hour. A professional plumber visit for a full toilet removal, flange repair, or subfloor assessment typically runs into the range of a few hundred dollars depending on the extent of the damage and local labor rates. Document any rot or damage with photos and keep the old wax ring or flapper on hand. It helps the plumber diagnose the cause faster instead of starting from scratch.
Where to Source Replacement Parts and Verify Fit
Buying the right part on the first try saves a return trip and an extra day of a dripping toilet. Bring the old flapper, fill valve, or a clear photo of your tank’s interior when shopping, since tank shapes and flush mechanisms vary more between brands than most people expect.
- Match flapper size and flush valve diameter, not just the brand name on the tank lid
- Check whether your toilet uses a standard two-inch or three-inch flush valve before buying a fill valve kit
- For wax rings, measure the flange height against the floor. A flange sitting below the tile may need an extra-thick ring or an extender instead of a standard one
Santehnikasveikals carries plumbing fixtures and repair parts with delivery across Latvia, which makes sourcing a matching flapper, fill valve, or wax ring straightforward without guessing at compatibility from a general hardware aisle.
Getting the part right the first time is the difference between a 20 minute repair and a second trip to the store with a wet floor waiting at home.
What Actually Matters When You’re Fixing a Toilet Leak
Most guides on this topic bury the flange under paragraphs about wax rings, and that’s backward. A wax ring rarely fails on its own. It fails because the flange underneath it is cracked, corroded, or sitting too low, and nobody checked before reseating the toilet. If you only remember one thing from this guide, check the flange before you buy anything else.
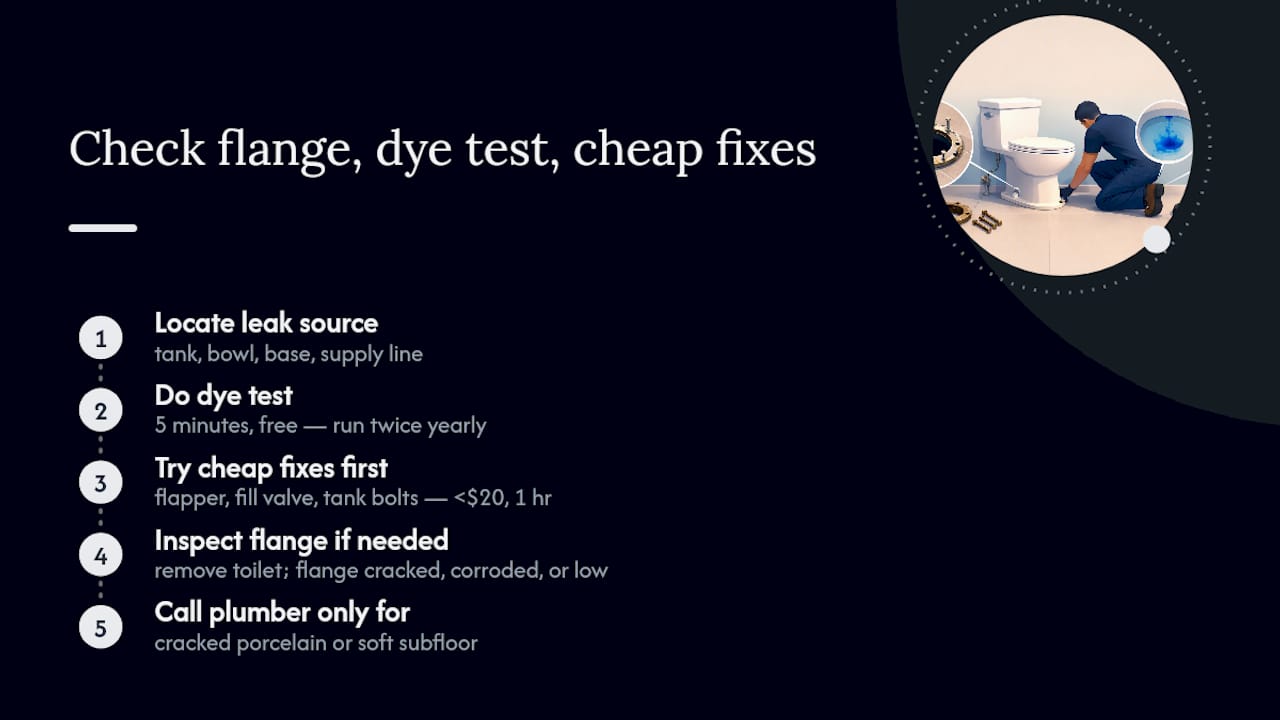
The other place conventional advice falls short is timing. Most people wait until a toilet is visibly rocking or actively pooling water before they act, but a flapper that’s sealing poorly wastes water for months before anyone notices the water bill. The dye test takes five minutes and costs nothing. Run it twice a year, not just when something looks wrong.
Prioritize the cheap, fast fixes first: flapper, fill valve, tank bolts. They solve the majority of leaks for under $20 and an hour of your time. Save the toilet removal and flange inspection for when the simple fixes don’t hold, and save the phone call to a plumber for cracked porcelain or soft subfloor. That’s not a compromise. That’s just matching the effort to the actual problem.
Sources
- Fix a toilet leak | Portland Water Bureau
- Easy fix for a leaking toilet | This Old House
- Toilet leaks | Saving Water Partnership
“Identify the leak type first, then fix it” is the single thread running through every reputable plumbing guide on this topic, and it’s the fastest path to a dry floor.
Palikite komentarą