









Commercial Plumbing Project Checklist: Complete Guide
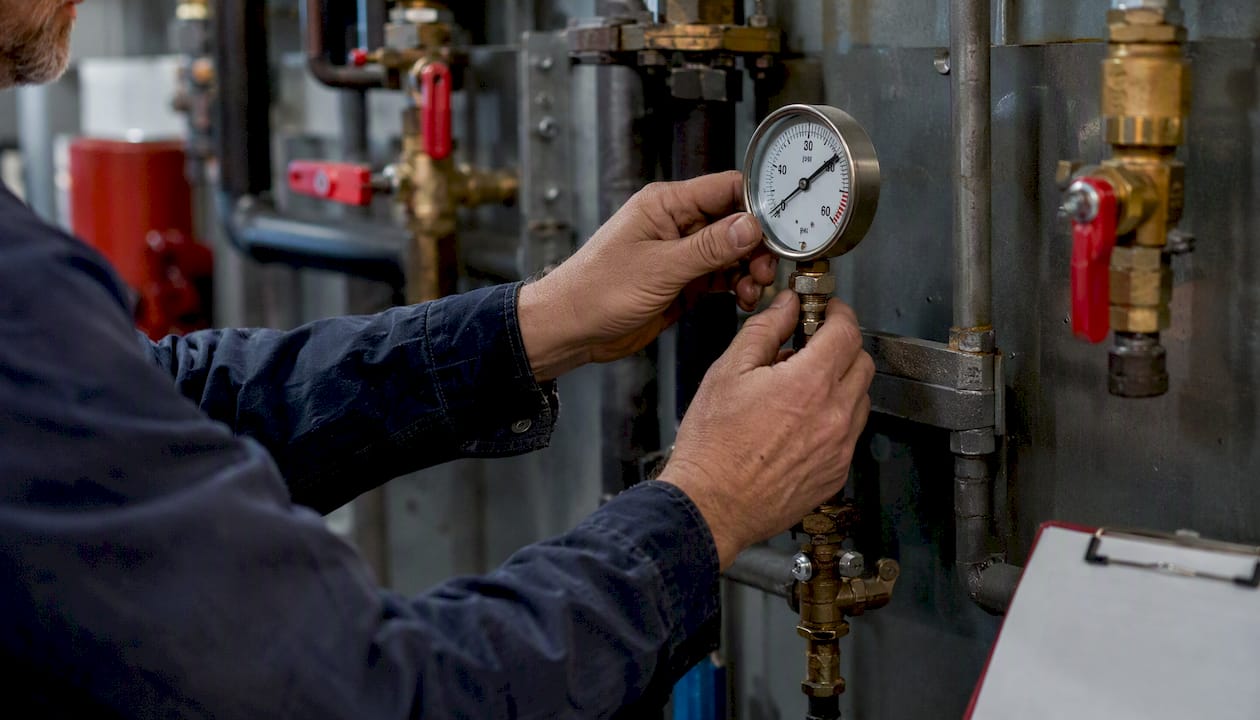
A complete checklist for commercial plumbing projects covers ten priority items owned by three roles: the property manager (permits, documentation, contractor coordination), the builder or project manager (pre-construction scope, utility coordination, rough-in inspections), and the facility engineer (ongoing maintenance, testing, emergency response). Use this as your starting point before any work order, permit submission, or contractor call.
Top 10 priority items — assign an owner before day one:
- Main isolation valve: verified location, labeled, operable
- Permit status: submitted, approved, inspection windows scheduled
- Backflow prevention devices: installed, tagged, annual test scheduled with a certified tester
- Leak sweep: visual check of all accessible supply lines, joints, and fixtures
- Static water pressure: measured at representative fixtures, within an acceptable range defined by the Uniform Plumbing Code
- Floor drains and sewer lines: clear, no standing water, CCTV scheduled for high-use lines
- Water heater or boiler: pressure relief valve functional, expansion tank present, anode rod status noted
- Shutoff valves: all zone valves labeled, accessible, exercised within the last 12 months
- CCTV sewer inspection: scheduled for any line over five years without documented inspection
- Emergency contacts: onsite lead, licensed plumber, utility provider, insurer — pre-filled and posted.
Five items that must be scheduled or tested immediately (not deferred to the next cycle): permit submission, backflow device testing, main isolation valve verification, water heater safety check, and CCTV where line age or condition is unknown.
Fillable PDF and spreadsheet versions of every checklist in this guide are available as downloadable templates. The PDF is formatted for field use; the CSV version imports directly into most CMMS platforms. [Download the templates below or copy the field structures from each section.]
Pro Tip: EPA WaterSense fixture specifications and ASHI commercial inspection standards are both useful benchmarks when setting acceptance criteria for pressure, flow, and fixture condition — reference them when writing your own pass/fail thresholds.
Key Takeaways
A complete commercial plumbing checklist covers pre-construction permits and drawings, frequency-based maintenance from daily visual checks through annual backflow testing, and documented inspection forms with pass/fail criteria — all linked in a CMMS with assigned roles and contractor SLAs.
| Point | Details |
|---|---|
| Permits and drawings first | Submit plumbing drawings and schedule inspection windows before rough-in begins to avoid project delays. |
| Frequency-based maintenance | Run daily visual checks, monthly fixture audits, and annual backflow tests with a certified tester. |
| Backflow testing is non-negotiable | Schedule annual certified backflow assembly tests and file the certificate in your CMMS immediately. |
| Map valves before emergencies | Tag and map every isolation valve against as-built drawings; update records before the first work order. |
| CMMS links everything | Enter every asset, test certificate, and recurring task into CMMS so auditors and contractors work from the same record. |
Table of Contents
- What does a checklist for commercial plumbing projects cover before construction starts?
- How should you schedule preventative maintenance for a commercial plumbing system?
- What does a commercial plumbing inspection checklist include?
- What are the immediate steps when a commercial plumbing emergency occurs?
- What tools, test equipment, and PPE does your team need on-site?
- How do you map assets, keep records, and coordinate contractors?
- What commercial plumbing problems do checklist tasks actually prevent?
- How do you adapt and implement checklist templates for your property?
- The part of checklist implementation most teams get wrong
- Sources
What does a checklist for commercial plumbing projects cover before construction starts?
Pre-construction planning must include permits, accurate plumbing drawings, utility coordination, and capacity planning for future expansion — skipping any of these steps produces rework that costs more than the original work. Follow these steps in order.
- Define project scope. Document fixture counts by type (toilets, urinals, sinks, floor drains, hose bibs, grease traps), system pressures, hot-water demand, and any specialty systems (medical gas, lab waste, food-service drainage).
- Engage a licensed plumber or plumbing engineer. Confirm state license, insurance, and experience with the building type. Require references for comparable commercial projects.
- Prepare and submit plumbing drawings. Drawings must show pipe routing, fixture locations, cleanout access, valve locations, and connection points to municipal water and sewer. Most jurisdictions require stamped drawings for commercial permits. Reference current plumbing regulations before finalizing drawings to catch code updates that affect pipe sizing or fixture clearances.
- Pull permits and schedule inspection windows. Add permit submission dates and required inspection milestones (rough-in, top-out, final) to the project schedule. Builders and contractors should build inspection windows into the schedule from day one — a missed inspection window can halt a project for days or weeks.
- Coordinate with utilities. Confirm water service size and pressure at the meter, sewer invert elevation and connection point, and whether temporary water service is needed during construction. Meter sizing errors are a common source of low-pressure complaints after occupancy.
- Select pipe materials and specify fixtures. Choose materials appropriate for water chemistry, pressure, and building type (copper, CPVC, PEX, or ductile iron for mains). Specify fixture flow rates against EPA WaterSense targets where applicable.
- Plan for grease traps and specialty drainage. Food-service facilities require a grease interceptor sized to peak flow. Confirm local authority having jurisdiction (AHJ) requirements for interceptor capacity and inspection access.
- Locate and document valve positions. Specify main isolation valve location, zone valve locations, and service clearances on drawings. Plan access panels at chest height in accessible service rooms — this single decision saves hours during every future shutdown.
- Plan for future expansion. Stub-out locations, oversized mains where load growth is expected, and spare capacity in water heater sizing all reduce lifecycle costs. Design decisions made now directly affect maintenance frequency and emergency repair rates later.
- Pre-inspection walkthrough. Before rough-in begins, walk the site with the licensed plumber and the AHJ inspector if available. Confirm all utility connections, access points, and code-required clearances are achievable as drawn.
Pro Tip: Place the permit owner’s name, permit number, and all required inspection dates into your CMMS as recurring tasks on day one. A permit that expires before final inspection is a project delay that is entirely preventable.
How should you schedule preventative maintenance for a commercial plumbing system?
A frequency-based maintenance program reduces downtime and extends equipment life, and high-use facilities need higher inspection frequency than the minimums below. The schedule below assigns each task to a responsible role and notes the acceptance standard.
Daily and weekly tasks (building staff)
- Visual leak check of all accessible supply lines, fixture connections, and floor drains: no visible moisture, staining, or dripping
- Restroom fixture function: flush valves, faucets, and drains operating normally; no running toilets
- Floor drain check: covers in place, no standing water, no odor indicating dry trap
- Grease trap level check (food-service facilities): record level, pump when at 25% capacity
Monthly tasks (building staff or in-house technician)
- Fixture function audit: test all flush valves, faucets, and emergency eyewash stations
- Shutoff valve exercise: open and close each zone valve one full turn to prevent seizing
- Water heater visual check: no leaks at connections, temperature set according to best practices for safety and Legionella control, pressure relief valve handle free
- Expansion tank pressure check: verify pre-charge matches system pressure
- Minor drain cleaning: pour enzyme cleaner or flush high-use floor drains
Quarterly tasks (in-house technician or licensed plumber)
- Backflow device quick inspection: visual check for damage, corrosion, or tampering; confirm test date is current
- Water pressure measurement at representative fixtures: record static and flow pressure
- Water heater sediment check: listen for popping or rumbling indicating scale buildup
- Drain cleaning on high-use lines: mechanical snake or enzyme treatment as needed
- Sector-specific tasks: restaurants add grease interceptor pump-out and floor-drain deep clean; high-rise offices add pressure zone valve checks and booster pump inspection
Semi-annual and annual tasks (licensed contractors)
| Task | Interval | Responsible Role | Acceptance Criteria |
|---|---|---|---|
| Backflow assembly test | Performed at minimum once yearly | Certified backflow tester | Pass per local AHJ; certificate filed |
| CCTV sewer inspection | Every 3–5 years (high-use: annually) | Licensed drain contractor | No grade 3+ defects per NASSCO PACP scale |
| Hydro-jetting | Performed as needed following inspection | Licensed drain contractor | Line clear, flow restored to design capacity |
| Water heater flush and anode check | Conducted yearly | Licensed plumber | Anode rod inspected for wear; sediment cleaned as required |
| Full-system leak audit | Conducted yearly | Licensed plumber | No active leaks detected; pressure holds during static test |
| Valve maintenance and packing | Conducted yearly | Licensed plumber | All valves operate fully without leakage |
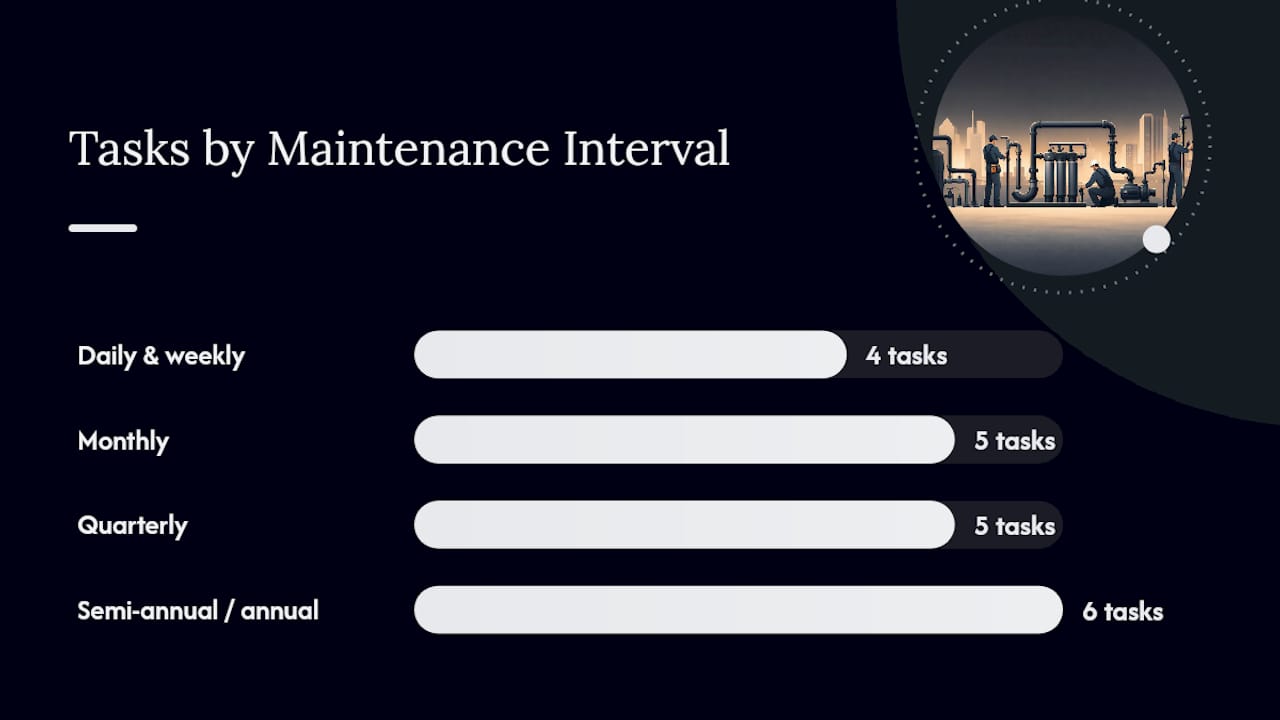
Allstate Plumbing recommends monthly visual checks and at least one full professional inspection per year, with higher frequency for high-traffic facilities. For CMMS import, structure each row with these fields: Task ID, Interval, Description, Responsible Role, Tools Required, SOP Link, Permit Required Flag, Cost Center.
What does a commercial plumbing inspection checklist include?
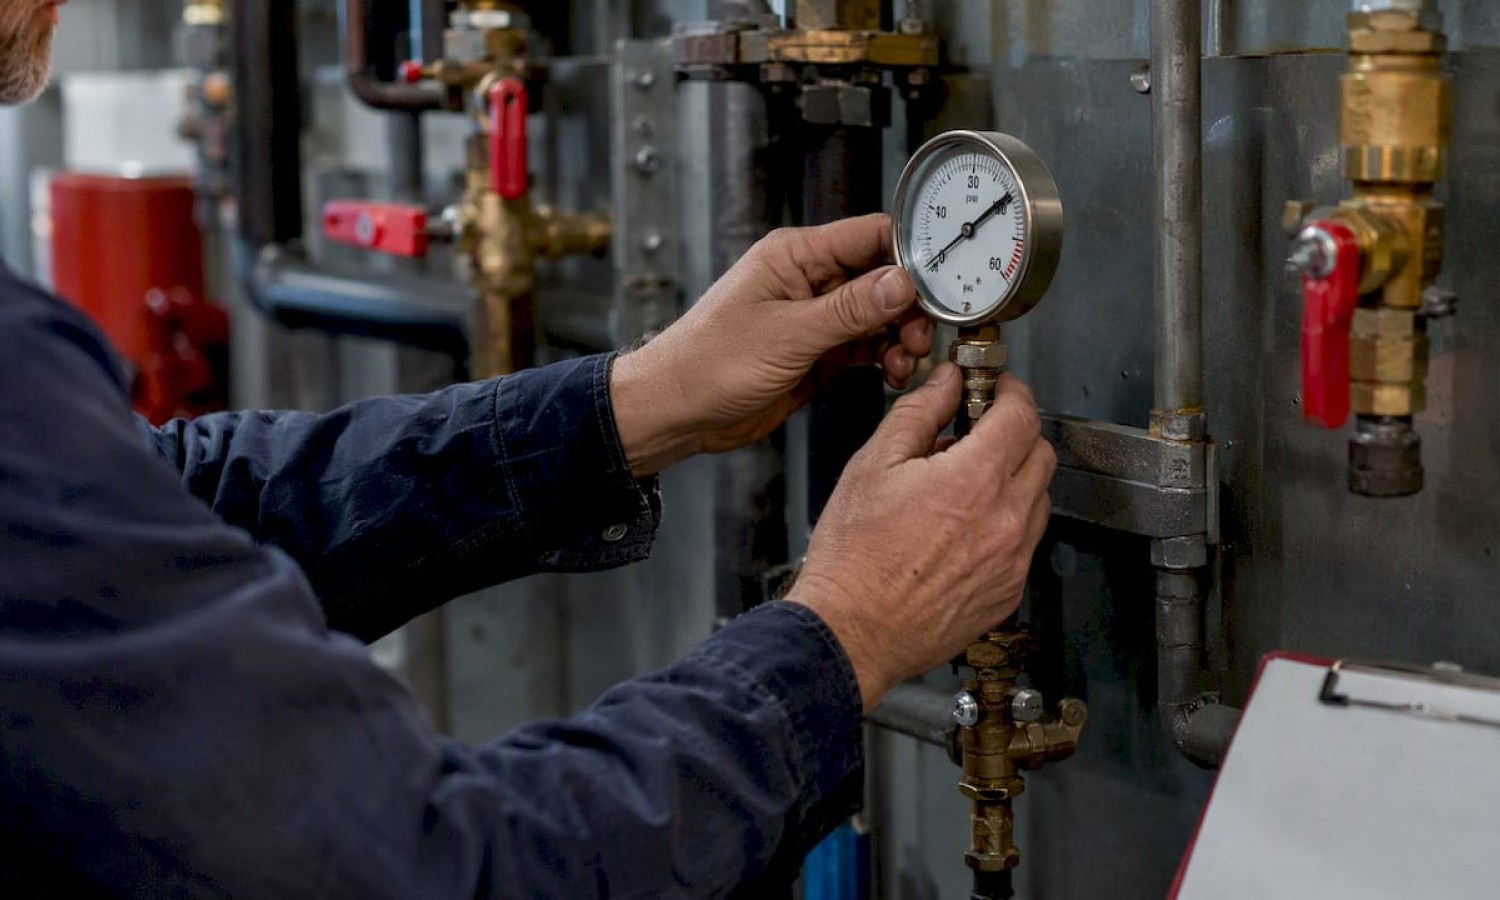
A thorough inspection uses three test types: visual, functional, and instrumented. The instruments you need on-site are a calibrated pressure gauge, a backflow test kit (differential pressure gauge with hoses), and access to a CCTV camera system for sewer lines. CCPIA provides a standardized checklist format for commercial plumbing inspections that covers all major system components and supports consistent documentation across properties.
Supply lines and pressure
- Static pressure at the meter and at the most remote fixture: acceptable range 40–80 psi
- Flow pressure under simultaneous fixture use: no more than 10 psi drop from static
- Pipe condition: no visible corrosion, staining, or mechanical damage; supports and hangers intact
- Flexible connections at fixtures: no cracking, kinking, or mineral buildup
Drains and sewer
- All floor drains: clear, trap primed, cover secured
- Visible drain lines: no sags, cracks, or root intrusion signs
- Cleanout access: all cleanouts accessible and capped
- CCTV findings: log defect type, location (distance from cleanout), and NASSCO PACP grade
Water heating systems
- Temperature and pressure relief valve: tested manually, discharges freely, discharge pipe directed to drain
- Expansion tank: pre-charge pressure matches cold-water supply pressure
- Anode rod: inspect annually; replace when less than half the original diameter remains
- Flue and venting (gas units): no blockage, corrosion, or improper pitch
Backflow prevention
- Device type matches hazard level (reduced pressure zone assembly for high-hazard connections)
- Annual test certificate on file; next test date scheduled
- No physical damage, corrosion, or unauthorized bypass
Valves and isolation points
- Main isolation valve: labeled, accessible, operable
- Zone valves: labeled with zone served, exercised within 12 months
- Pressure reducing valves: set point verified, strainer clean
Inspection form fields (minimum): Location, Component ID, Component Type, Measured Value, Unit, Pass/Fail, Defect Description, Photo Reference, Corrective Action Required, Responsible Technician, Completion Date, Inspector Signature, Timestamp.
When to escalate: any active leak, pressure below 40 psi or above 80 psi, a failed backflow test, CCTV grade 3+ defect, or a relief valve that does not reseat — all require a licensed plumber before the next business day.
Pro Tip: When CCTV finds a defect, attach the video clip and the NASSCO PACP report directly to the repair work order in your CMMS. That linkage preserves the chain of evidence for warranty claims and insurance adjusters, and it eliminates the “we can’t find the original inspection” problem that delays settlements.
What are the immediate steps when a commercial plumbing emergency occurs?
The first three actions in any major leak or rupture are: isolate, notify, stabilize. Every second spent searching for a valve or a phone number extends the damage window.
- Locate and close the main isolation valve. If the main is inaccessible or unknown, close the nearest zone valve upstream of the failure.
- Shut off affected zone valves to isolate the damaged section from the rest of the system.
- Isolate connected equipment: shut down water heaters, boilers, and any equipment fed by the affected line to prevent dry-fire or pressure damage.
- Identify and secure electrical hazards. Water near electrical panels, conduit, or equipment requires immediate shutdown of the affected electrical circuit before anyone enters the area.
- Evacuate the immediate area if structural damage, sewage exposure, or electrical risk is present.
- Call the licensed emergency plumber from the pre-filled contact sheet (see template below).
- Notify the property owner or facilities director, the insurer, and the utility provider if a main service line is involved.
- Document the scene: photos and timestamps before any temporary repair.
Emergency contact template (pre-fill and post at each mechanical room):
- Onsite facilities lead: Name / Cell / Alternate
- Licensed emergency plumber: Company / 24-hour line / License number
- Water utility provider: Account number / Emergency line
- Gas utility (if applicable): Account number / Emergency line
- Property insurer: Policy number / Claims line
- Building owner or property manager: Name / Cell
Main isolation valve locations must appear on as-built drawings, posted in each mechanical room, and entered as a named asset in your CMMS. Mark them with a red tag or red-painted handle so any staff member can find them without drawings.
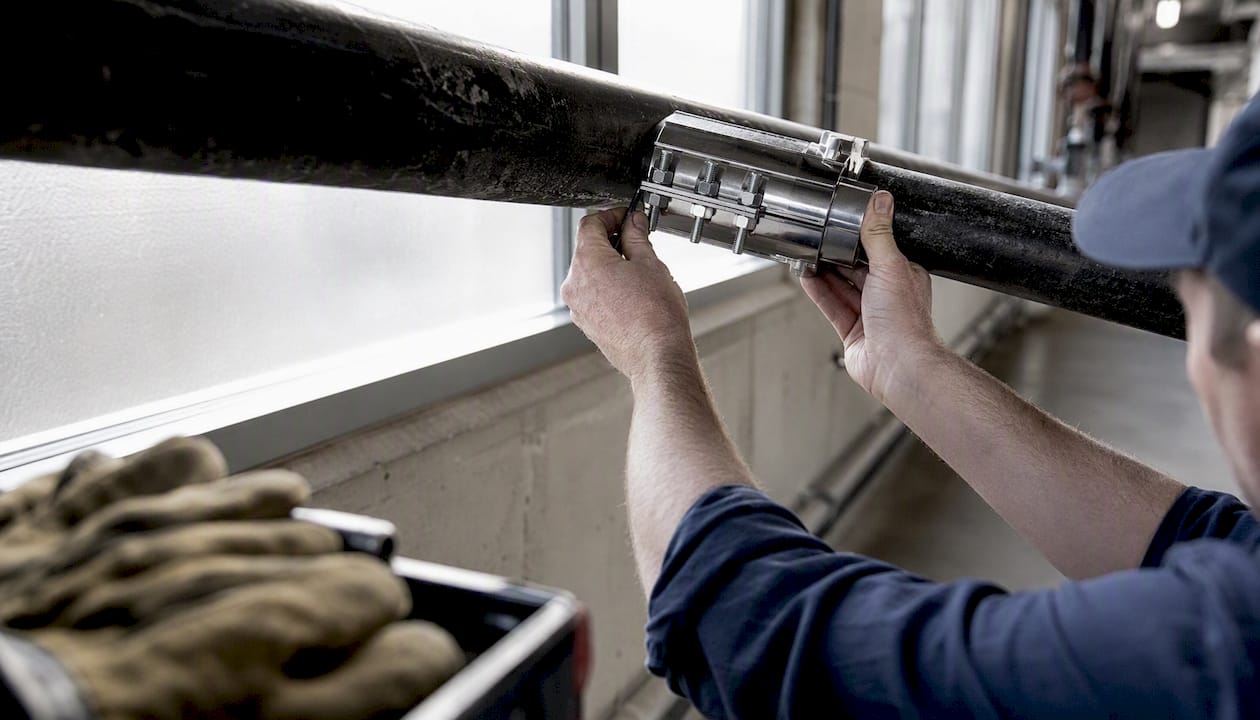
On temporary repairs: clamp-style pipe repair couplings (such as stainless steel repair clamps) are acceptable for temporary stabilization on non-pressurized or low-pressure lines while awaiting a licensed plumber. They are not a permanent fix and must be replaced within the timeframe your insurer and local code require — typically 30 days or less.
Pro Tip: Run a tabletop emergency drill once a year: give staff a scenario and time how long it takes to locate the main isolation valve and read the emergency contact sheet. Most teams discover at least one gap — a missing contact number or an unlabeled valve — before a real event forces the issue.
What tools, test equipment, and PPE does your team need on-site?
Commercial plumbing systems require specialized tools beyond what residential maintenance carries. The must-have items are: a calibrated pressure gauge, a backflow test kit, pipe wrenches (12-inch and 18-inch), a drain snake (electric, 50-foot minimum), replacement gaskets and packing, and full PPE for each technician.
Diagnostic instruments
- Pressure gauge: 0–200 psi range, calibrated annually; use at hose bib or test port
- Backflow test kit: differential pressure gauge with hoses rated for the device being tested; calibration certificate required by most AHJs
- Pipe inspection camera (handheld): for accessible drain lines between CCTV contractor visits
- Infrared thermometer: water heater surface checks and pipe temperature verification
Repair and maintenance tools
- Pipe wrenches: 12-inch and 18-inch
- Basin wrench, adjustable pliers, and torque wrench for fixture work
- Electric drain snake (50-foot, 5/8-inch cable) for in-house drain clearing
- Valve packing tools and replacement packing for gate and globe valves
- Pipe repair clamps (stainless steel, assorted sizes) for temporary stabilization
- Thread sealant tape (PTFE) and pipe joint compound
Consumables
- Replacement washers, O-rings, and cartridges for common fixture types on-site
- Anode rods sized to water heaters on-site
- Enzyme drain treatment for monthly floor drain maintenance
- Pipe insulation wrap for exposed lines in mechanical rooms
PPE (per technician)
- Chemical-resistant gloves (nitrile, minimum)
- Safety glasses and face shield for drain work and pressure testing
- Steel-toed boots
- Knee pads for fixture work
- Respirator (N95 minimum) for sewer entry or confined-space drain work
Specialty contractor services (do not attempt in-house)
- CCTV sewer inspection: rent or contract a licensed drain contractor with NASSCO-certified operators
- Hydro-jetting: high-pressure water jetting should be performed by licensed contractors to avoid pipe damage
- Backflow assembly testing: must be performed by a certified backflow tester; most states require annual certification
Pro Tip: Rent CCTV equipment and a hydro-jetter rather than purchasing them. Annual rental cost for both is a fraction of purchase price, and the contractor brings calibrated equipment and certified operators — both of which your insurer and AHJ may require anyway. Keep the basic maintenance tools in-house; contract the specialty work.
How do you map assets, keep records, and coordinate contractors?
Keep as-built drawings, valve maps, inspection logs, test certificates, service contracts, and asset tags — all linked in your CMMS. Documenting inspection results, asset locations, and test certificates in an organized record system is essential for audits and efficient contractor coordination.
Record types and minimum metadata
- As-built drawings: current revision date, drawing number, stored digitally and in mechanical room
- Valve map: each valve’s asset ID, location description, zone served, last exercise date
- Inspection logs: date, inspector, findings, pass/fail per component, corrective actions
- Test certificates: backflow test results, pressure test records, CCTV reports — filed by asset ID and date
- Service contracts: contractor name, license number, scope, SLA response time, expiration date
- Asset tags: physical tag on each valve, water heater, backflow device, and pump; tag number matches CMMS record
CMMS fields for plumbing assets
- Asset ID, Asset Type, Location (building/floor/room), Install Date, Manufacturer, Model, Serial Number, Warranty Expiration, Last Service Date, Next Service Due, Responsible Role, SOP Link, Permit Required Flag, Cost Center
CMMS fields for recurring tasks
- Task ID, Asset ID, Interval, Description, Responsible Role, Tools Required, Estimated Duration, SOP Link, Permit Required, Last Completed Date, Next Due Date, Cost Center
Contractor coordination checklist
- Pre-qualify backflow testers: confirm current state certification before scheduling
- Schedule windowed access: coordinate with tenants or operations to minimize disruption
- Require digital certificates: all code-required test results must be delivered as signed digital documents within 48 hours of the test
- SLA for emergency response: contract language should specify response time (typically 2–4 hours for emergencies, 24 hours for non-urgent work)
- Verify insurance: general liability and workers’ compensation certificates on file before any contractor enters the site
Tracking cost-per-incident and system downtime hours in your CMMS creates the data needed to justify preventative maintenance budgets. Planned maintenance and efficient fixtures reduce long-term operating costs — the CMMS record is what turns that principle into a number your finance team will act on.
What commercial plumbing problems do checklist tasks actually prevent?
Each checklist item maps to a failure mode. The table below shows the most common commercial plumbing failures, the checklist tasks that reduce their risk, and the recommended prevention frequency.
| Failure Mode | Checklist Tasks That Reduce Risk | Frequency |
|---|---|---|
| Corrosion and pipe failure | Pressure checks, visual pipe inspection, water quality monitoring | Monthly / Annual |
| Leaks at joints and fittings | Visual leak sweep, pressure test, fixture connection check | Weekly / Annual |
| Grease buildup and clogs | Grease trap level check, floor drain cleaning, hydro-jetting | Daily / Quarterly |
| Failed backflow assembly | Backflow device visual check, annual certified test | Quarterly / Annual |
| Scale in water heaters | Anode rod inspection, annual flush, temperature monitoring | Annual |
| Low pressure from distribution issues | Pressure measurement at remote fixtures, PRV check, booster pump inspection | Monthly / Quarterly |
| Sewer collapse | CCTV inspection, root intrusion monitoring, hydro-jetting | Every 3–5 years |
Drainage troubleshooting steps apply to commercial floor drains and branch lines as well — the diagnostic sequence is the same, the scale is larger.
Corrosion is the failure mode most teams underestimate. Visible surface rust on a support hanger or a discolored joint is a leading indicator, not a cosmetic issue. Catching it at the visual-check stage costs a replacement fitting; missing it costs a pipe section and the water damage below it.
Pro Tip: Set a quarterly run schedule on low-use branch lines — open the farthest fixture for two minutes, then flush the drain. Stagnant water in dead-end branches is the primary condition for Legionella growth in commercial systems. This single task, added to the quarterly checklist, addresses a risk that most standard maintenance programs miss entirely.
How do you adapt and implement checklist templates for your property?
Templates are editable starting points, not finished documents. The fields to adapt first are: asset IDs (match your CMMS), responsible role (match your org chart), and local permit references (match your AHJ’s current code cycle).
Template types in this guide
- One-page BLUF checklist: top-10 priority items with owner and frequency
- Pre-construction checklist: 10-step numbered list, permit and utility fields
- Frequency-based CMMS CSV: daily through annual tasks with all CMMS fields pre-populated
- Inspection form: component-level fields with pass/fail, measured value, and corrective action
- Emergency contact sheet: pre-fill fields for all required contacts
Converting a checklist row to a CMMS work order
Each checklist row maps directly to a CMMS work order template: Task ID becomes the work order type, Interval becomes the recurrence rule, Responsible Role becomes the assigned crew or contractor, Tools Required populates the parts/tools list, and SOP Link attaches the procedure document. Most CMMS platforms (Maintenance Connection, UpKeep, Fiix) accept CSV import with these field names.
Implementation sequence
- Weeks 1–2: adapt asset IDs and responsible roles; enter all plumbing assets into CMMS
- Weeks 3–4: create recurring work orders for daily, weekly, and monthly tasks; assign to staff
- Month 2: schedule quarterly and annual tasks; pre-qualify contractors for backflow testing and CCTV
- Months 3–4 (pilot): run the full schedule on one building or one floor; collect technician feedback on task clarity, time estimates, and missing steps
- Month 4 onward: revise templates based on pilot feedback, then roll out site-wide with a one-hour training session for all responsible roles
Plumbing infrastructure varies significantly between building types — a multi-tenant office and a food-service facility share the same checklist structure but differ in task frequency, specialty systems, and contractor requirements. Build those differences into the responsible-role column and the interval fields, not into separate templates.
Pro Tip: Version-control every template with a revision date and a revision number in the footer. Auditors and insurers want to see that your procedures are current. A template with no date is treated as undated — which, in a compliance audit, is the same as missing.
The part of checklist implementation most teams get wrong
The most common implementation failure is not a missing checklist item. It is an unmapped valve.
Teams spend time building detailed inspection forms and CMMS schedules, then discover during the first emergency that three zone valves have no labels, two are behind a locked panel with no key on-site, and the as-built drawings show a valve location that was moved during a renovation five years ago. The checklist is complete; the physical system does not match it.
The fix is straightforward but requires a dedicated half-day: walk every mechanical room and accessible ceiling space with the as-built drawings, verify each valve’s location against the drawing, tag any discrepancy, and update the drawing before entering the asset into CMMS. Do this before the first work order goes out, not after the first emergency.
The second most common failure is contractor SLA gaps. A backflow test certificate that arrives six weeks after the test, or a CCTV report with no NASSCO PACP grades, is not a usable compliance document. Write the delivery format and the deadline into the contract before the first scheduled test — not as a follow-up email after the fact.
One action you can take this week: identify three critical valves (main isolation, the valve serving your largest water heater, and the valve serving your highest-occupancy restroom zone), confirm their locations against your drawings, and add a red tag to each one. That takes under an hour and closes the most dangerous gap in most facilities’ emergency response.
Sources
These U.S.-focused references support the standards, intervals, and procedures in this guide. Use them when qualifying contractors, setting acceptance criteria, or preparing for compliance audits.
- Commercial Plumbing Inspection Checklist: What to Check
- Commercial Plumbing Maintenance Checklist: Prevent Costly Repairs and Keep Your Business Running | WM Plumbing, Inc.
- Commercial Plumbing Planning Checklist: A Complete Guide!
- Checklist for Inspecting Commercial Plumbing Systems - CCPIA
Palikite komentarą