



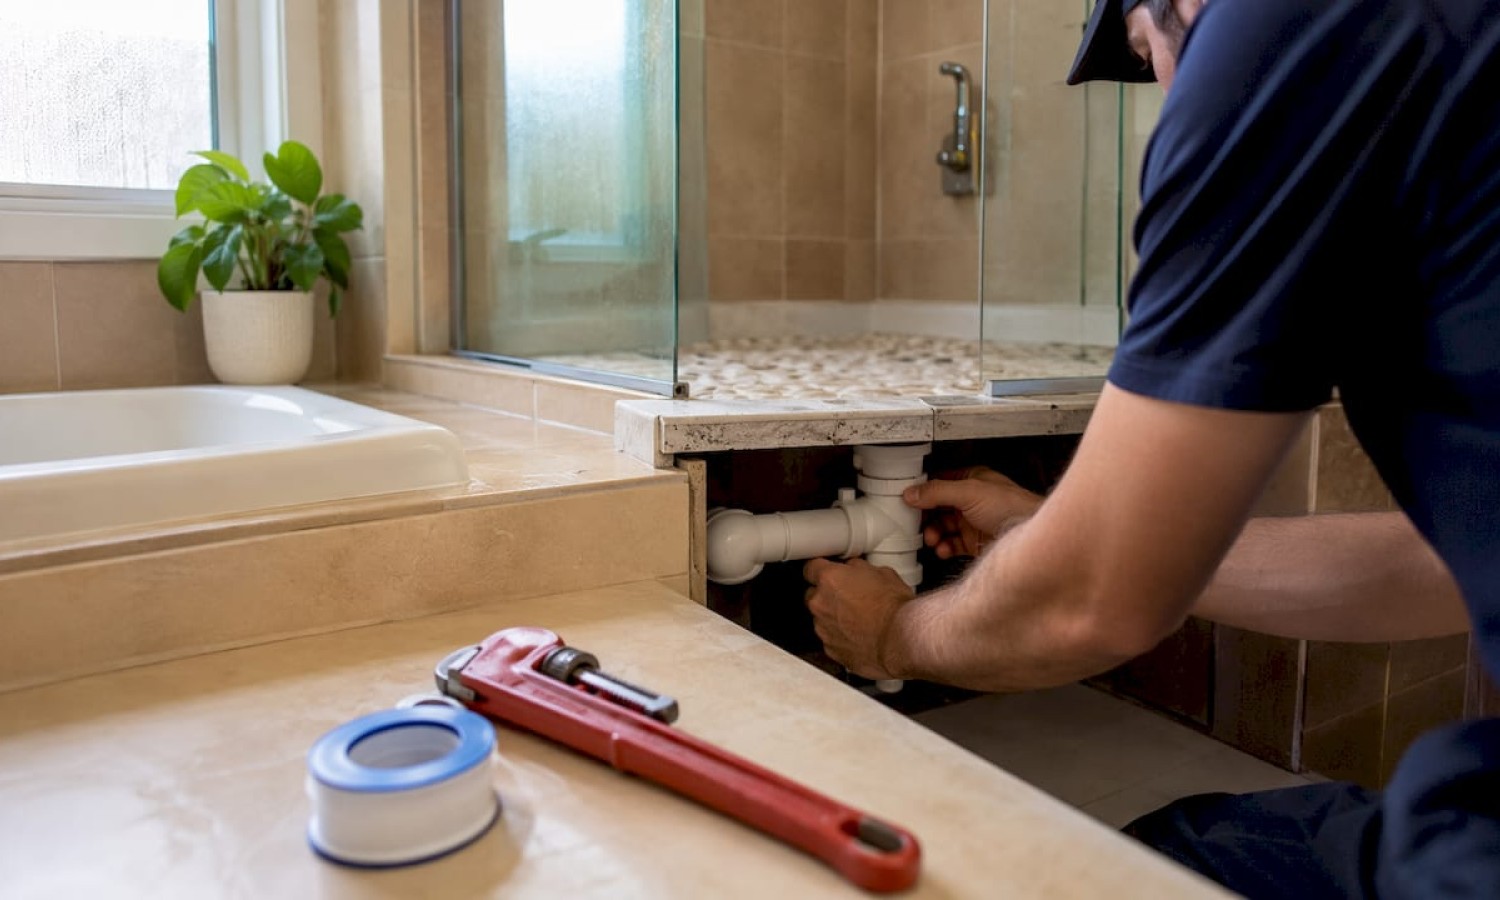

What Is a Shower Waste Trap: A Homeowner’s Guide
TL;DR:
- A shower waste trap blocks sewer gases with a water seal, allowing wastewater to drain efficiently.
- Proper venting and correct pipe slope are essential to maintain trap function and prevent odors or slow drainage.
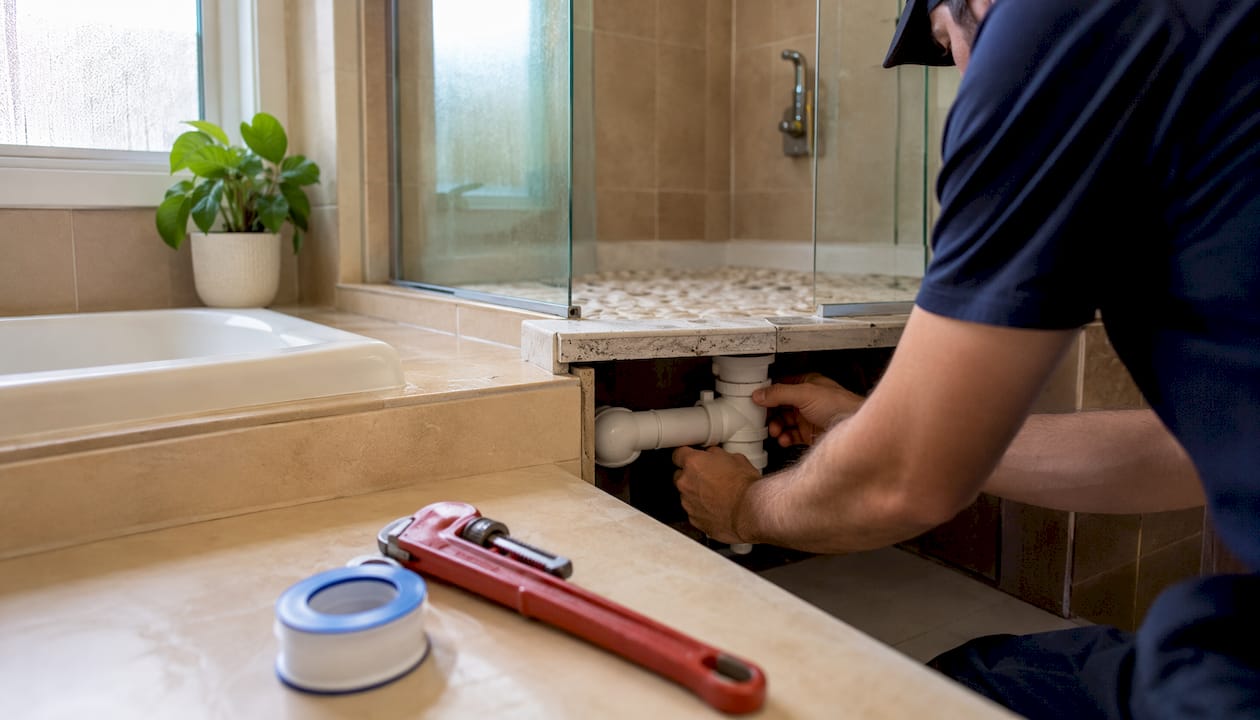
A shower waste trap is a curved section of pipe installed beneath the shower drain that holds a small standing pool of water, creating a seal that blocks sewer gases from entering your home while allowing wastewater to flow freely into the drain line. Without it, every shower drain would be an open channel to the sewer.
Key facts at a glance:
- Trap shapes: P-trap (most common in U.S. residential showers), bottle trap, and S-trap (legacy design, now largely phased out under modern codes)
- Location: Directly below the drain body, under the shower tray or embedded beneath a tileable wet-room floor
- Seal depth: The standing water column is typically 2–4 inches deep, which is the minimum needed to resist sewer gas pressure
- Signs of failure: Sulfur or sewage odor, gurgling sounds, slow drainage, or standing water that won’t clear
- Code context: The International Plumbing Code (IPC) and Uniform Plumbing Code (UPC) both mandate trap installation and minimum seal depth for all shower drains; Santehnikasveikals carries a range of replacement traps and siphons compatible with standard shower assemblies
Table of Contents
- How does a shower waste trap actually work?
- What shower trap types are available?
- How to recognize trap problems before they get worse
- How to clean and maintain a shower trap safely
- Can you replace a shower trap without removing the tray?
- When should you call a plumber?
- Why venting matters: the health case for a working trap seal
- Key Takeaways
- The detail most homeowners miss about trap maintenance
- Replacement traps and drain parts at Santehnikasveikals
How does a shower waste trap actually work?
Water and the trap work together in a simple sequence. Understanding that sequence makes every maintenance or repair decision easier.
- Water enters the drain body. When you run the shower, water flows through the grate or strainer and into the drain flange, the topmost fitting that sits flush with the shower floor.
- It travels down the tailpiece. The tailpiece is the short vertical pipe connecting the drain flange to the trap inlet. Gravity pulls water straight down through it.
- Water fills and passes through the trap bend. The trap itself is a U- or P-shaped curve. Incoming water pushes the water already sitting in the bend forward and out into the waste line, but the curve always retains enough water to maintain the seal. That retained column is called the trap seal.
- Wastewater exits into the horizontal waste line. From the trap outlet, water travels along a sloped drain pipe toward the main stack. The recommended slope is 1/4 inch per foot toward the waste line. Too flat and debris accumulates; too steep and water races ahead of solids and can siphon the trap seal.
- The vent pipe equalizes air pressure. As water drains, it creates a partial vacuum in the pipe behind it. A vent pipe connected near the trap outlet allows outside air in, preventing that vacuum from pulling the trap seal out. Without a vent, the vacuum can become strong enough to siphon water from the trap, leaving the bend dry and the sewer open.
- The weir holds the seal. The weir is the high point on the outlet side of the trap bend. Water must rise to the weir level before it exits, which is what guarantees a minimum volume of water always stays in the trap.
- The cycle repeats. Each shower refills and refreshes the seal automatically, as long as the vent is clear and the slope is correct.
Pro Tip: If you rarely use a secondary shower, run water for 30 seconds every two to three weeks. Evaporation can dry out the trap seal even when there is no blockage, and a dry trap smells exactly like a broken one.
What shower trap types are available?
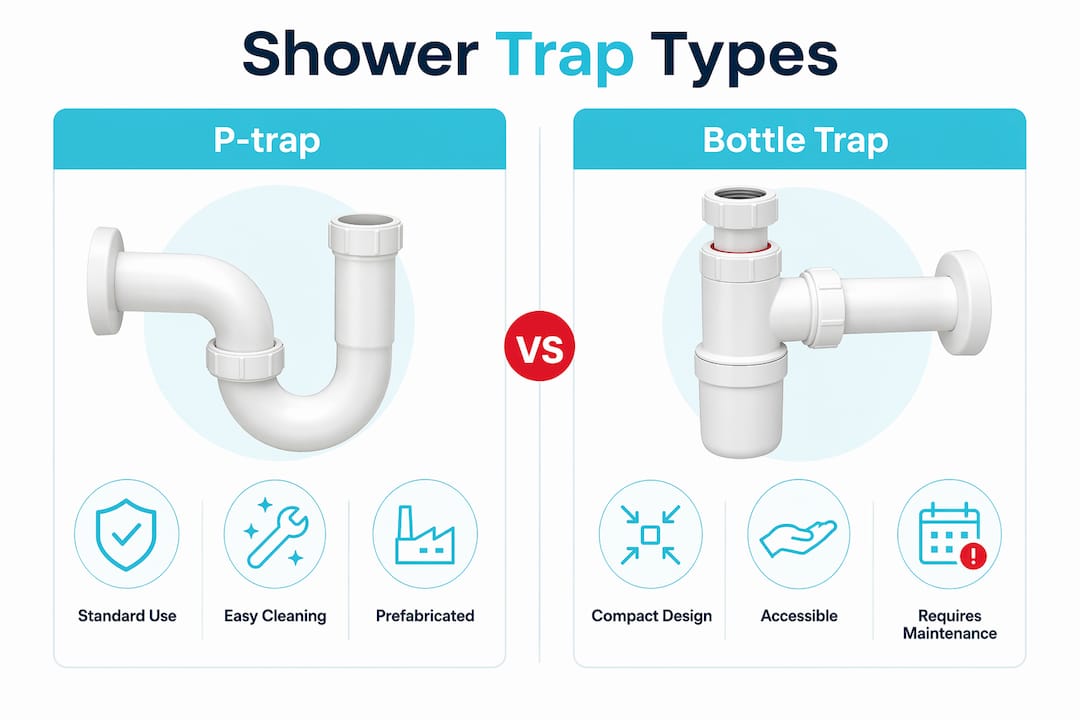
P-traps, bottle traps, tileable tray-integrated traps, and linear drain traps are the four types you will encounter in U.S. residential showers. S-traps appear in older homes but are no longer code-compliant for new installations because their vertical outlet can self-siphon.
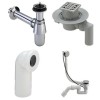
- P-trap: The standard choice. Its horizontal outlet connects directly to the wall-run waste line. The P-trap’s U-bend reliably holds the seal and, when fitted with a clean-out plug, allows straightforward access for clearing blockages.
- Bottle trap: A compact, cylindrical design used where vertical clearance under the tray is limited. The trap body unscrews for cleaning, but the narrow internal diameter can restrict flow in high-volume showers.
- Tileable/tray-integrated trap: Built into low-profile shower trays or wet-room floors. The trap body sits in the subfloor, and only the grate is visible. Flow rate and access for cleaning vary widely by manufacturer.
- Linear drain with integrated trap: A channel drain running along one wall, with the trap built into the channel body. Common in modern wet rooms. Check the manufacturer’s stated flow rate (liters or gallons per minute) before specifying for a large shower.
| Type | Common use | Pros | Cons | Access for cleaning |
|---|---|---|---|---|
| P-trap | Standard tray, prefab pan | Reliable seal, easy clean-out | Needs horizontal wall clearance | Good with clean-out plug |
| Bottle trap | Tight under-tray spaces | Compact, removable body | Lower flow rate, harder to snake | Moderate — unscrew body |
| Tileable/integrated | Wet rooms, tiled floors | Invisible finish | Varies by brand; some require floor access | Limited — grate only |
| Linear drain | Modern wet rooms | High flow, design-forward | Higher cost, complex install | Moderate — lift channel cover |
Material and sizing notes: Most residential shower traps in the U.S. are PVC or ABS plastic. Brass traps appear in higher-end or commercial installations. Nominal pipe sizes for shower drains are typically 2 inches (the IPC minimum for showers) or 3 inches for high-flow applications. Always verify your local code for minimum trap seal depth and venting requirements before purchasing a replacement.
How to recognize trap problems before they get worse
Odor is the clearest signal. A persistent sulfur or sewage smell from the shower drain almost always traces back to a lost or compromised trap seal, a dry trap from infrequent use, or a clogged trap that has gone septic.
Gurgling is the second symptom to watch. A gurgling sound during or just after drainage means air is being pulled through the trap water rather than through the vent. Check whether nearby fixtures (a toilet or sink on the same branch) also gurgle when the shower drains. If they do, the problem is likely a shared vent restriction, not the trap itself.
Slow drainage with no visible hair blockage at the grate often points to a partial trap clog or, less obviously, a piping slope problem. Many chronic drain issues that look like clogs are actually venting or slope failures; repeated snaking without fixing the root cause will not hold.
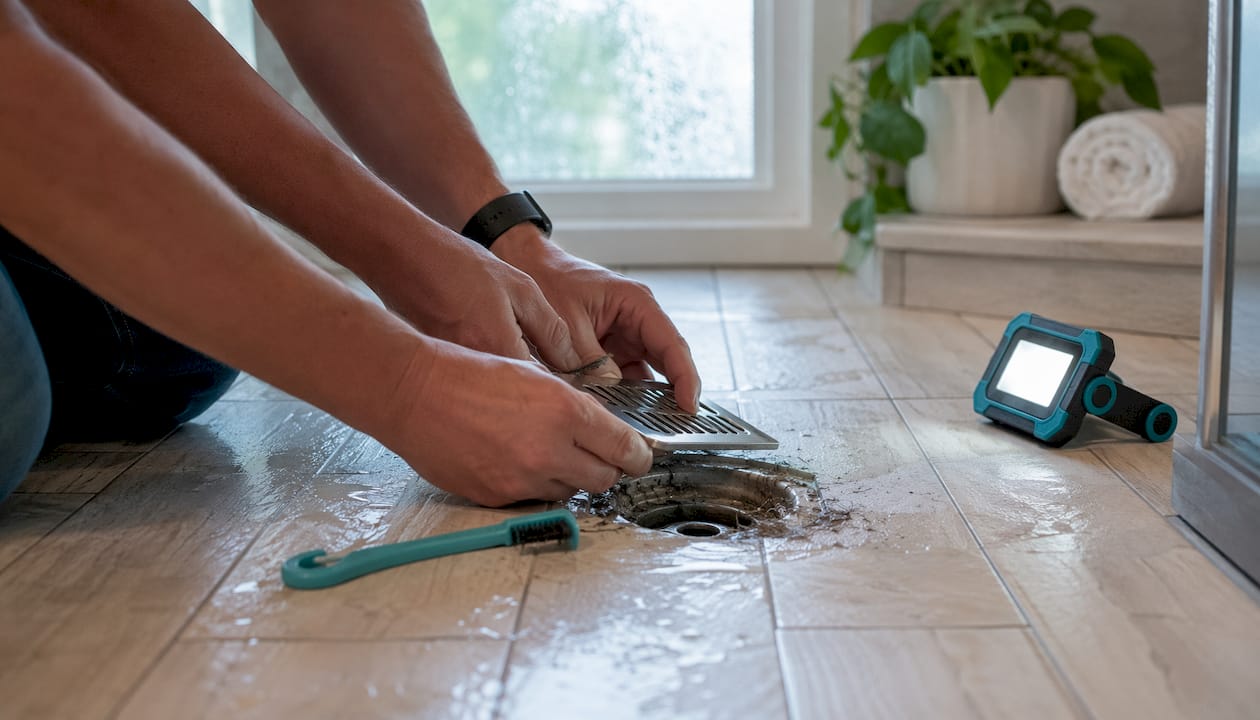
Standing water in the shower floor that clears slowly suggests a blockage at or just past the trap. Pull the grate and look for a hair-and-soap mass at the top of the tailpiece first. That takes two minutes and resolves a large share of slow-drain complaints.
A quick diagnostic path: fill the shower pan with a few inches of water, then watch and listen as it drains. Gurgling = vent or slope issue. Slow but silent = trap or pipe blockage. Smell with normal drainage = dry or cracked trap seal. Each symptom points to a different fix.
How to clean and maintain a shower trap safely
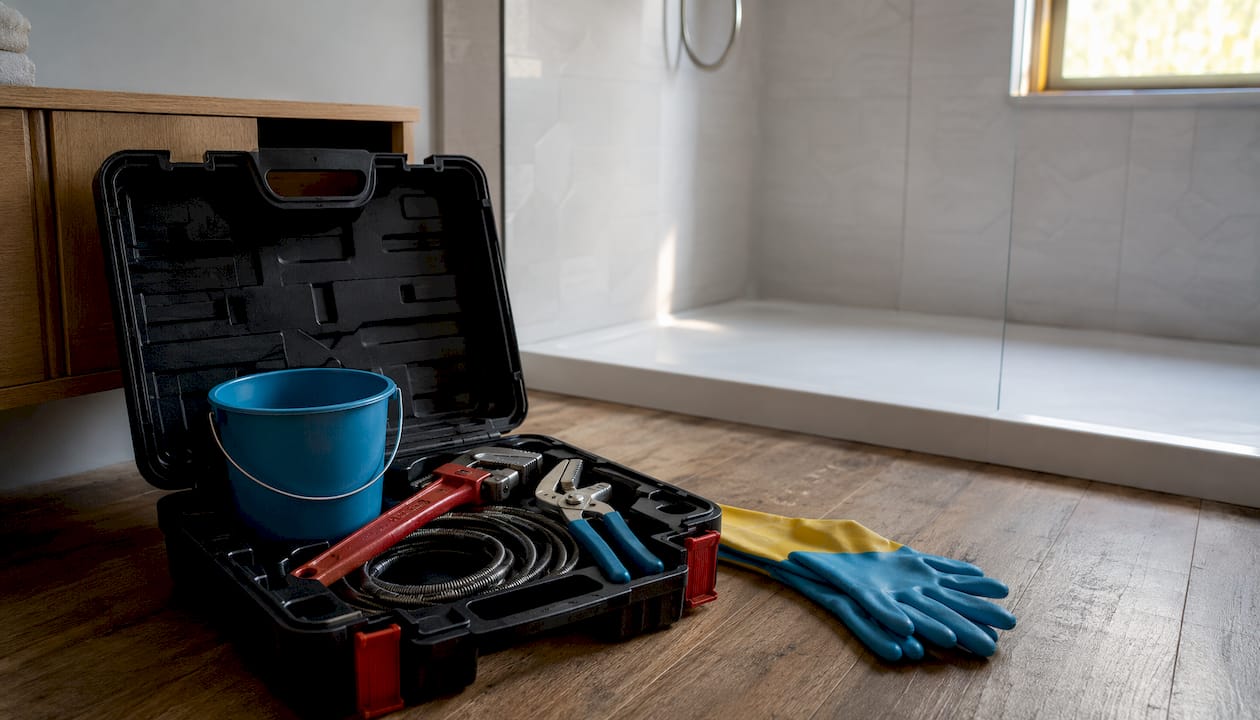
Before touching anything under the drain, unplug any electrical items near the shower, put on rubber gloves, and make sure you are not mixing chemical drain products. Caustic drain cleaners (lye-based or sulfuric acid products) can damage PVC trap bodies and rubber gaskets, and they are a poor substitute for mechanical cleaning.
- Remove the grate or cover plate. Most snap out or unscrew with a flathead. Set the cover aside and inspect the gasket or rubber seal around the drain flange.
- Clear visible debris from the tailpiece. Use your fingers or a drain-cleaning hook to pull out hair and soap buildup from the top of the drain body. This step alone often restores normal flow.
- Use a hand auger or trap-cleaning tool. Feed the cable into the drain opening and work it through the trap bend. Rotate slowly to catch hair rather than push it deeper. A hand auger and basic tools are the right equipment for this job.
- Flush with hot water. Run the hottest tap water available for two to three minutes to carry loosened debris through the trap and into the waste line.
- Reassemble and test. Replace the grate, run the shower at full flow, and watch for drainage speed and listen for gurgling. If the problem persists after this sequence, the issue is likely past the trap or in the vent.
For bottle traps, step 3 is replaced by unscrewing the trap body, emptying it into a bucket, rinsing it, and reassembling with the gasket seated correctly. Pressure-test the assembly by running water for a full minute and checking for drips at every joint before declaring the job done.
Pro Tip: A catch-strainer placed over the grate is the single most effective long-term maintenance measure. Hair is the primary cause of trap blockages, and a strainer catches it before it reaches the trap bend. Choose one sized to your drain opening and rinse it after every shower.
Avoid enzyme drain cleaners as a first response to a full blockage — they work slowly and are better suited to monthly prevention than active clogs. Never pour boiling water into a PVC trap; sustained heat above 140°F can soften the pipe.
Can you replace a shower trap without removing the tray?
Sometimes. The answer depends on trap type, tray construction, and how the original installation was done.
Situations where tray-in-place replacement is usually possible:
- Bottle trap under a freestanding or raised tray with accessible underside
- P-trap with a removable clean-out and enough clearance to disconnect slip-joint fittings
- Prefabricated acrylic or fiberglass pan with a removable access panel in the adjacent wall or floor
- Tileable drain with a grate-only access design where the trap body threads out from above
Situations that typically require tray removal:
- Integrated tileable trap bonded under a waterproof membrane and tile bed
- Glued ABS or PVC joints with no union fittings and no access panel
- Offset pipework where the trap outlet does not align with the existing waste line after removal
- Any installation where the trap flange is set in mortar or adhesive beneath the tray base
For a DIY tray-in-place swap on a bottle or P-trap with slip-joint fittings, budget one to two hours including cleanup. A professional doing the same job typically takes 30–60 minutes. If tray removal is required, the job expands to a half-day or full-day project depending on tray weight, adhesive type, and whether the waterproofing membrane needs to be replaced. Always check for visible fasteners and manufacturer instructions before committing to either path.
When should you call a plumber?
Some trap problems are straightforward DIY jobs. Others signal something deeper in the drain system that mechanical cleaning will not fix.
Call a plumber when you see:
- Persistent sewer gas smell that returns within days of cleaning the trap
- Gurgling in multiple fixtures simultaneously (toilet, sink, and shower on the same floor)
- Standing water that backs up into the shower from the drain line
- Visible leaks at the trap body or drain flange after reassembly
- Signs of pipe damage: cracks, offset joints, or corrosion visible through an access panel
- Repeated siphoning (trap seal disappears regularly despite normal use)
| Task | DIY or pro? | Typical tools needed | Typical time | Rough cost range (U.S.) |
|---|---|---|---|---|
| Clear hair from grate/tailpiece | DIY | Drain hook, gloves | 5 min | — |
| Snake trap and flush | DIY | Hand auger, bucket | 30–60 min | — |
| Replace bottle trap (accessible) | DIY | Pliers, bucket, new trap | 1–2 hrs | — |
| Replace P-trap (accessible) | DIY/pro | Slip-joint pliers, new trap | 1–2 hrs | — |
| Trap replacement requiring tray removal | Pro | Full plumbing kit | Half–full day | — |
| Vent inspection and repair | Pro | Specialized tools, roof access | Half day | — |
Cost ranges vary significantly by region in the U.S. Labor rates in major metro areas can run 30–50% higher than rural markets. Get at least two quotes for any job that involves tray removal or vent work, and ask each plumber to confirm whether the existing piping slope meets the 1/4-inch-per-foot standard before they close the wall or floor.
Why venting matters: the health case for a working trap seal
Venting is not optional. Without a properly connected vent pipe, water flow creates a vacuum in the drain line that can pull the trap seal out completely, leaving the drain open to the sewer. That is a plumbing failure and a health concern.
The gases that enter through a dry or siphoned trap include methane and hydrogen sulfide. Hydrogen sulfide is detectable at very low concentrations by its characteristic rotten-egg odor, but at higher concentrations it can cause headaches, nausea, and in extreme cases more serious effects. Methane is odorless and flammable. The trap’s water seal is a safety feature, not merely a convenience, and maintaining it protects everyone in the home.
A properly functioning trap seal is the primary barrier between living spaces and the sewer gas environment. When that seal is lost through siphoning, evaporation, or a cracked trap body, the drain becomes a direct conduit for gases that are both unpleasant and potentially hazardous to occupants.
The IPC and UPC both require that every trap be vented, and that the vent pipe connect to the drain line within a specified distance of the trap weir. Deviations from that distance increase the risk of siphonage. For plumbing code compliance details specific to your jurisdiction, consult your local authority having jurisdiction (AHJ) or a licensed plumber.
To check your vent at home: listen for gurgling during drainage (a reliable indicator of restricted venting), and if it is safe to do so, visually inspect the roof vent stack for debris, bird nests, or ice blockage. If gurgling is chronic and the trap is clean, schedule a professional vent inspection. Fixing the vent is a higher-value repair than repeated snaking.
This article provides general information only. Confirm current code requirements with your local authority or a licensed plumber for your specific installation.
Key Takeaways
A shower waste trap’s water seal is a safety barrier, not just a plumbing convenience — losing it exposes your home to sewer gases including methane and hydrogen sulfide.
| Point | Details |
|---|---|
| Core function | The trap holds a water column of sufficient depth to block sewer gases while letting wastewater drain freely. |
| Failure symptoms | Sewage odor, gurgling, slow drainage, or standing water all signal a trap or vent problem worth diagnosing immediately. |
| Maintenance action | Remove the grate and clear hair from the tailpiece monthly; add a catch-strainer to prevent most blockages before they start. |
| Venting and health | A dry or siphoned trap allows methane and hydrogen sulfide into the home; chronic gurgling means inspect the vent, not just the trap. |
| Santehnikasveikals | Replacement traps, siphons, and drain accessories are available through Santehnikasveikals for standard residential shower assemblies. |
The detail most homeowners miss about trap maintenance
Most guides stop at “clean the trap and check for smells.” What they skip is the relationship between the vent and the trap. A trap that keeps losing its seal is not a trap problem — it is a vent problem wearing a trap problem’s face. Repeated snaking, repeated enzyme treatments, repeated trap replacements: none of those fix a vent that is partially blocked or incorrectly sized for the drain branch.
The other overlooked point is piping slope. A drain run that is too flat will accumulate soap scum and hair just past the trap bend, creating a slow-build blockage that looks like a trap clog but is actually a slope deficiency. The fix is re-pitching the pipe, not cleaning it every three months. That is a plumber’s job, but knowing it exists means you can ask the right question instead of paying for the wrong repair.
A catch-strainer at the grate, a vent stack that is clear, and a drain pipe with the correct 1/4-inch-per-foot slope: those three conditions keep most shower traps trouble-free for years without any other intervention.
Replacement traps and drain parts at Santehnikasveikals
When a trap needs replacing, the right part matters as much as the labor. Santehnikasveikals stocks a range of shower siphons and trap assemblies from established manufacturers, including VIEGA, alongside drain accessories, strainers, and installation hardware suited to standard U.S. and European pipe dimensions.
Whether you are swapping a bottle trap on an accessible tray or sourcing parts for a full wet-room drain rebuild, the product catalog covers the common configurations. Browse the full range or contact the team for fitting guidance at santehnikasveikals.lv.
Useful sources
- How Does a Shower Drain Work — The Plumbero
- Understanding Shower Waste Traps: Function, Importance, and Maintenance Tips — ShunWaste
- Shower Drain Trap Complete Guide — Answereye
- How to Plumb a Shower Drain — Precision Plus Plumbing
- How to Install Shower Plumbing: Complete Step-by-Step Guide — Fkriv
- Shower Trap and Siphon Products — Santehnikasveikals
Atstājiet komentāru