



















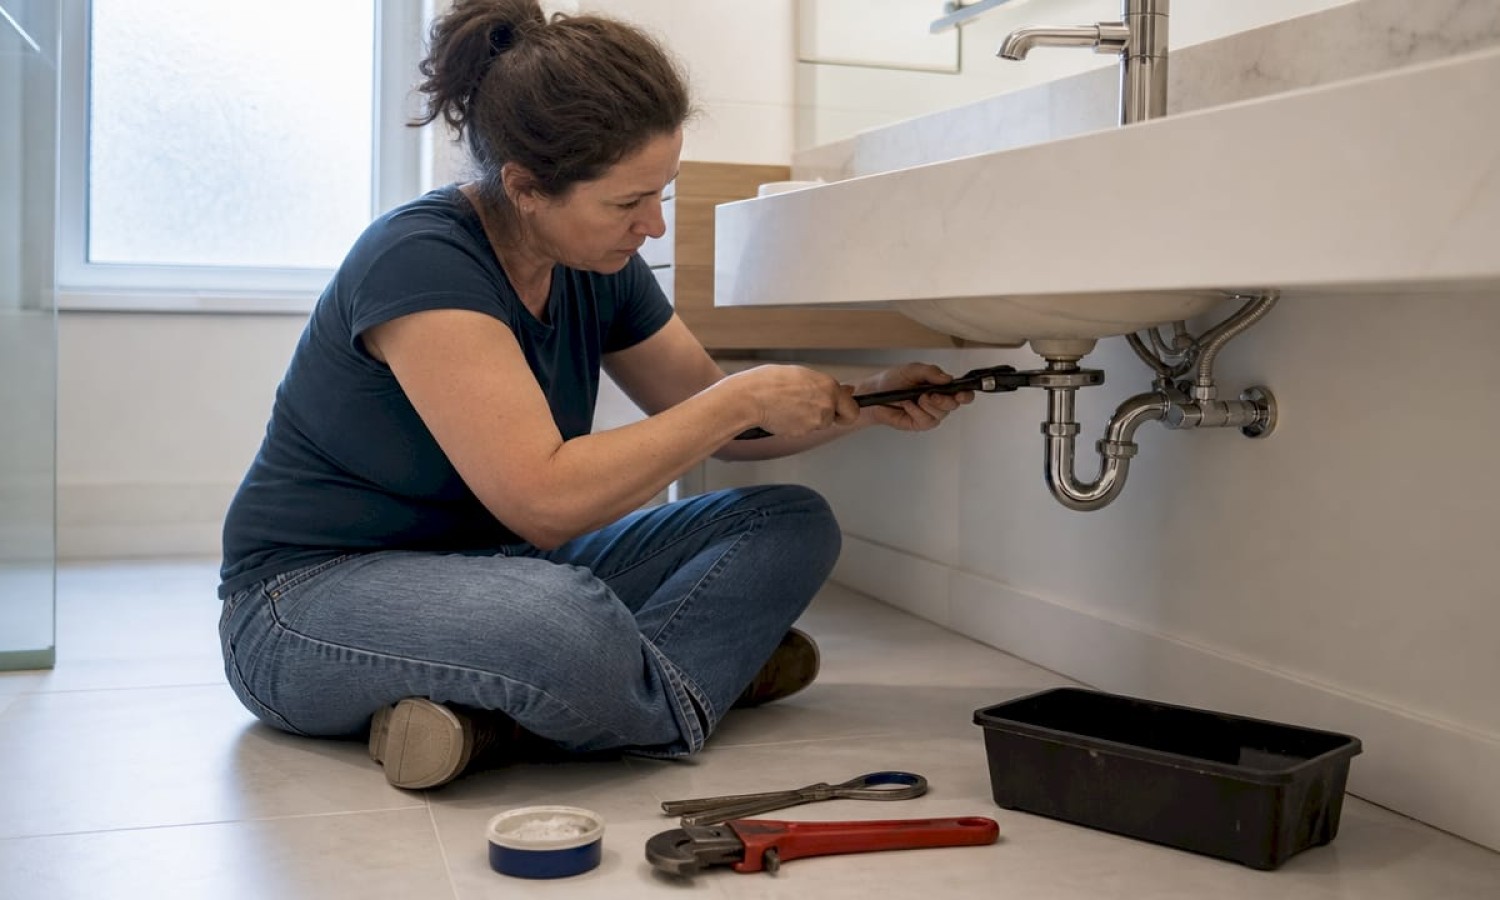

How to Replace a Faucet: A DIY Guide for Homeowners
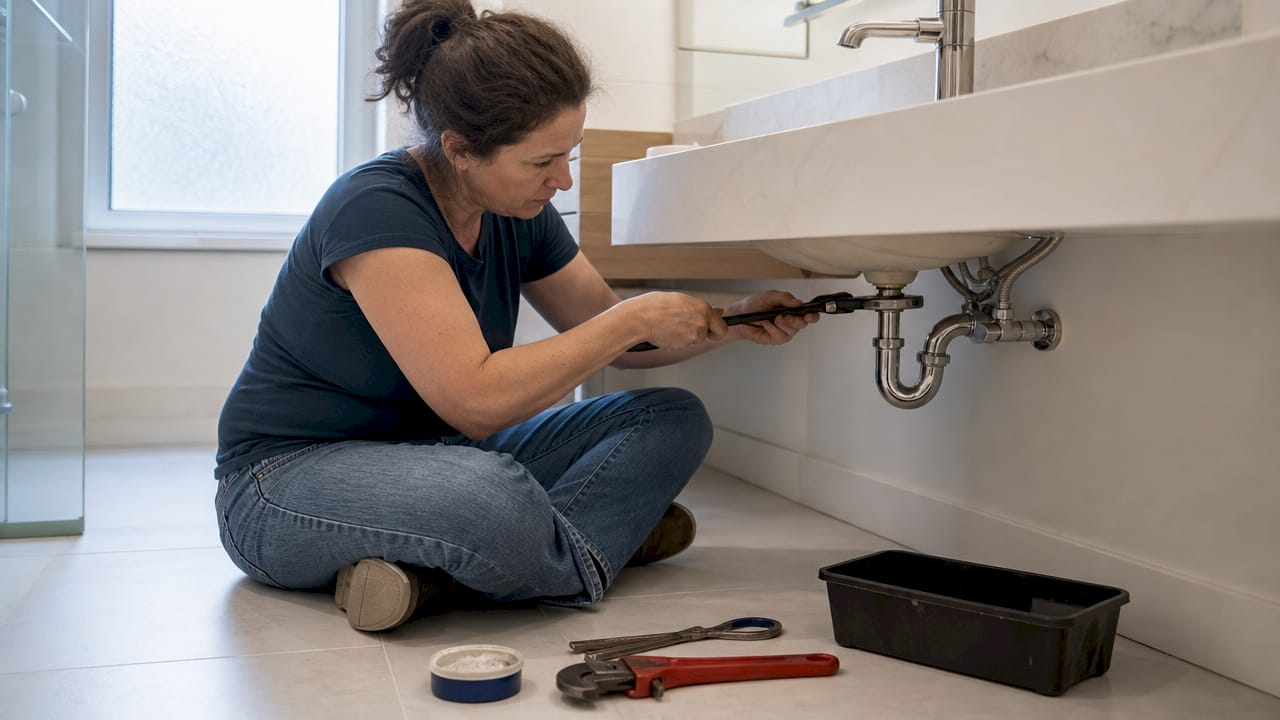
TL;DR:
- Replacing a faucet is a straightforward DIY project that saves money and time. Proper preparation, the right tools, and careful sealing are essential for a leak-free installation. Testing and troubleshooting ensure a successful faucet swap that lasts.
Faucet replacement is a practical plumbing skill that any homeowner or renter can master with the right tools and preparation. Knowing how to replace a faucet saves you the cost of a professional service call, which can run over $250 for a standard kitchen or bathroom swap. The process follows a clear sequence: shut off water, remove the old faucet, install the new one, and verify for leaks. Most first-timers complete the job in 45–90 minutes. This faucet installation guide covers every step, from gathering tools to testing the finished connection.
What tools and materials do you need for faucet replacement?
The right tools make the difference between a smooth swap and a frustrating afternoon under the sink. Gather everything before you start. Running to the hardware store mid-project with wet hands is a common and avoidable mistake.
Here is what you need:
- Basin wrench. The most critical tool for this job. Its pivoting jaw reaches mounting nuts in the tight space behind the sink bowl, where a standard wrench cannot fit. Without it, loosening those nuts takes hours instead of minutes.
- Adjustable wrench. Used for supply line connections and any fittings you can reach by hand.
- Plumber’s putty or silicone sealant. Applied around the faucet base to create a watertight seal. Check your faucet’s instructions to confirm which one the manufacturer recommends.
- Plumber’s tape (PTFE tape). Wrapped around threaded valve connections to prevent slow drips.
- Bucket and old towels. Placed under the sink to catch residual water in the supply lines.
- Spray lubricant (WD-40 or equivalent). Used on corroded or stuck mounting nuts before removal.
- Flashlight or headlamp. Under-sink cabinets are dark. A hands-free light source speeds up every step.
Pro Tip: Buy a basin wrench before you start. Homeowners who skip it and try to use a standard wrench often strip the mounting nuts or spend twice as long on the job. Check Santehnikasveikals’s plumbing tools guide for a full list of recommended tools for DIY projects.
How do you prepare your workspace and plumbing system before starting?
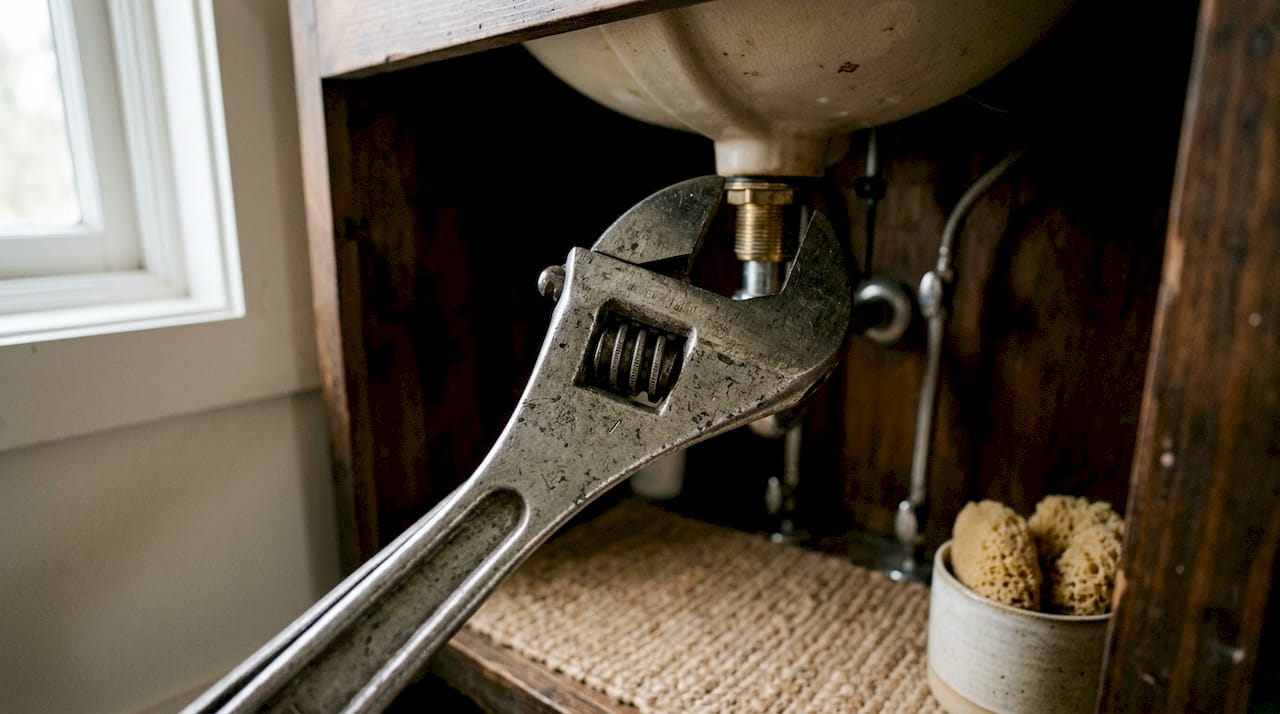
Most homeowner frustration comes from poor preparation, not from the complexity of the faucet swap itself. A clear workspace and a properly shut-down water supply make every step easier. Spend ten minutes on prep and you will save thirty minutes of cursing later.
Follow these steps before touching the faucet:
- Clear the cabinet under the sink. Remove all cleaning supplies, bags, and stored items. Clearing the workspace reduces discomfort and gives you room to maneuver the basin wrench.
- Turn off the hot and cold shut-off valves. These are the small valves on the supply lines directly under the sink. Turn them clockwise until they stop.
- Test the valves. Turn on the faucet above to confirm water flow has stopped. If the valves do not fully close, use the main shut-off for your home and plan to replace those valves while you have everything open.
- Open the faucet to release pressure. Turn the handle on and let any remaining water drain out. This prevents a surprise spray when you disconnect the supply lines.
- Place a bucket and towels under the supply lines. Even after draining, the lines hold residual water. The bucket catches it cleanly.
- Disconnect power to nearby appliances. If your sink is next to a garbage disposal or dishwasher outlet, switch off the circuit breaker for that outlet. Water and electricity do not mix.
What are the steps to remove the old faucet safely?
Removing an old faucet is the step where most DIY projects stall. Corrosion and mineral buildup can lock mounting nuts in place. Patience and the right technique get them loose without damaging the sink.
- Disconnect the supply lines. Use your adjustable wrench to unscrew the supply line nuts from the shut-off valves. Hold the valve body steady with your other hand so you do not twist the pipe. Let the lines drain into your bucket.
- Spray lubricant on the mounting nuts. If the nuts look corroded or discolored, apply WD-40 and wait two to three minutes. Do not force stuck fittings for more than 5–6 seconds. Forcing too hard strips threads or cracks the sink.
- Use the basin wrench to loosen the mounting nuts. Position the pivoting jaw around the nut and turn counterclockwise. The basin wrench loosens nuts in under a minute once you have the angle right.
- Remove the mounting hardware. Once the nuts are off, pull out any washers, deck plates, or mounting brackets. Keep them nearby in case you need to compare sizes with the new hardware.
- Lift out the old faucet. Pull it straight up through the sink holes. Some faucets have a sprayer hose attached. Disconnect it before lifting the body free.
- Clean the sink surface. Old putty, sealant, and mineral deposits stay behind. Scrape them off with a plastic putty knife and wipe the surface clean with a damp cloth. A clean surface gives the new faucet a flat, even seat.
Pro Tip: Take a photo of the supply line connections before you disconnect anything. That reference image saves time when you reconnect the new lines.
How to install a new faucet correctly and ensure a leak-free fit
A correct installation depends on two things: proper sealing at the base and controlled tightening of every connection. Rush either step and you will be back under the sink within a week.
- Apply the base seal. Check whether your new faucet includes a rubber gasket. If it does, place it over the mounting holes and skip the putty. If it does not, apply a 1/4-inch bead of plumber’s putty or silicone caulk around the faucet base before setting it in place.
- Feed the supply lines through the sink holes. Lower the faucet body into position from above. Make sure the lines thread down cleanly without kinking.
- Hand-tighten the mounting nuts from below. Reach up with the basin wrench and thread the nuts on by hand first. Hand-tightening first prevents misalignment and seal failure. Alternate between nuts, tightening each a little at a time, so the faucet seats evenly.
- Finish tightening with the basin wrench. The rule is hand-tight plus a quarter turn. Overtightening cracks sinks, strips threads, and damages gaskets. A quarter turn past hand-tight is enough.
- Connect the supply lines. Attach the hot line to the hot valve and the cold line to the cold valve. Wrap PTFE tape around any threaded valve connections before attaching the lines. Tighten with the adjustable wrench, using the same quarter-turn rule.
- Flush the lines before reattaching the aerator. Remove the aerator from the faucet spout. Run hot and cold water for at least one minute. This clears debris and sediment from the lines. Skipping this step is a common oversight that clogs new cartridges and reduces water pressure.
- Reattach the aerator. Screw it back on by hand, then snug it with pliers. Do not overtighten.
How do you test and troubleshoot common faucet replacement issues?
Testing is the final step in any replace kitchen faucet project. Turn the water back on slowly and watch every connection point. Dry paper towels are your best diagnostic tool. A damp towel reveals a leak that looks dry to the eye.
Watch for these common issues:
- Drip at the supply line connection. Tighten the connection a quarter turn. If it still drips, shut off the water, disconnect the line, and rewrap the threads with PTFE tape.
- Leak at the faucet base. The mounting nuts may need another quarter turn. If the leak persists, the base seal may be uneven. Remove the faucet and reapply putty or check that the gasket is seated flat.
- Low water pressure after installation. The aerator is likely clogged with debris from the lines. Remove it, rinse it clean, and reinstall.
- Shut-off valve that will not fully close. This is common in homes older than 20 years. Replace aging shut-off valves at the same time as the faucet to avoid repeated plumbing downtime.
- Faucet handle that spins or feels loose. The mounting nut under the handle needs tightening. Consult your faucet’s manual for the correct access point.
Pro Tip: After testing, leave the cabinet door open for an hour and check back. Some slow leaks only appear once the water pressure stabilizes. Use the drainage troubleshooting guide from Santehnikasveikals if you encounter persistent drainage issues after installation.
Key Takeaways
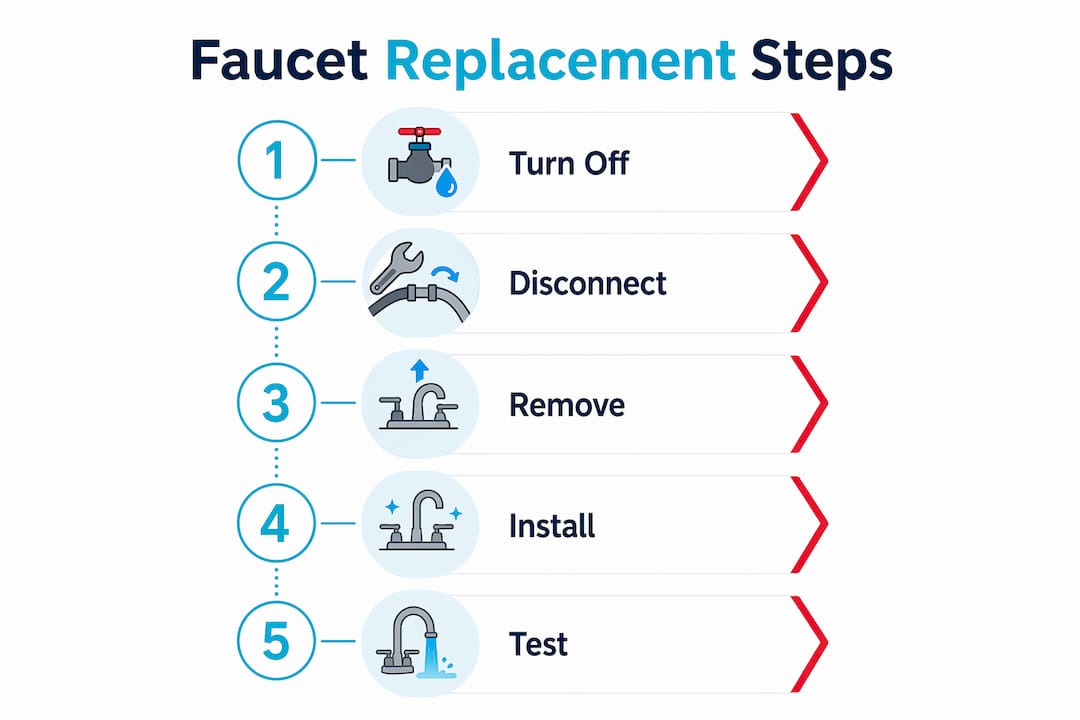
Replacing a faucet is a manageable DIY task that requires a basin wrench, proper sealing, controlled tightening, and a thorough leak test to succeed.
| Point | Details |
|---|---|
| Basin wrench is non-negotiable | Its pivoting jaw reaches mounting nuts in tight under-sink spaces where standard wrenches cannot fit. |
| Prep the workspace first | Clearing the cabinet and shutting off water before starting prevents most common frustrations and delays. |
| Seal the base correctly | Apply a 1/4-inch bead of plumber’s putty or silicone, or use the included gasket, for a leak-free fit. |
| Tighten to hand-tight plus a quarter turn | Overtightening strips threads, cracks sinks, and damages gaskets. Stop at a quarter turn past hand-tight. |
| Flush lines before reattaching the aerator | Running water for one minute clears debris that would otherwise clog the new cartridge and reduce pressure. |
What I learned from doing this the hard way
By Renate
The first time I replaced a kitchen faucet, I skipped the basin wrench. I told myself an adjustable wrench and a lot of determination would be enough. It was not. I spent forty-five minutes contorted under the sink, scraping my knuckles, before I gave up and bought the right tool. The basin wrench solved the problem in four minutes flat. That experience taught me something that no faucet installation guide had made clear enough: the tool is not optional. It is the job.
The second thing I learned is that old shut-off valves deserve respect. In a house built more than two decades ago, those valves may not have been turned since installation. When you close them for the faucet swap, they sometimes fail to reopen fully, or they start dripping at the stem. Replacing them at the same time costs an extra thirty minutes and a few dollars in parts. Not replacing them can mean a flooded cabinet six months later.
My honest advice is this: do not rush the prep. The actual faucet swap is straightforward once the workspace is clear, the water is off, and your tools are laid out. The homeowners who call a plumber halfway through are almost always the ones who skipped the preparation steps, not the ones who found the installation too complex. Confidence comes from preparation, and preparation takes ten minutes.
— Renate
Faucets, tools, and supplies at Santehnikasveikals
Every successful faucet replacement starts with having the right parts on hand before you begin. Santehnikasveikals carries a wide selection of kitchen and bathroom faucets, basin wrenches, silicone sealants, PTFE tape, and supply line fittings, all available through one online catalog with delivery across Latvia.

Whether you are replacing a single kitchen faucet or updating fixtures throughout your home, the Santehnikasveikals plumbing catalog gives you access to quality products at competitive prices. The product listings include specifications that help you match the right faucet to your existing sink holes and supply line configuration, so you arrive at the project prepared rather than guessing at the hardware store.
FAQ
How long does it take to replace a faucet?
A first-timer typically completes a standard faucet replacement in 45–90 minutes. Experienced DIYers finish in 45–60 minutes.
Do I need to turn off the main water supply?
You only need the main shut-off if the under-sink valves do not fully close. Failing shut-off valves are common in older homes and should be replaced during the same project.
What is the correct way to tighten faucet mounting nuts?
Hand-tighten the nuts first, alternating between them to seat the faucet evenly, then add a quarter turn with a wrench. Overtightening cracks sinks and strips threads.
Why is my new faucet dripping at the base?
A base drip usually means the gasket is not seated flat or the mounting nuts need another quarter turn. Remove the faucet, recheck the seal, and reinstall if the drip continues.
Do I need to flush the lines after installing a new faucet?
Yes. Remove the aerator and run water for at least one minute before reattaching it. This clears debris that would otherwise clog the new cartridge.
Recommended
- Water Pipe Installation Guide for DIY Homeowners | Santehnikasveikals.lv
- Must-Have Plumbing Tools for DIY Homeowners in 2026 | Santehnikasveikals.lv
- Cost-Saving Plumbing Ideas That Actually Work in 2026 | Santehnikasveikals.lv
- Drainage System Troubleshooting Steps for Homeowners | Santehnikasveikals.lv
Оставьте комментарий